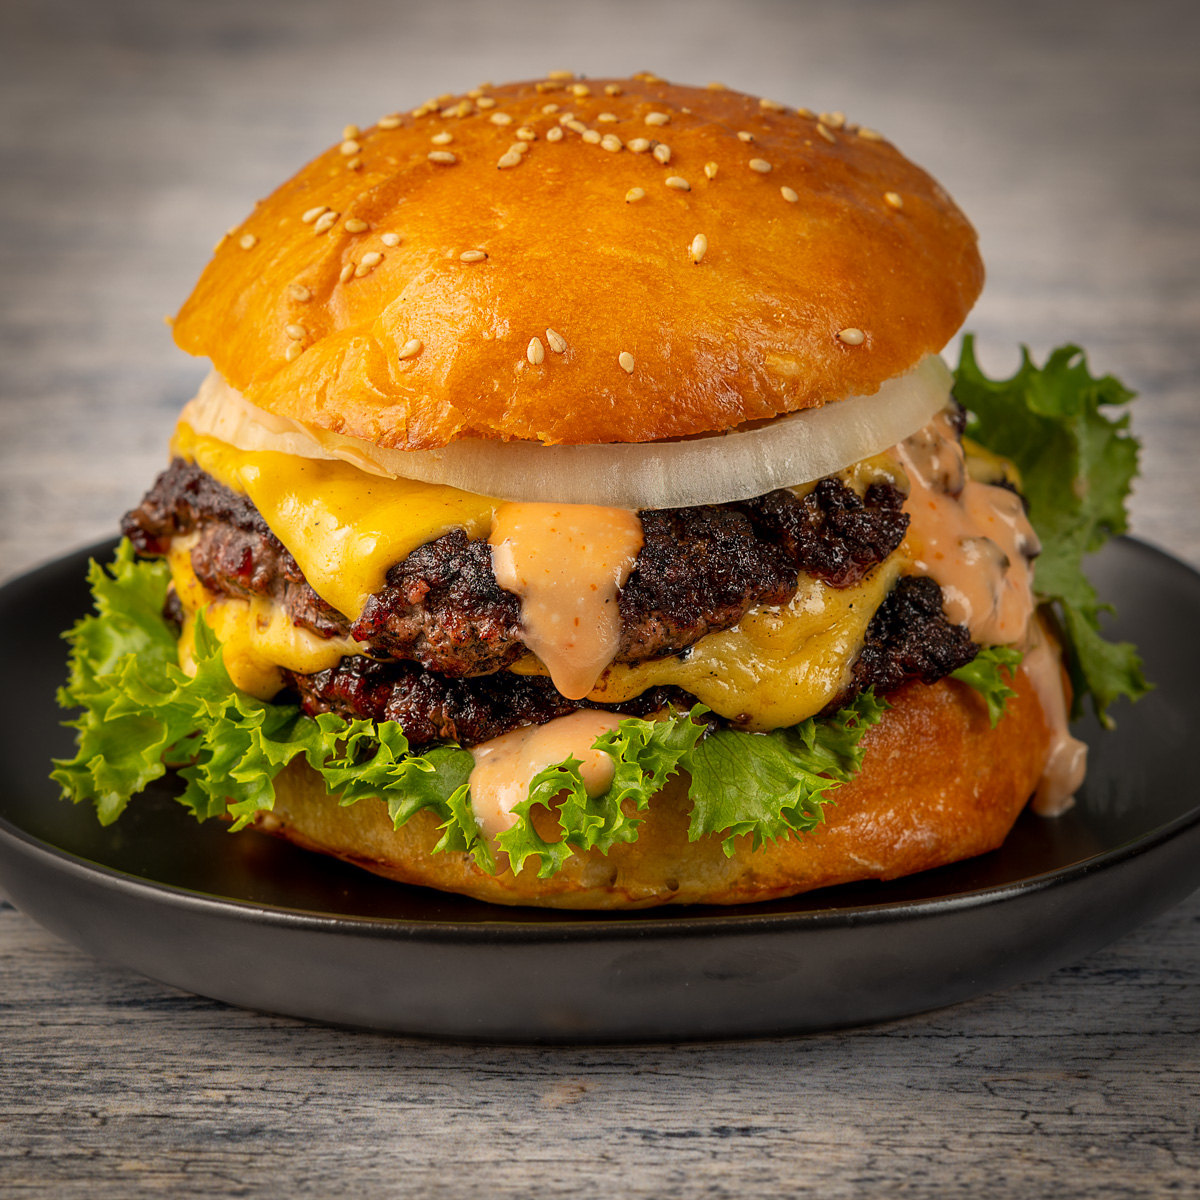
Hamburgers, a quintessential American dish, are the epitome of backyard grilling. Yet, despite their apparent simplicity, making the perfect burger can be difficult to achieve. The art of hamburger cooking requires attention to detail and avoiding common mistakes that can derail the experience. From dry patties to bland flavors, various mistakes can quickly ruin a burger. In this post, we'll uncover the most common errors people make when cooking hamburgers and provide tips to help you master the art of burger perfection.
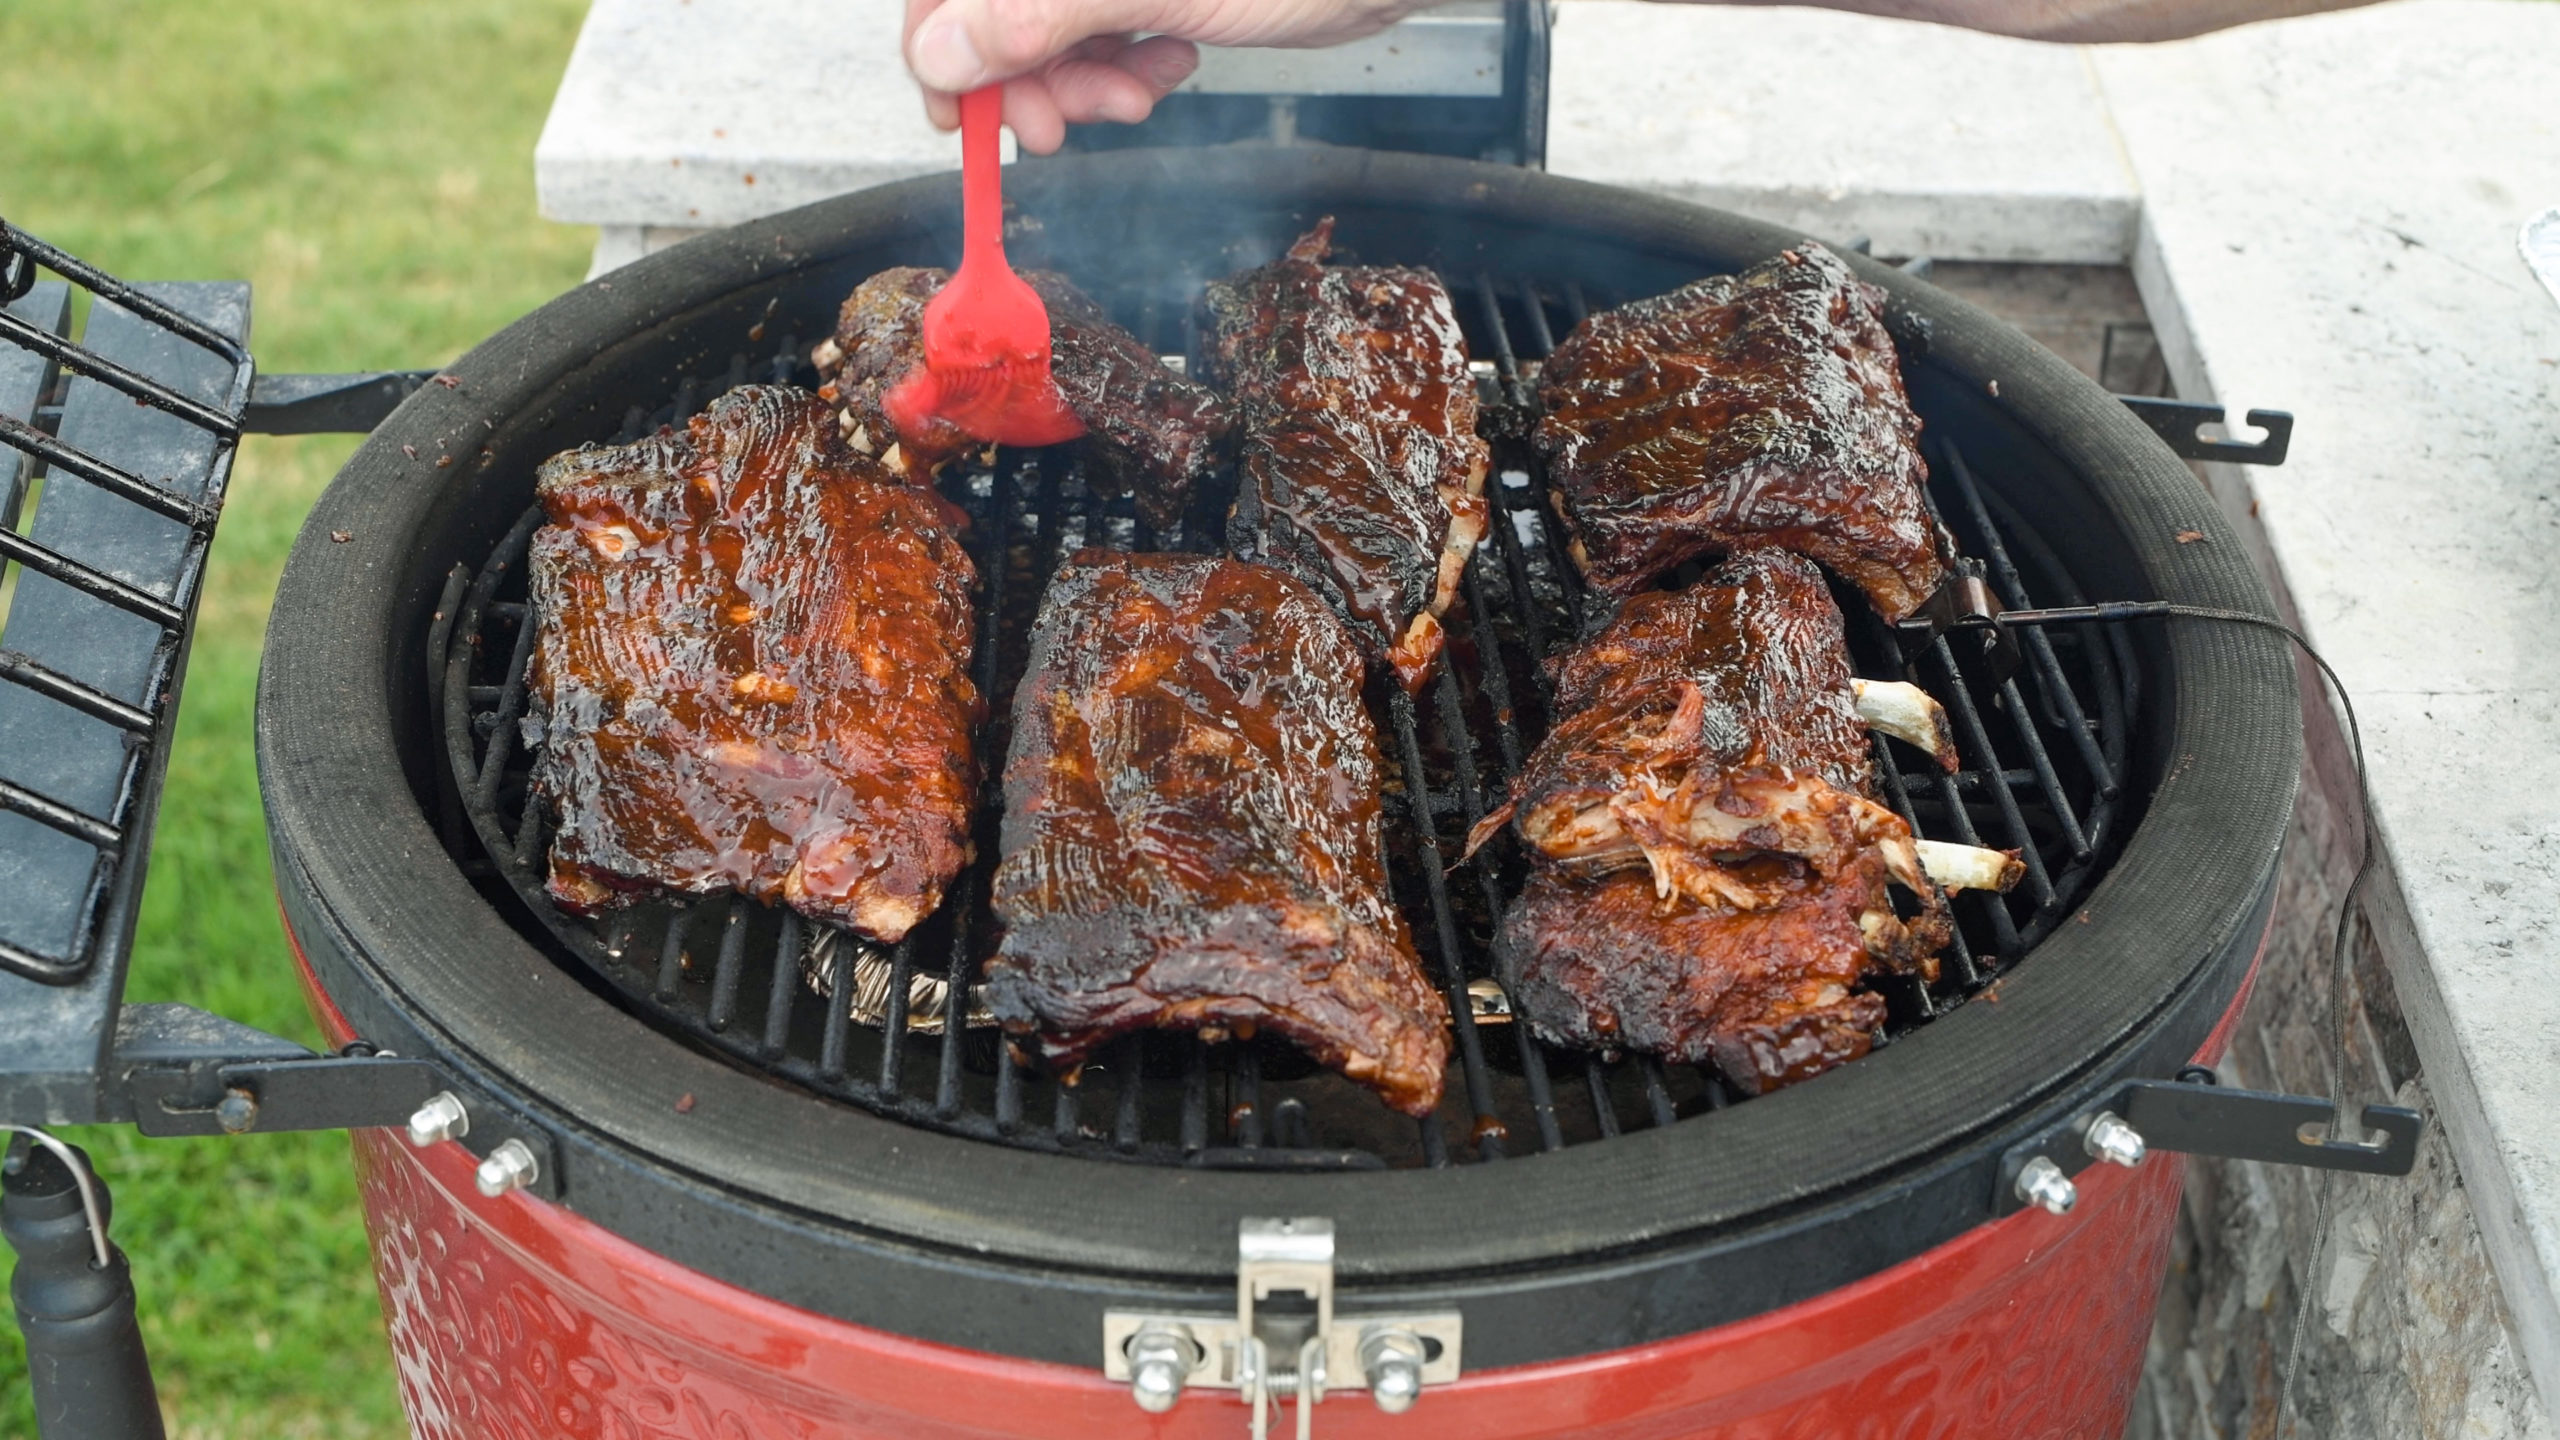
Burgers are simple to cook, but small mistakes can make a surprisingly big difference. Use beef that is too lean, overwork the meat, start with a cooking surface that is not hot enough, or leave the burgers on a minute too long, and a juicy burger can quickly become dry and dense. I've cooked burgers just about every way you can cook them, from thick charcoal-grilled burgers on a Kamado Joe to thin smash burgers on a steel griddle. These are the burger mistakes that actually make a difference and what I do instead.
Jump to:
- Using Ground Beef That's Too Lean
- Overworking the Meat
- Seasoning the Meat Incorrectly
- Making Burger Patties the Wrong Size or Thickness
- Forgetting the Dimple on Thick Burger Patties
- Cooking on a Grill or Griddle That Isn't Hot Enough
- Pressing the Burger at the Wrong Time
- Flipping the Burger Too Often
- Overcooking the Burger
- Ignoring the Bun and Final Assembly
- Final Thoughts
Using Ground Beef That's Too Lean
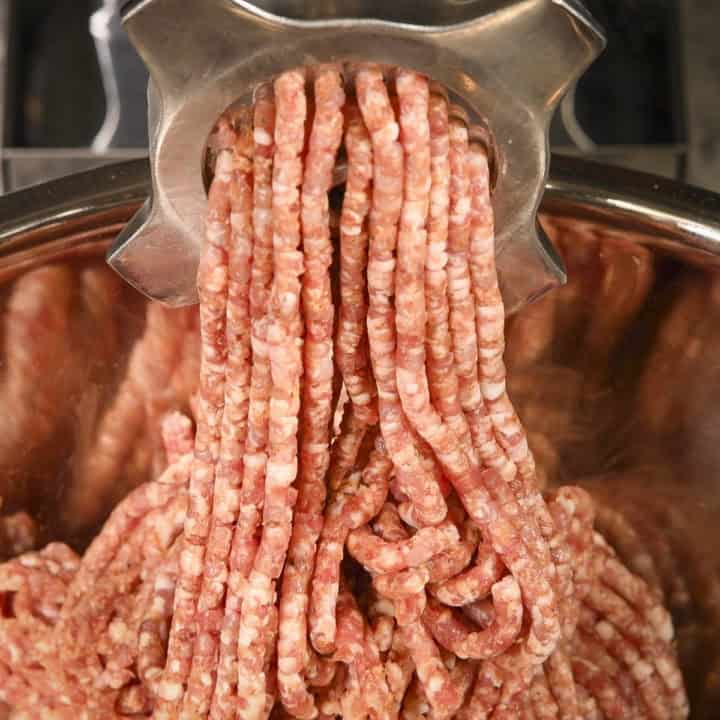
Fat provides both flavor and juiciness, so very lean ground beef usually makes a disappointing burger. For most burgers, I start with 80/20 ground beef. A 70/30 blend can also work, especially for smash burgers, but it produces more rendered fat and more flare-up potential on an open grill. Good-quality 80/20 ground chuck from the store works very well, while grinding your own blend gives you more control over the cuts and fat content.
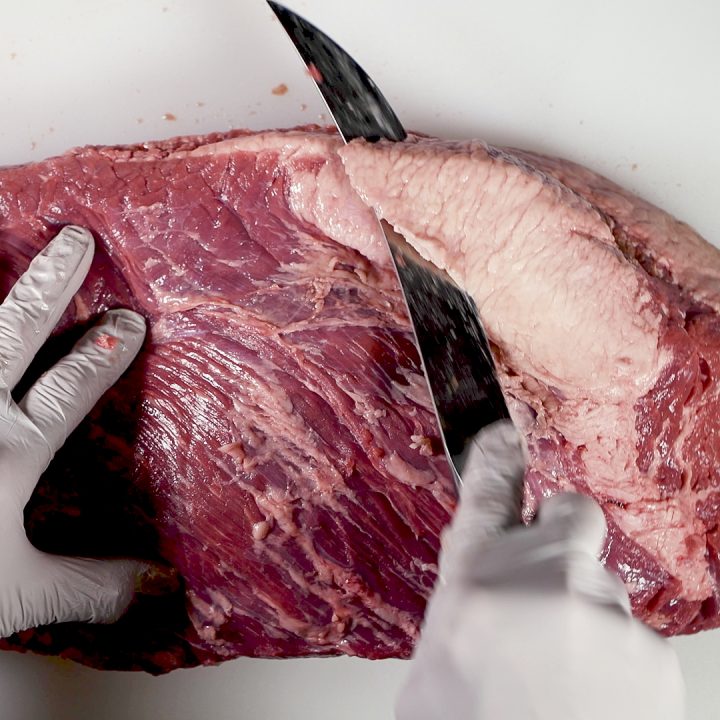
I frequently grind chuck, sirloin or other cuts when I want to experiment with a custom blend, but grinding your own meat is an option, not a requirement for a good burger.
Overworking the Meat
The more you squeeze, knead and compact ground beef, the denser the finished burger becomes. Handle the meat as little as possible and use a light touch when portioning and shaping conventional patties. You want the patty to hold together without compressing it into a hockey puck. If I am making smash burgers, I simply portion the meat into loose balls and wait to flatten them until they hit the hot griddle.
Seasoning the Meat Incorrectly
Seasoning matters, but so does when and how you apply it. I form conventional burger patties first and then season the outside with salt and pepper shortly before they go on the grill. Mixing salt thoroughly into the ground beef can change the texture and make the meat firmer. Garlic powder, onion powder or Montreal steak seasoning can add another layer of flavor, but I still want the beef to taste like beef.
Making Burger Patties the Wrong Size or Thickness
Burgers shrink as they cook, so a raw patty that barely covers the bun can look undersized by the time it reaches the plate. For a conventional burger, make the patty somewhat wider than the bun and keep the thickness reasonably even so it cooks at a predictable rate. My old rule of making a 5 ½-inch patty for a 4-inch bun works well for a larger grilled burger, but the exact dimensions matter less than matching the patty to the bun and cooking method.

Forgetting the Dimple on Thick Burger Patties
Thick burgers tend to contract and puff up in the center as they cook. Before grilling a conventional thick patty, press a shallow depression into the center with your thumb. The dimple helps the burger finish flatter instead of turning into a rounded ball. This is not necessary for smash burgers because they start thin and cook by an entirely different method.
Cooking on a Grill or Griddle That Isn't Hot Enough
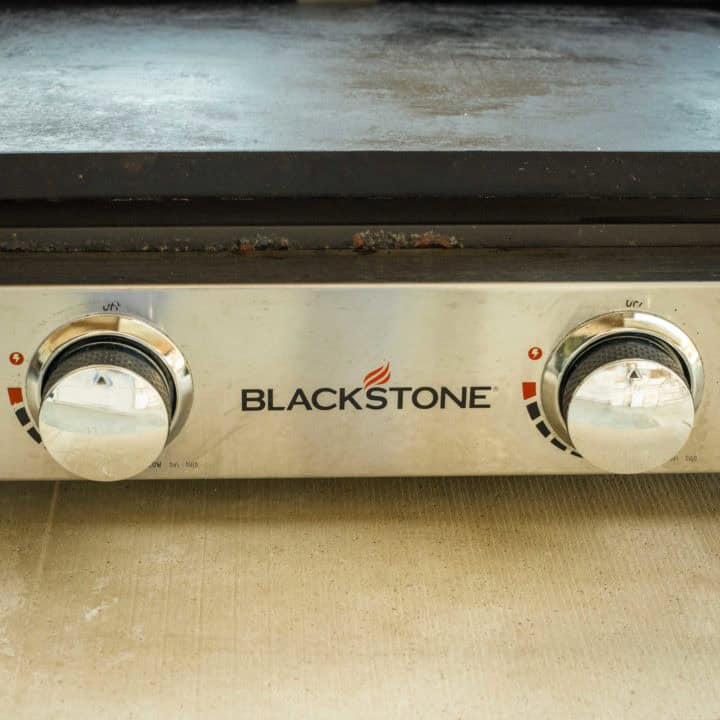
A good burger needs strong heat to develop browning before the interior overcooks. Preheat the grill or griddle thoroughly before the meat goes down. On a Kamado Joe, I want the cooking grate hot and stable before I add thick burgers. For smash burgers, the steel griddle needs to be considerably hotter because the goal is immediate, aggressive surface contact and a deeply browned crust. Starting on a lukewarm surface encourages the meat to cook through before that crust develops.
Pressing the Burger at the Wrong Time
Repeatedly pressing a conventional burger with a spatula while it cooks squeezes rendered fat and juices onto the fire instead of leaving them in the burger. Smash burgers are the important exception. When making a smash burger, press the loose ball of beef firmly against the hot griddle immediately after it goes down to maximize surface contact, then stop pressing it. The mistake isn't pressing a burger. It's pressing the wrong type of burger at the wrong time.

Flipping the Burger Too Often
Constantly moving and flipping burgers makes it harder to develop good browning and to judge how quickly they are cooking. Put the burger down on a properly heated surface and give the first side time to develop color before flipping. You do not have to treat one flip as an absolute rule, but avoid turning the burger every few seconds. For smash burgers, I generally cook the first side until the crust is deeply browned, scrape underneath it cleanly, and then flip it one time.
Overcooking the Burger
A burger can go from juicy to dry quickly, particularly when the patty is thin. Use an instant-read thermometer rather than judging doneness by color alone. USDA food-safety guidance recommends cooking ground beef to 160°F, measured in the center with a food thermometer. That recommendation applies whether the beef was purchased pre-ground or ground at home. If you choose a different degree of doneness, understand that it falls outside that USDA recommendation. Either way, pull the burger as soon as it reaches the result you want rather than leaving it on the heat unnecessarily.
Ignoring the Bun and Final Assembly
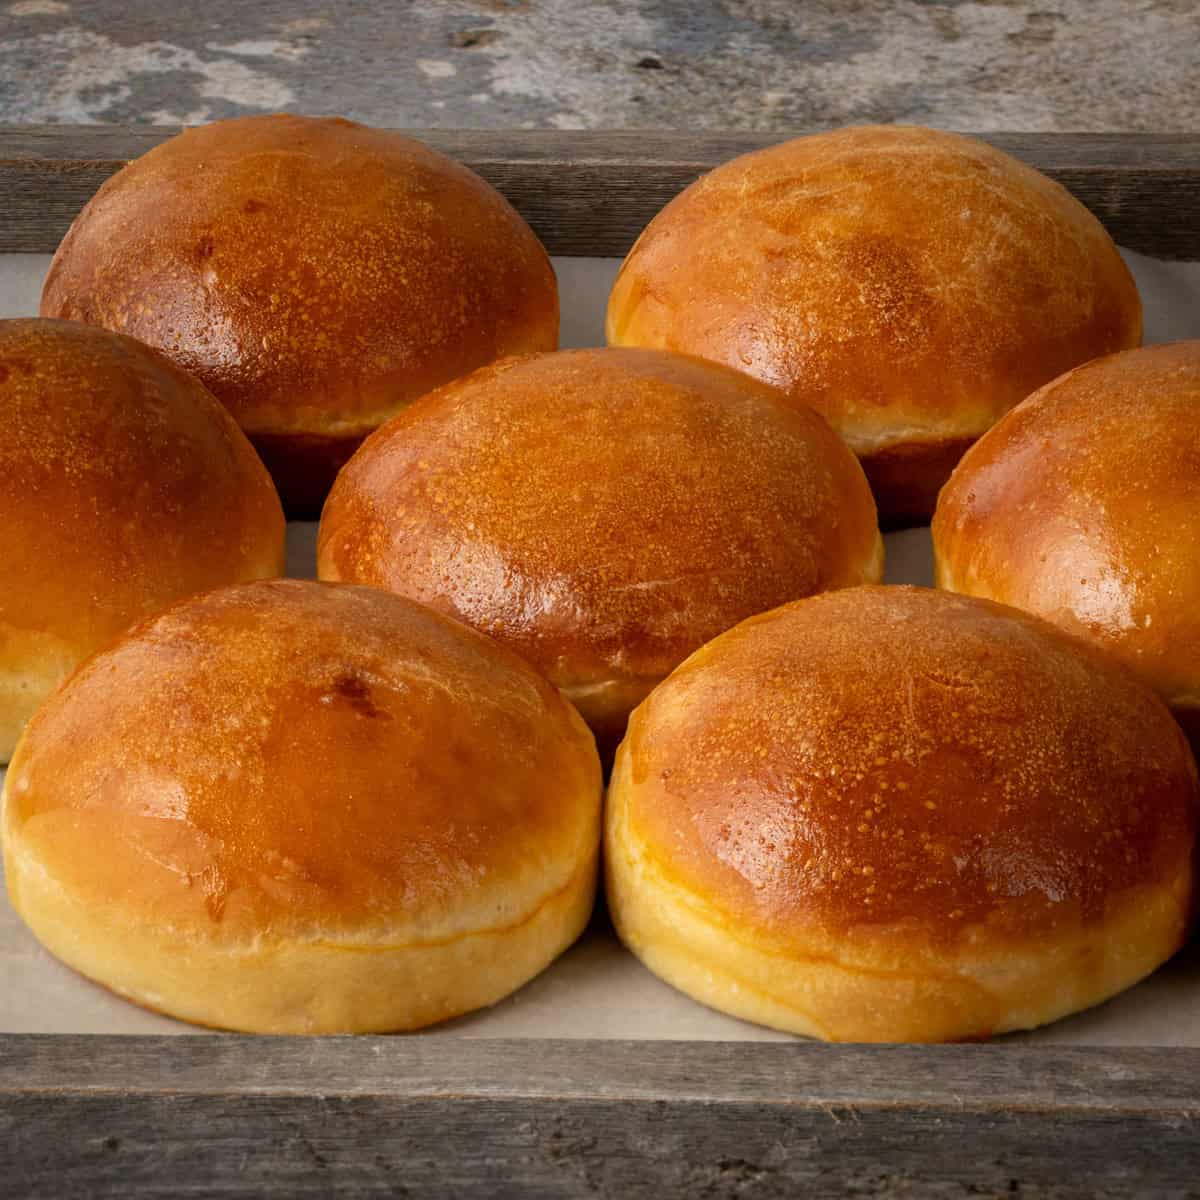
The bun does not need to be homemade, but it should fit the burger and hold up to the juices, cheese and toppings. I usually toast the cut sides because a lightly browned surface adds flavor and helps keep the bun from becoming soggy. Add cheese late enough in the cook that it has time to melt without overcooking the burger. American cheese is a classic choice because it melts exceptionally well, but cheddar, Swiss, blue cheese and many other cheeses work too. Homemade buns can take the burger further, but a good store-bought bun is not a mistake.
Final Thoughts
Once those fundamentals are in place, the bun, cheese and toppings become finishing choices rather than attempts to rescue a dry or poorly cooked patty. If you want to see the smash-burger technique in action, my Wagyu Smash Burger Cooked in Beef Tallow is a good example of why pressing immediately on a hot griddle is completely different from squeezing a conventional burger while it cooks.
Leave a Reply