Smoking great ribs isn't difficult, but a few common mistakes can leave them dry, tough, bitter from too much smoke, or so overcooked that the meat turns mushy. After years of cooking ribs on ceramic grills and smokers, these are the rib-smoking mistakes I see most often and how to avoid them.
The Bottom Line: After years of smoking ribs, I've found most bad ribs come down to a handful of mistakes: cooking too hot, using too much smoke, wrapping too long, saucing too early, or relying on internal temperature instead of tenderness. For most pork ribs, I prefer 250°F because it gives me enough heat to render properly without sacrificing the margin for error that makes low-and-slow barbecue forgiving.
Jump to:
- Not Allowing Enough Time to Smoke the Ribs
- Cooking Ribs Over Direct Heat
- Not Removing the Membrane from the Back of the Ribs
- Not Seasoning the Ribs Properly Before Smoking
- Smoking Ribs at the Wrong Temperature
- Treating the 3-2-1 Method Like a Stopwatch
- Relying on Internal Temperature to Tell When Ribs Are Done
- Cooking Ribs Until the Meat Falls Completely Off the Bone
- Not Accounting for the Cut and Thickness of the Ribs
- Using the Wrong Wood for Smoking Ribs
- Using Too Much Smoke
- Letting the Smoker Temperature Get Away from You
- Opening the Grill Lid Too Often
- Wrapping the Ribs Too Early or for Too Long
- Putting Barbecue Sauce on the Ribs Too Soon
- Final Thoughts
Not Allowing Enough Time to Smoke the Ribs
Ribs are done when they are tender, not when the clock says dinner should be ready. Starting too late encourages you to raise the temperature, shorten important stages of the cook, or pull the ribs before the connective tissue has had time to break down. I would rather finish a little early than have hungry guests waiting while the ribs still need another hour. Give yourself extra time and let tenderness, not the dinner schedule, determine when the ribs come off the smoker.
Cooking Ribs Over Direct Heat
For the style of ribs I cook, most of the cook should take place over indirect heat. Putting ribs directly over the fire for hours exposes them to intense radiant heat and makes it much easier to scorch the exterior before the meat becomes tender. On a Kamado Joe, I use the heat deflectors and cook the ribs indirectly at about 250°F. Direct heat can be useful briefly at the end of the cook, but it should not be the primary cooking method for low-and-slow smoked ribs.
Not Removing the Membrane from the Back of the Ribs
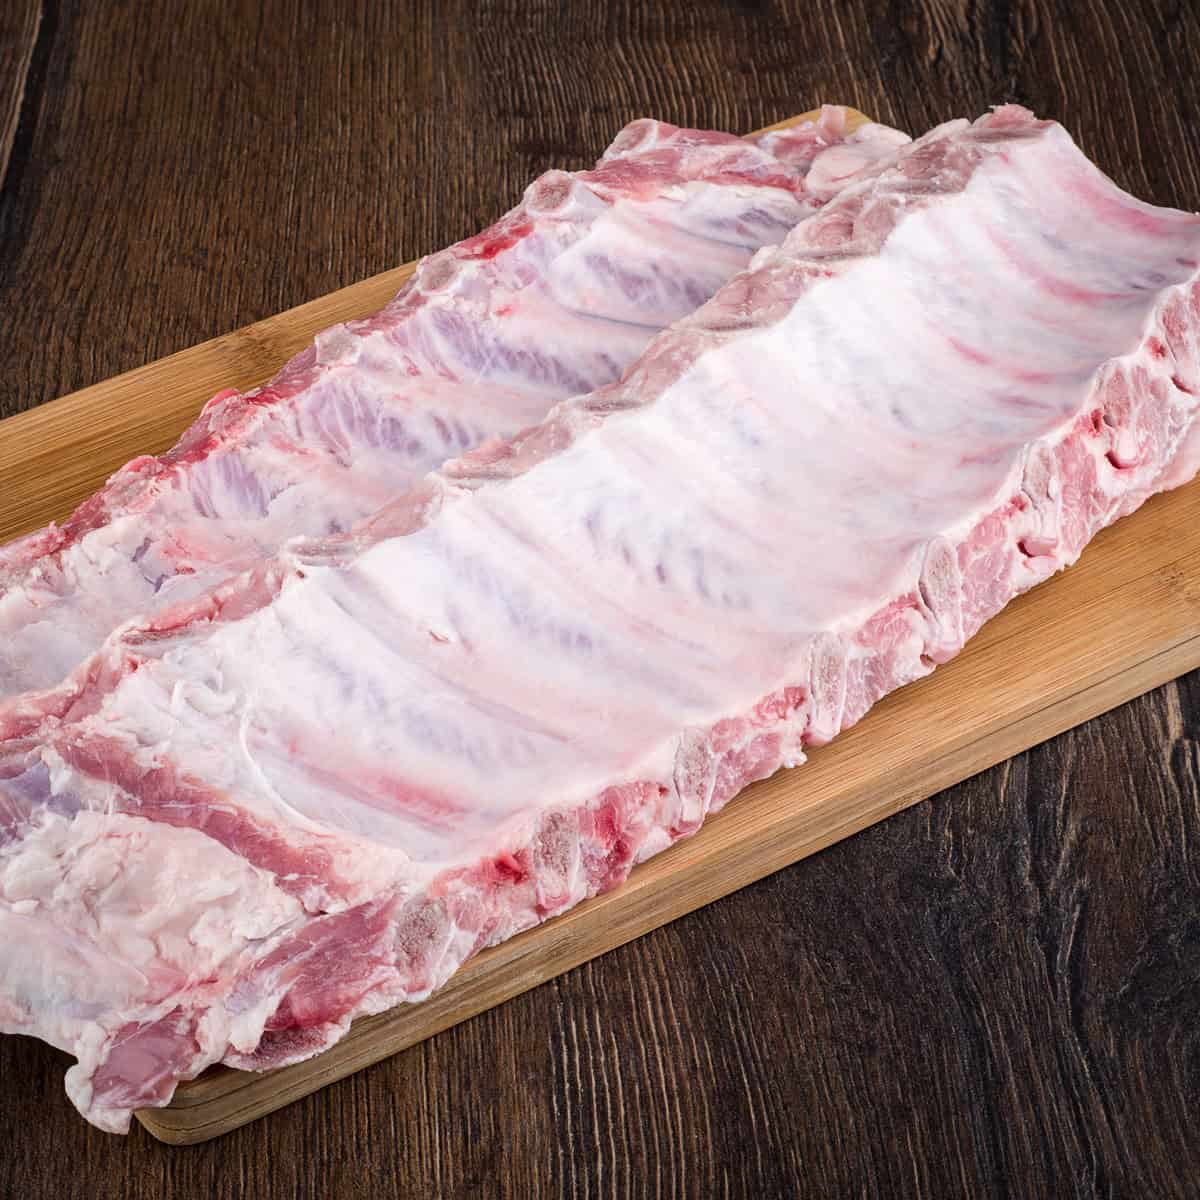
The membrane on the bone side of pork ribs can become tough and chewy after cooking. I prefer to remove it before seasoning. Work a butter knife or your fingers under one edge, grab the loosened membrane with a paper towel, and peel it away from the rack. If it tears, simply start again on another section. Removing it also gives you a clean surface for seasoning the back of the ribs.
Not Seasoning the Ribs Properly Before Smoking
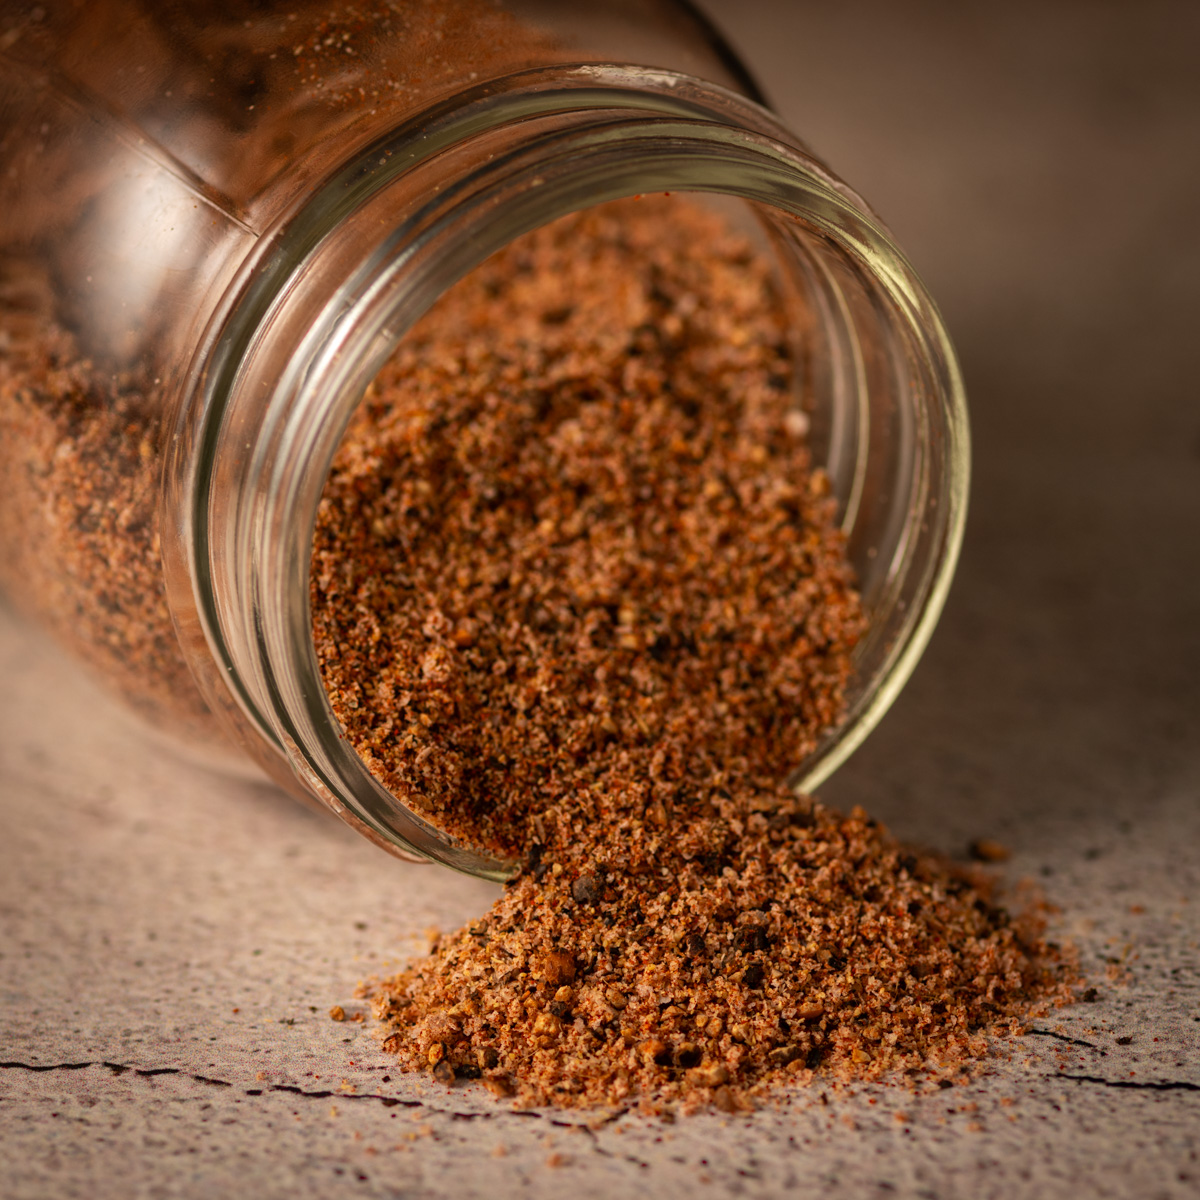
Seasoning is one of the easiest places to build flavor before the ribs ever reach the smoker. I use a dry rub and apply it evenly to both sides of the rack, including the edges. You can season shortly before cooking or give the salt more time to work by seasoning in advance. The important thing is an even coating that complements the pork rather than burying it under an unnecessarily thick layer of rub.
Smoking Ribs at the Wrong Temperature
Ribs need enough time for collagen to break down and fat to render without drying out the meat. I prefer to smoke pork ribs at about 250°F over indirect heat. Lower temperatures can work, but they extend the cook, while running substantially hotter reduces your margin for error. Whatever temperature you choose, keep it reasonably steady and resist the urge to crank up the heat just because the ribs are taking longer than expected.
Treating the 3-2-1 Method Like a Stopwatch
The 3-2-1 method is a useful framework, especially when you are learning to smoke ribs, but the numbers should not override what the ribs are telling you. A rack of spare ribs may tolerate a longer cook than a smaller rack of baby backs, and cooking time changes with thickness, cooker temperature and the individual rack. Use the stages of the 3-2-1 method as a guide, then adjust the timing based on bark development and tenderness rather than automatically cooking every rack for exactly six hours.
Relying on Internal Temperature to Tell When Ribs Are Done
Internal temperature is useful for many cuts of meat, but ribs are difficult to judge with a thermometer. The meat is thin and surrounded by bones, so probe placement can produce misleading readings. I pay more attention to tenderness. You will usually see some meat pullback from the ends of the bones, and a rack lifted with tongs should bend easily and begin to crack on the surface without breaking apart. Temperature can provide context, but tenderness should make the final decision.
Cooking Ribs Until the Meat Falls Completely Off the Bone
Fall-off-the-bone ribs are often described as the goal, but that usually means the ribs have been cooked beyond the texture I prefer. Properly cooked ribs should be tender enough to bite cleanly from the bone while still retaining some structure. If the rack breaks apart when you lift it or the bones slide out with almost no resistance, the ribs have gone too far. Start checking tenderness before that point so you can pull them while the texture is still right.
Not Accounting for the Cut and Thickness of the Ribs
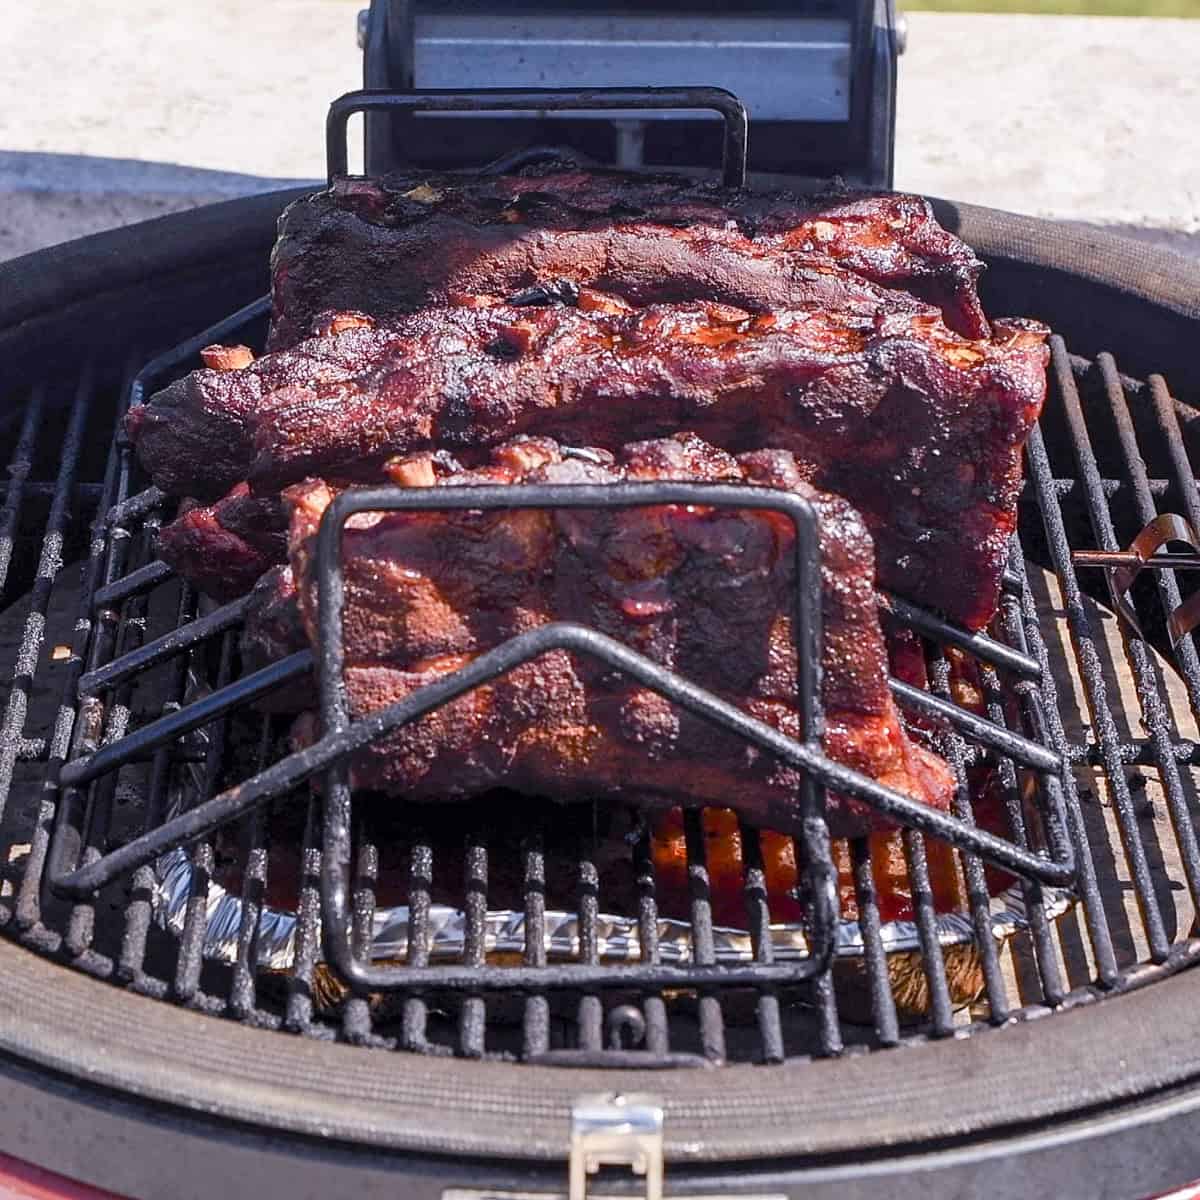
Baby back ribs, spare ribs and St. Louis-style ribs do not always cook at the same rate. A thick rack of spare ribs generally needs more time than a smaller rack of baby backs, so applying one fixed schedule to every rack can lead to undercooked or overcooked ribs. Use the size and thickness of the rack to guide your expectations, then cook to tenderness. If you are deciding which cut to buy, see my Baby Back Ribs vs. Spare Ribs guide for a detailed comparison.
Using the Wrong Wood for Smoking Ribs
The type of wood you use can significantly change the flavor of smoked ribs. Hickory and mesquite are popular barbecue woods, but I find them stronger than I want for most pork ribs. I prefer milder fruit woods such as apple or cherry, which add smoke without overpowering the meat. There is no single wood that everyone has to use, but choose one that complements the ribs and remember that wood choice and smoke quantity work together.
Using Too Much Smoke
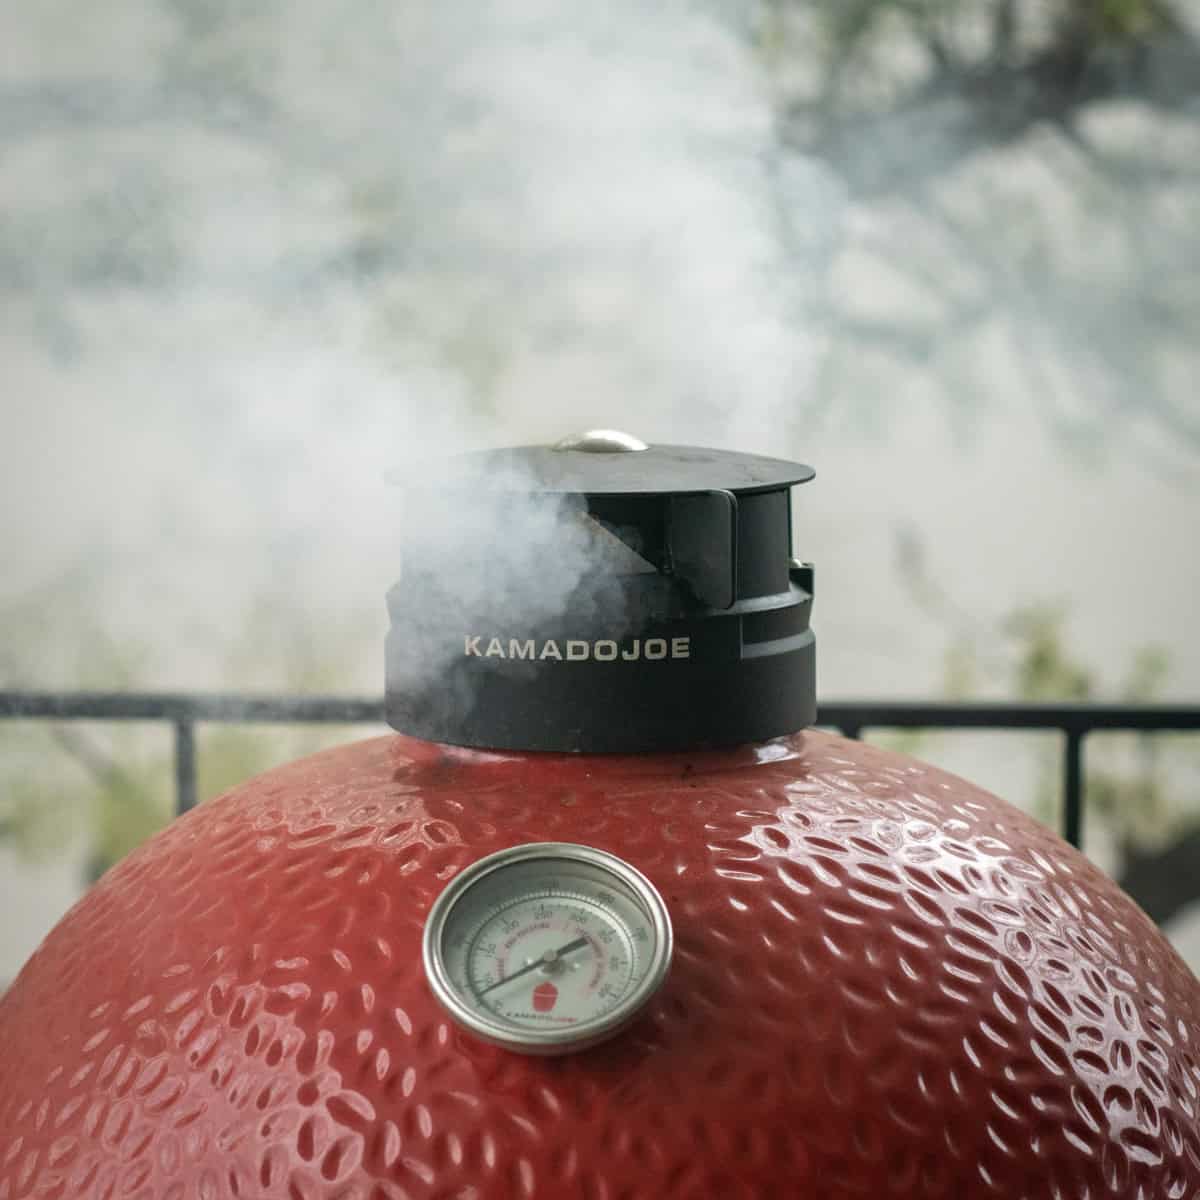
More smoke does not automatically mean more barbecue flavor. Too much wood, especially strong wood, can leave ribs bitter and harsh. On a Kamado Joe, I prefer a moderate amount of smoking wood mixed with the charcoal rather than continually adding wood throughout the cook. The goal is a clean, balanced smoke flavor that complements the pork instead of dominating it.
Letting the Smoker Temperature Get Away from You
Maintaining a reasonably steady pit temperature makes rib cooks much more predictable. A Kamado Joe can hold 250°F for hours once the vents are properly adjusted, so a temperature controller is not required. I often use a FireBoard 2 Drive on long cooks because it lets me monitor the grill and automatically manage airflow, but the important point is controlling the cooker, not owning a particular device. If the temperature starts climbing, make small vent adjustments and give the ceramic grill time to respond.
Opening the Grill Lid Too Often
Every time you open the lid, you disturb the cooking environment and make it harder to maintain a steady temperature. On a Kamado Joe, the ceramic body retains heat well, but repeatedly opening the cooker still changes airflow and interrupts the cook. Trust your pit thermometer and leave the lid closed unless you have a reason to open it, such as wrapping, saucing or checking tenderness.
Wrapping the Ribs Too Early or for Too Long
Wrapping ribs can speed tenderization and help prevent the surface from becoming too dark, but it is easy to overdo it. If you wrap before the bark has set, the trapped moisture can soften the exterior. Leave the ribs wrapped too long and the meat can become mushy and start falling apart. I wait until I am happy with the color and bark before wrapping, then use the wrapped stage to move the ribs toward tenderness rather than following a fixed time regardless of how the rack is cooking.
Putting Barbecue Sauce on the Ribs Too Soon
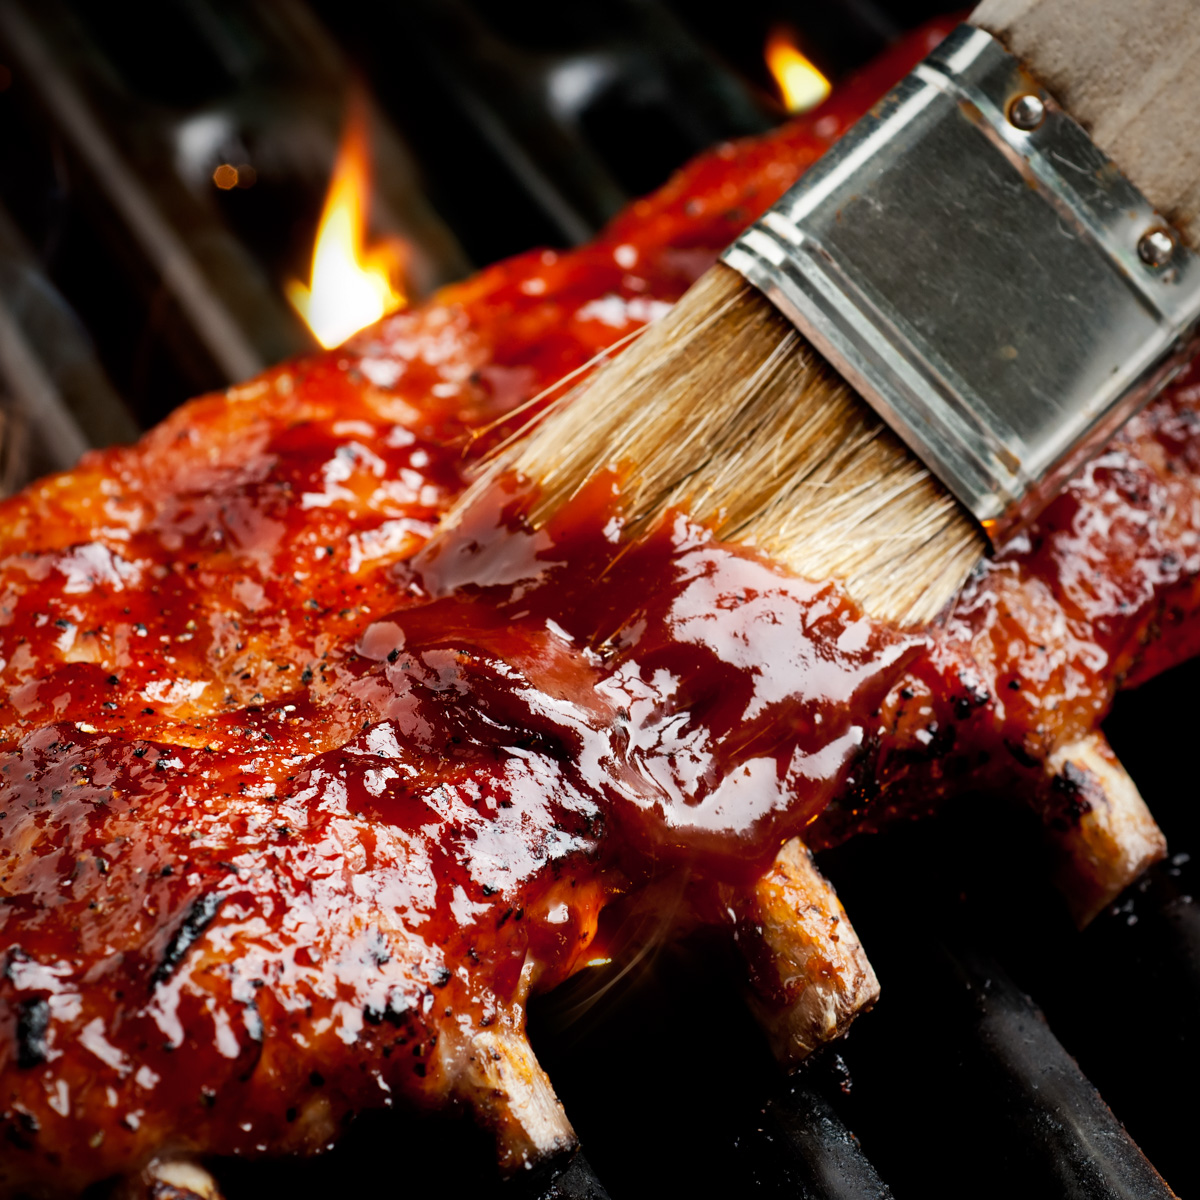
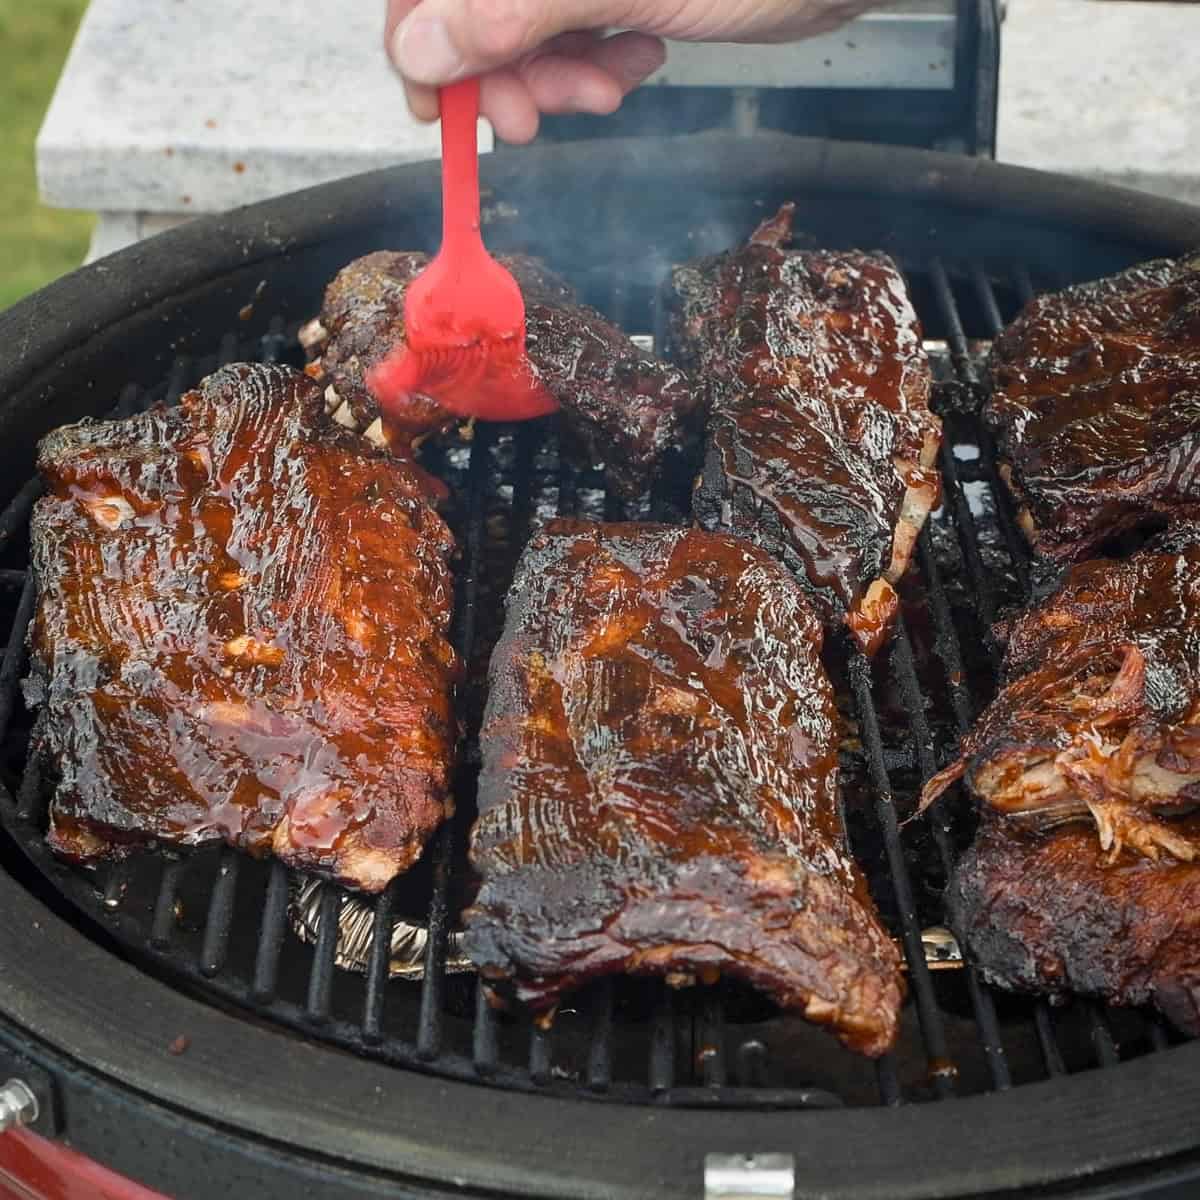
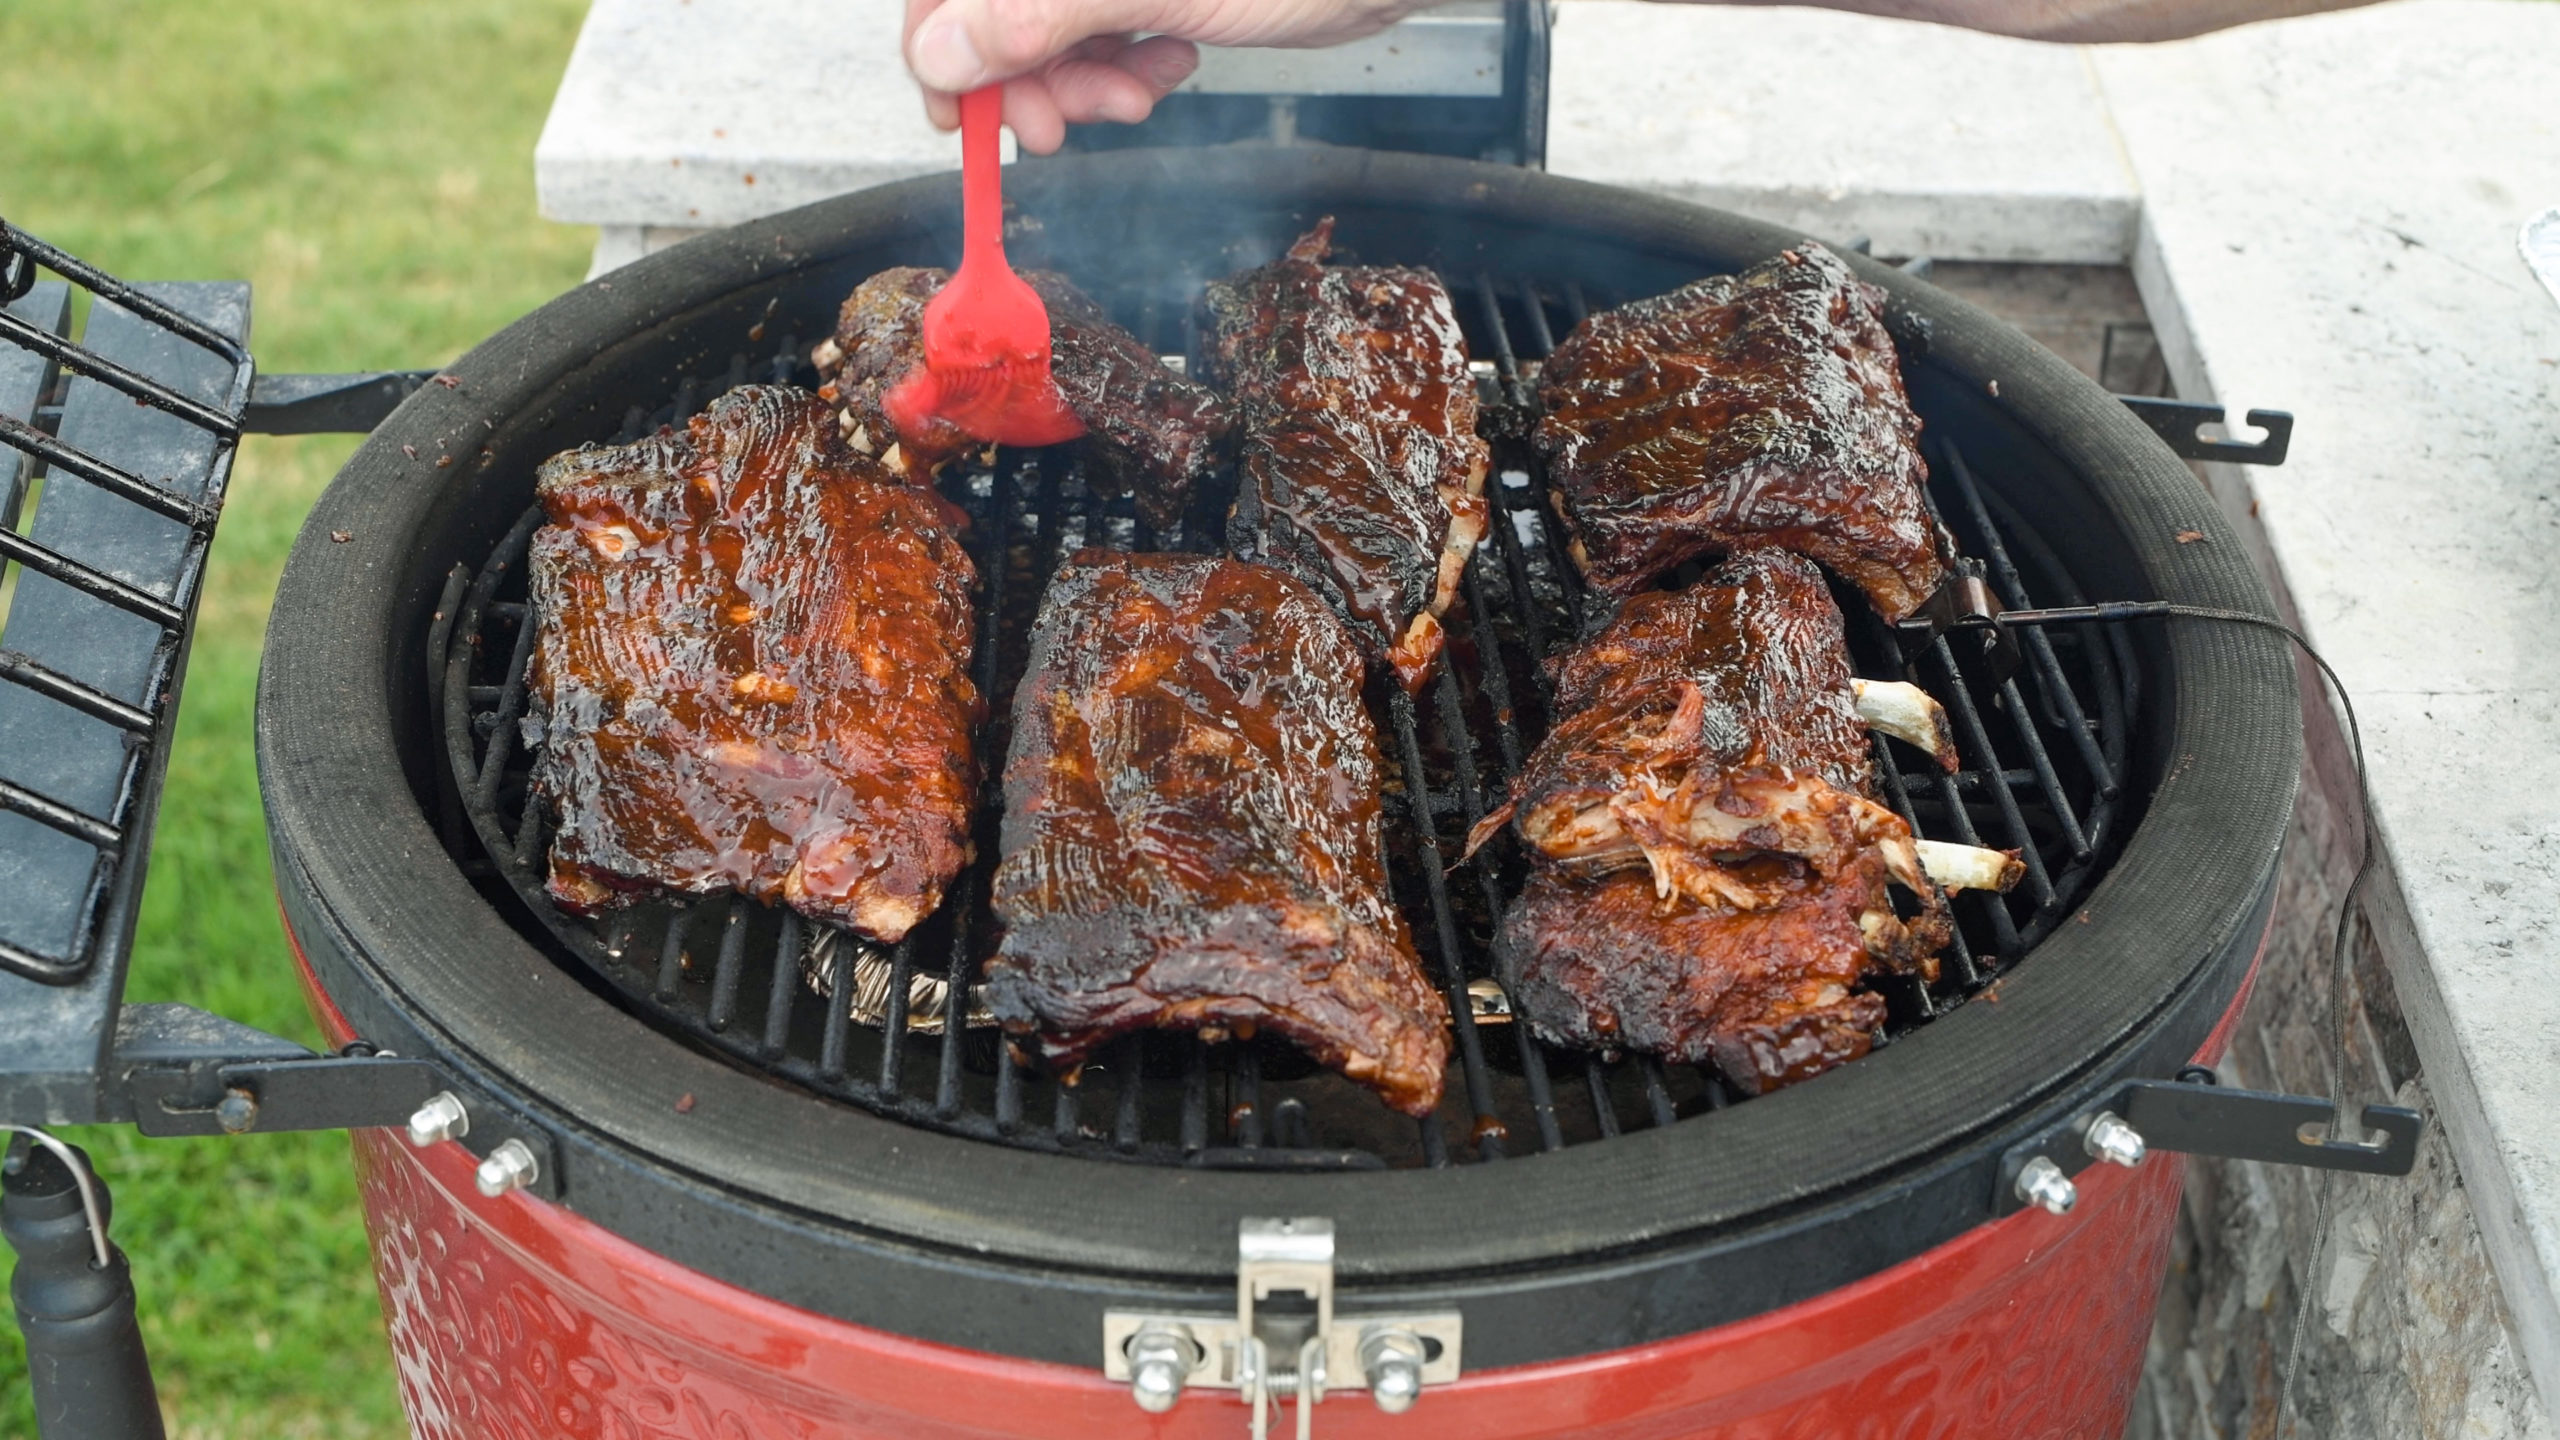
Most barbecue sauces contain enough sugar to burn if they spend too long over heat. I wait until the ribs are nearly done before brushing on the sauce, usually during the final 15 to 20 minutes of the cook. That gives the sauce time to set into a glossy glaze without turning scorched or bitter. If you prefer multiple coats, apply them in thin layers near the end rather than putting on one heavy coat early.
Final Thoughts
Great smoked ribs are less about following a rigid formula than understanding what is happening during the cook. Control the heat, use smoke in moderation, give the ribs enough time, and pay attention to bark and tenderness instead of relying on a clock or a single internal-temperature number. Those habits will prevent most of the problems that turn ribs dry, tough, bitter or mushy.
Different cuts also behave differently on the smoker. If you are deciding between baby backs and spare ribs, my Baby Back Ribs vs. Spare Ribs guide explains the differences in size, meatiness, cooking time and the results you can expect from each.
Leave a Reply