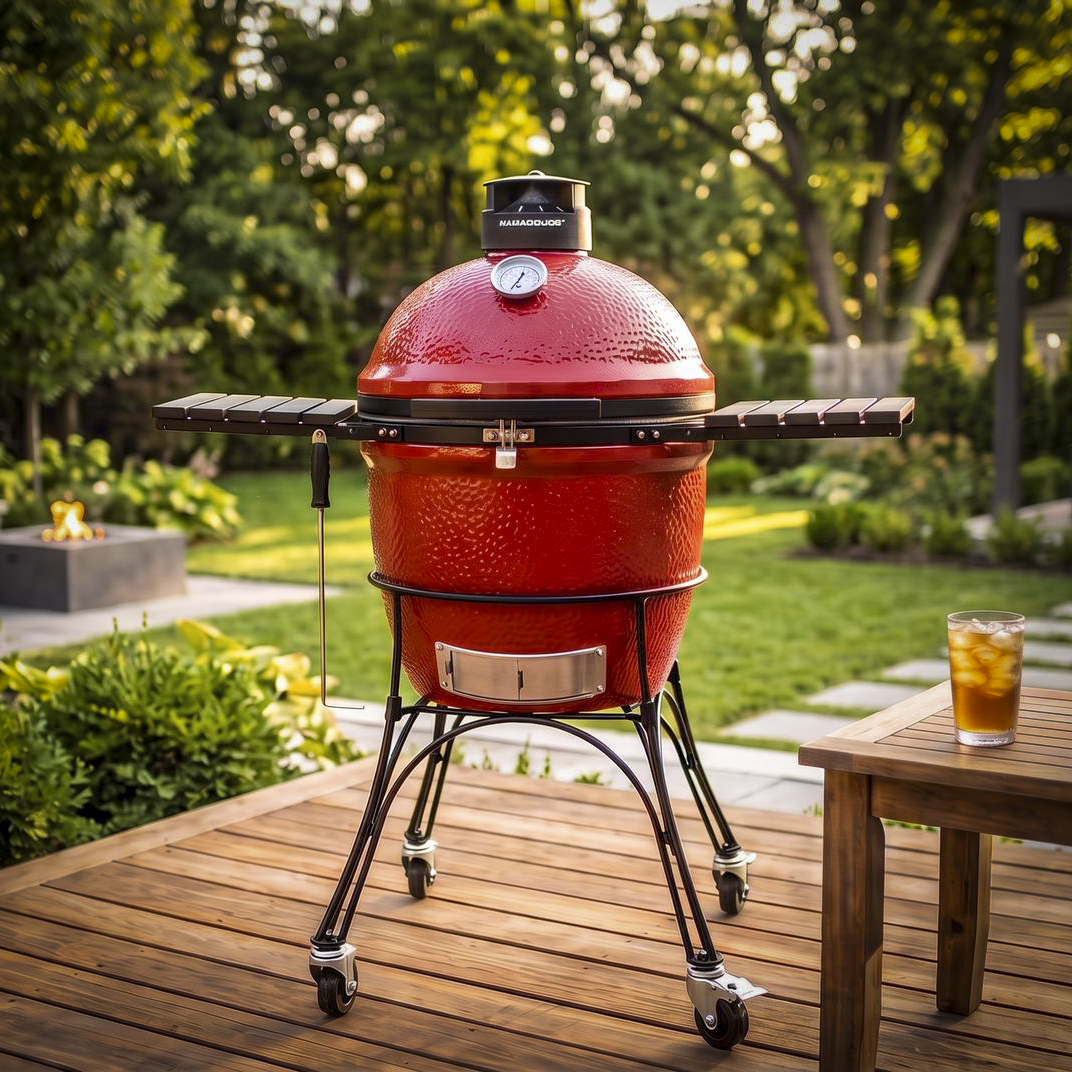
Before cooking on a new Kamado Joe, there are a few steps to complete to prepare the grill and make sure everything is working properly. From checking the grill's components to completing the initial heating, a little preparation helps you get the best performance from your Kamado Joe.
This guide explains how to check the dome thermometer for accuracy, inspect the hardware, prepare the firebox, and install the cooking components. It also explains the initial heating process, including regulating airflow, maintaining a steady temperature, and shutting down the grill.
Jump to:
Check and Prepare Your Kamado Joe
Check the Dome Thermometer for Accuracy
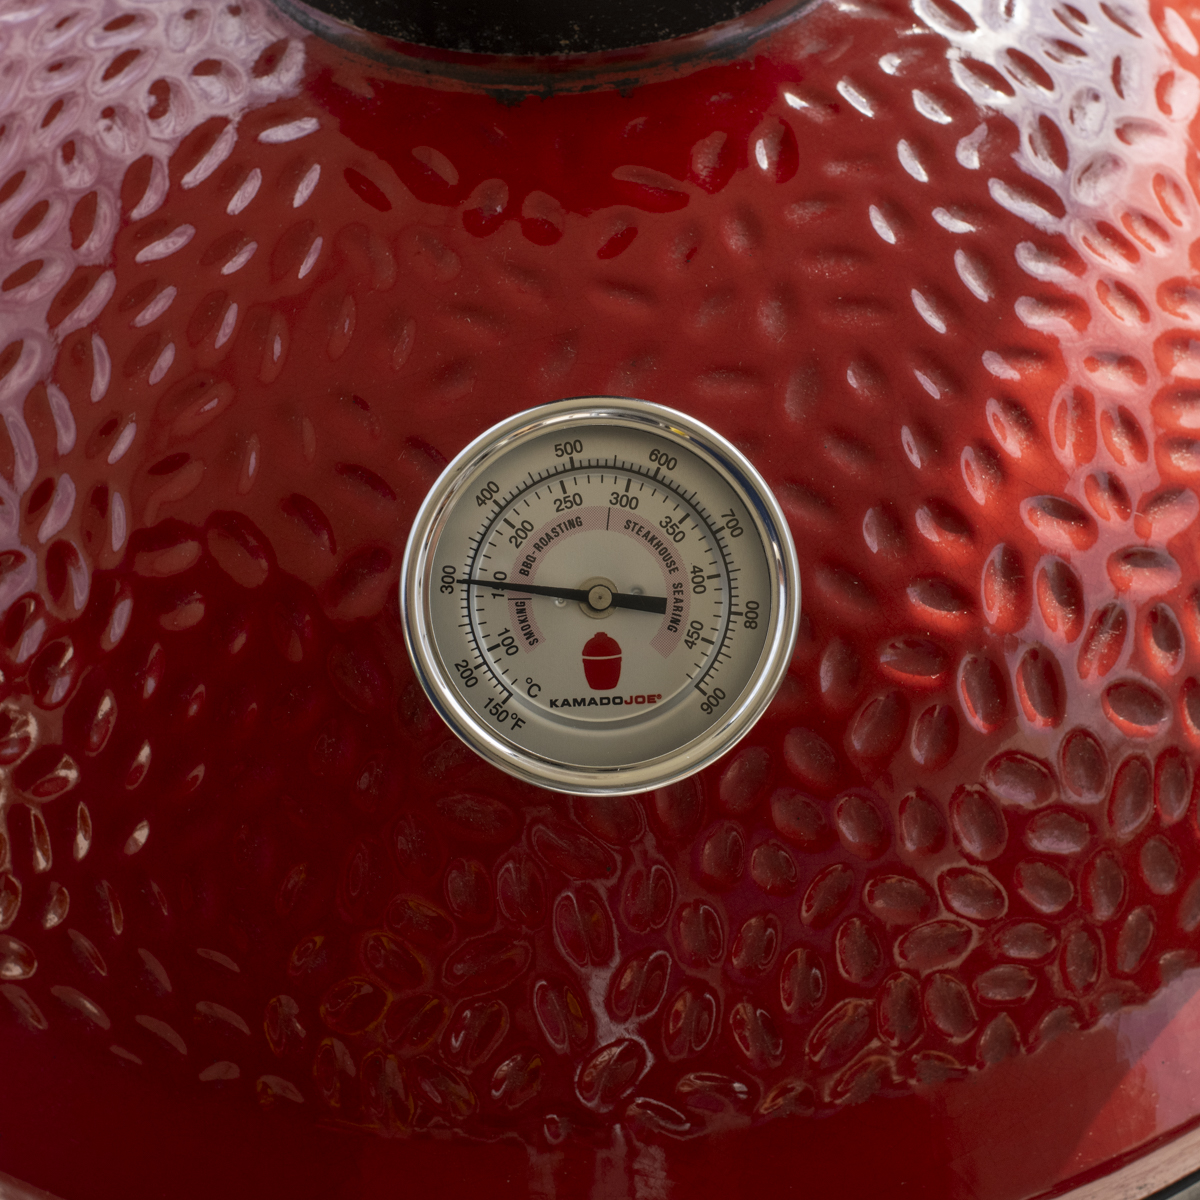
Even a new dome thermometer may need calibration because it may not read temperatures accurately right out of the box. A dome thermometer that came with one of my new grills was off by 30°F.
Before testing the dome thermometer, look up the boiling point of water at your elevation. You can check its accuracy by comparing the thermometer reading with that boiling point.
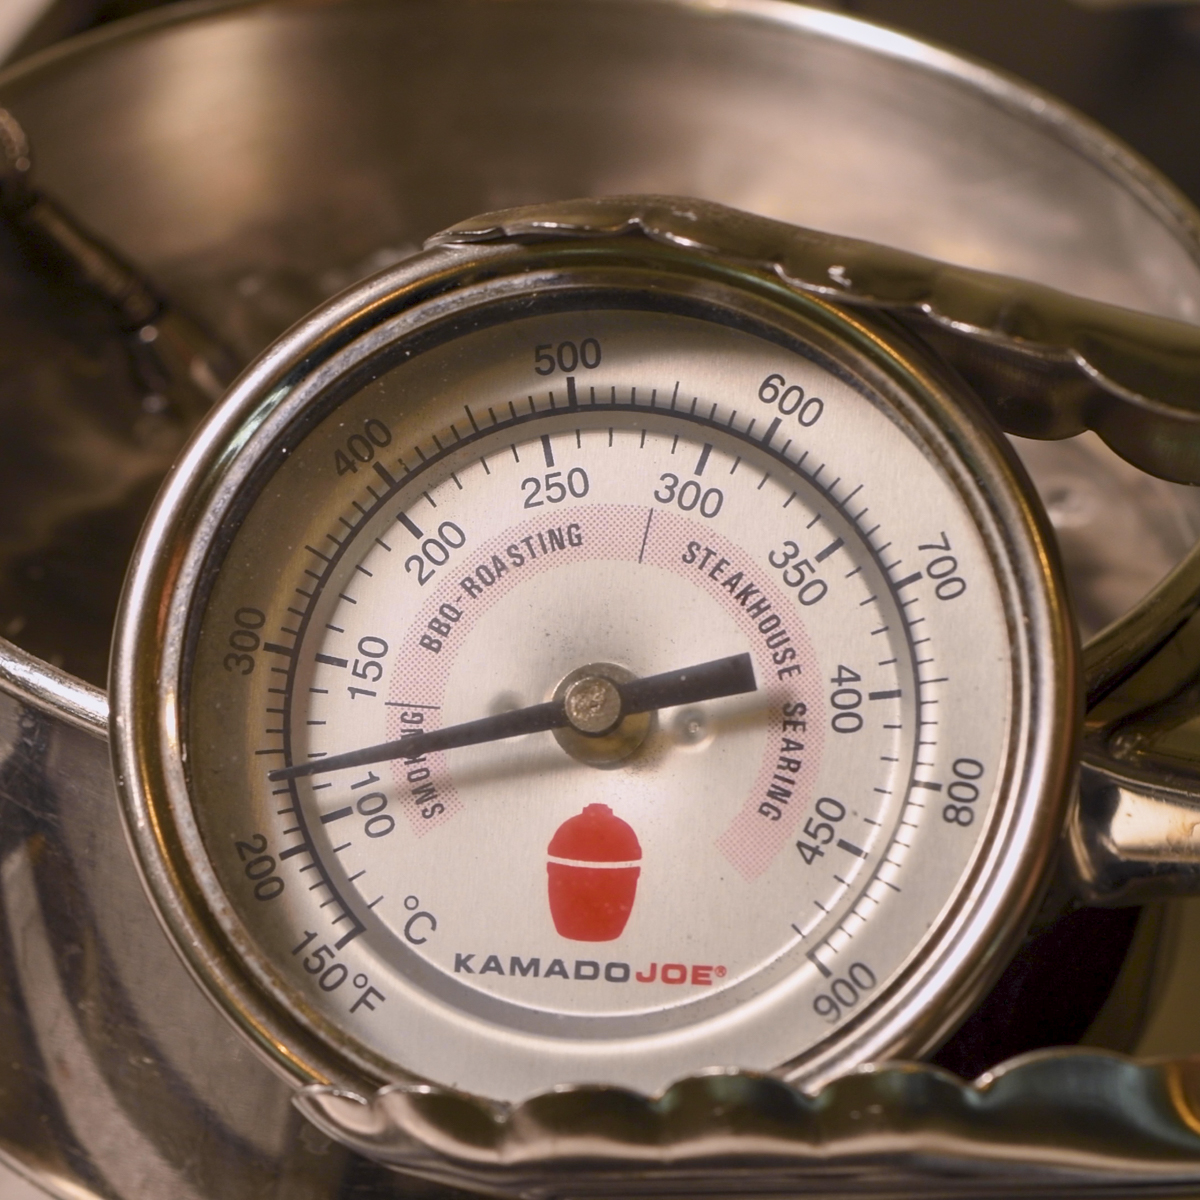
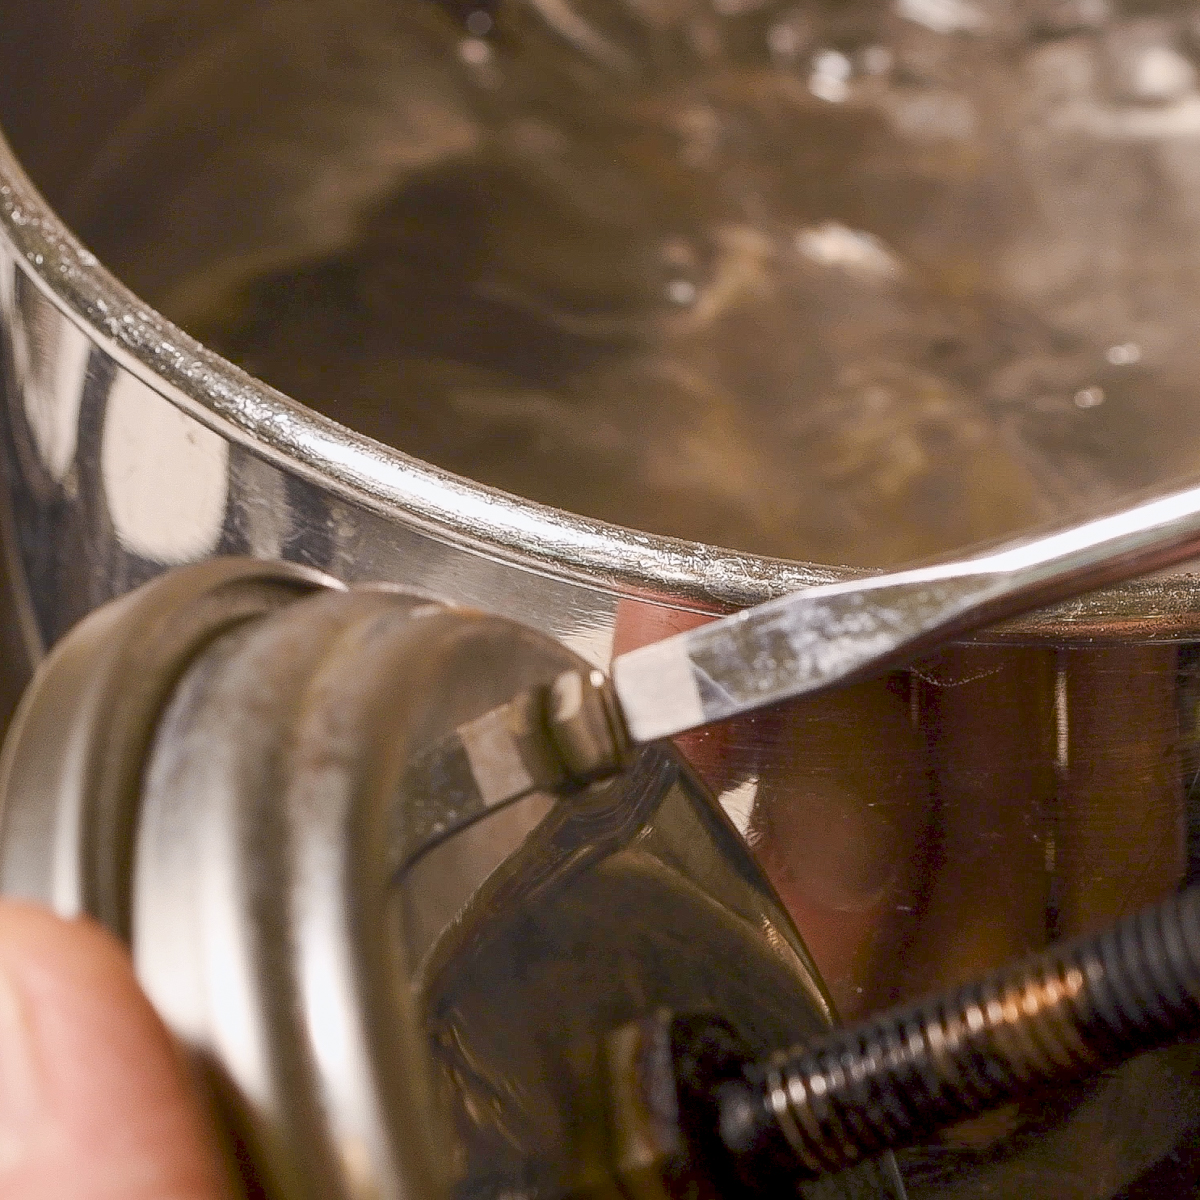
Remove the mounting nut and washer from the back of the thermometer and pull the thermometer straight out of the dome. Using tongs or heat-resistant gloves, place the thermometer stem in a pot of boiling water. Keep the stem from touching the bottom or sides of the pot. Allow the temperature reading to stabilize, then compare it with the boiling point of water at your elevation.
If the reading is inaccurate, turn the calibration nut on the back of the thermometer in small increments until the reading matches the boiling point.
Reinstall the thermometer in the dome and secure it with the mounting nut and washer. For a video demonstration of this procedure, see Kamado Joe Thermometer Not Working? Replace and Recalibrate It.
Check the Grill's Hardware
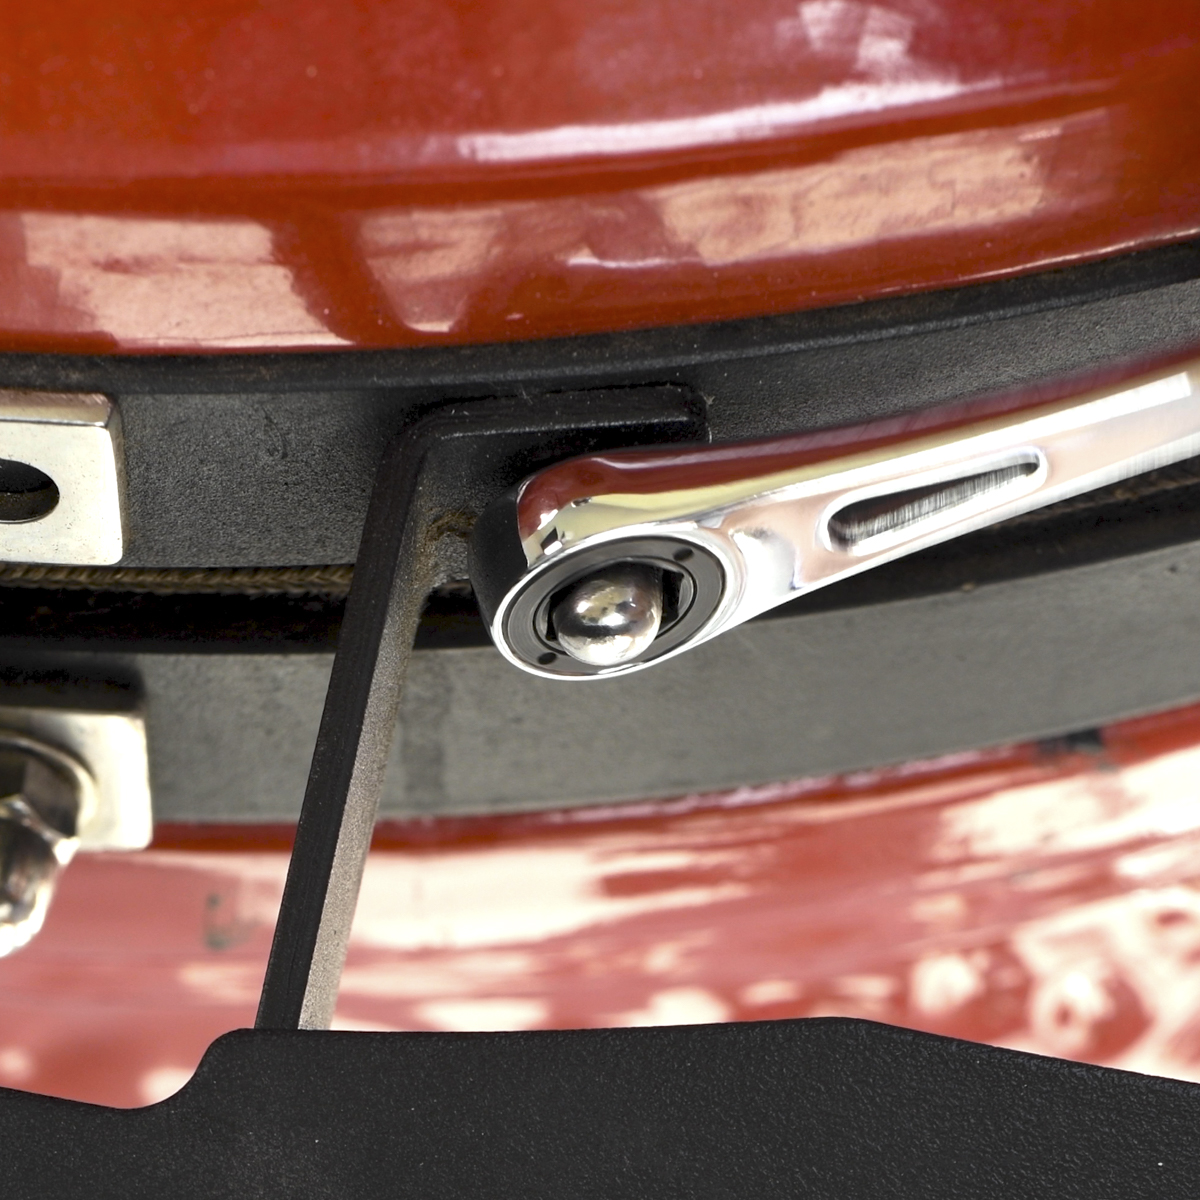
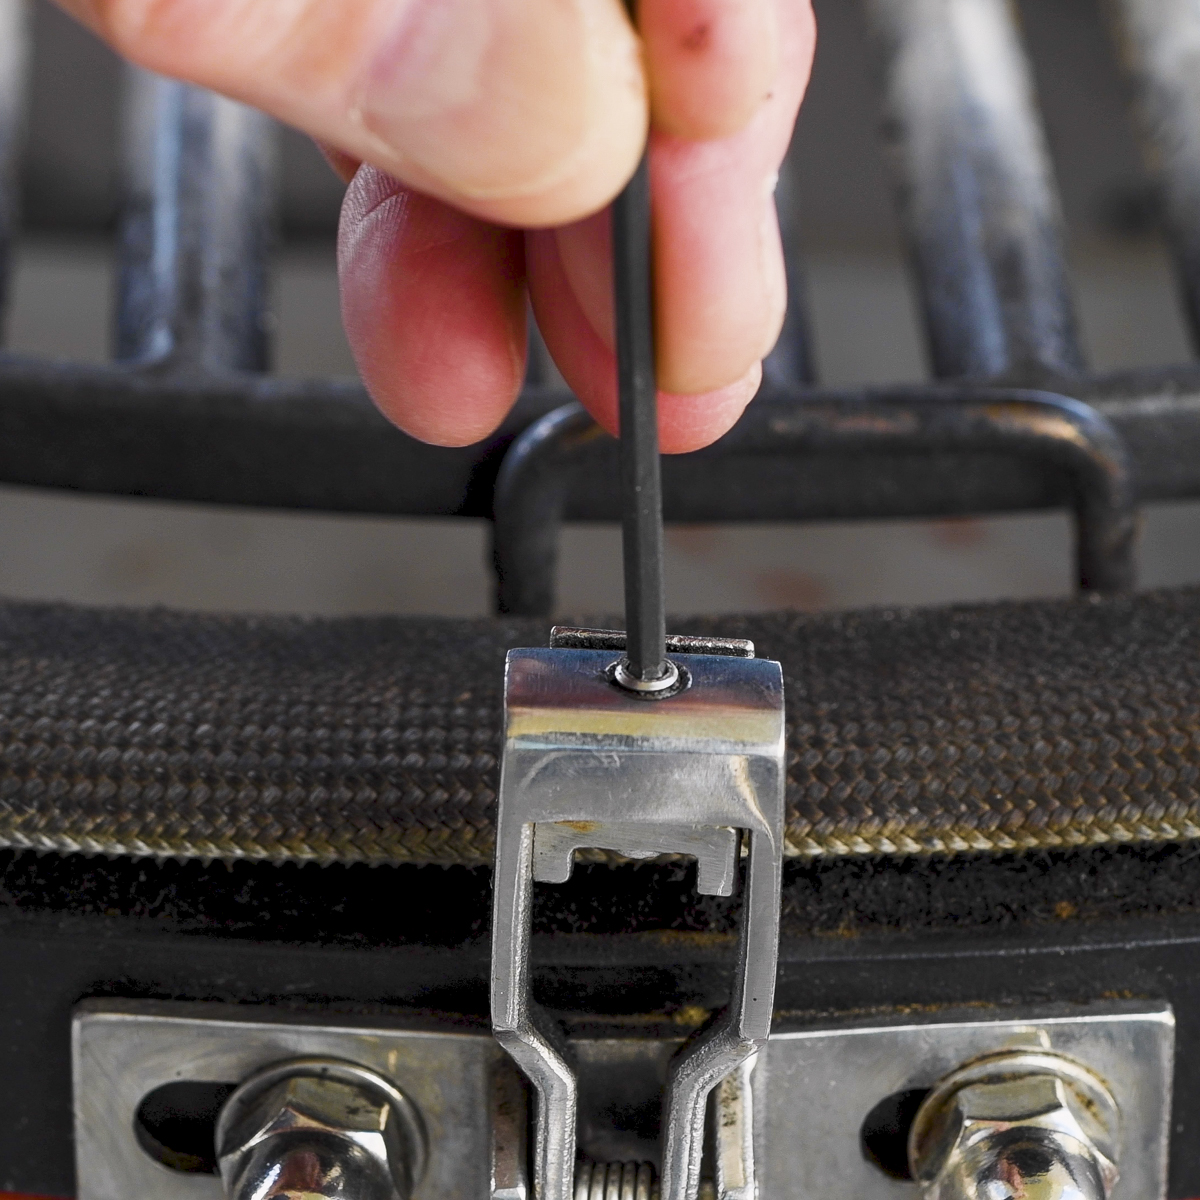
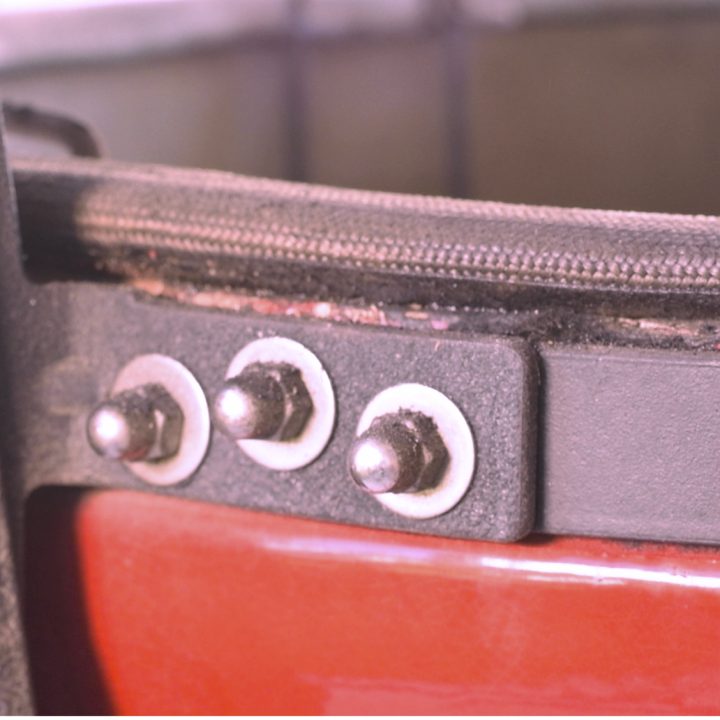
Check that the upper and lower bands are against their raised lips and are not loose. Also check the hinge, latch, and shelf brackets to make sure their nuts and bolts are secure.
If either band needs adjustment, see How to Check and Tighten the Metal Bands on a Kamado Joe.
Wash the Cooking Grates
Wash the cooking grates with mild dish soap and water, rinse them, and allow them to dry thoroughly before installing.
Initial Heating Procedure
Kamado Joe recommends an initial heating procedure before cooking on a new grill. This procedure allows the ceramic and other grill components to heat up gradually.
I recommend completing the initial heating, then allowing the grill to cool before your first cook.
Prepare the Firebox
Check that the opening at the bottom of the firebox aligns with the bottom vent. Confirm that the charcoal grate or basket is properly seated and that nothing obstructs airflow through the firebox.
Add Lump Charcoal
For this initial heating, I recommend using about 3 pounds of hardwood lump charcoal. Arrange the charcoal with larger pieces toward the bottom and smaller pieces on top. Avoid using charcoal dust and small fragments, which can restrict airflow through the fire.
Light the Charcoal
Important: Do not use lighter fluid to ignite the charcoal. It can leave chemical residues in the grill and affect the flavor of food.
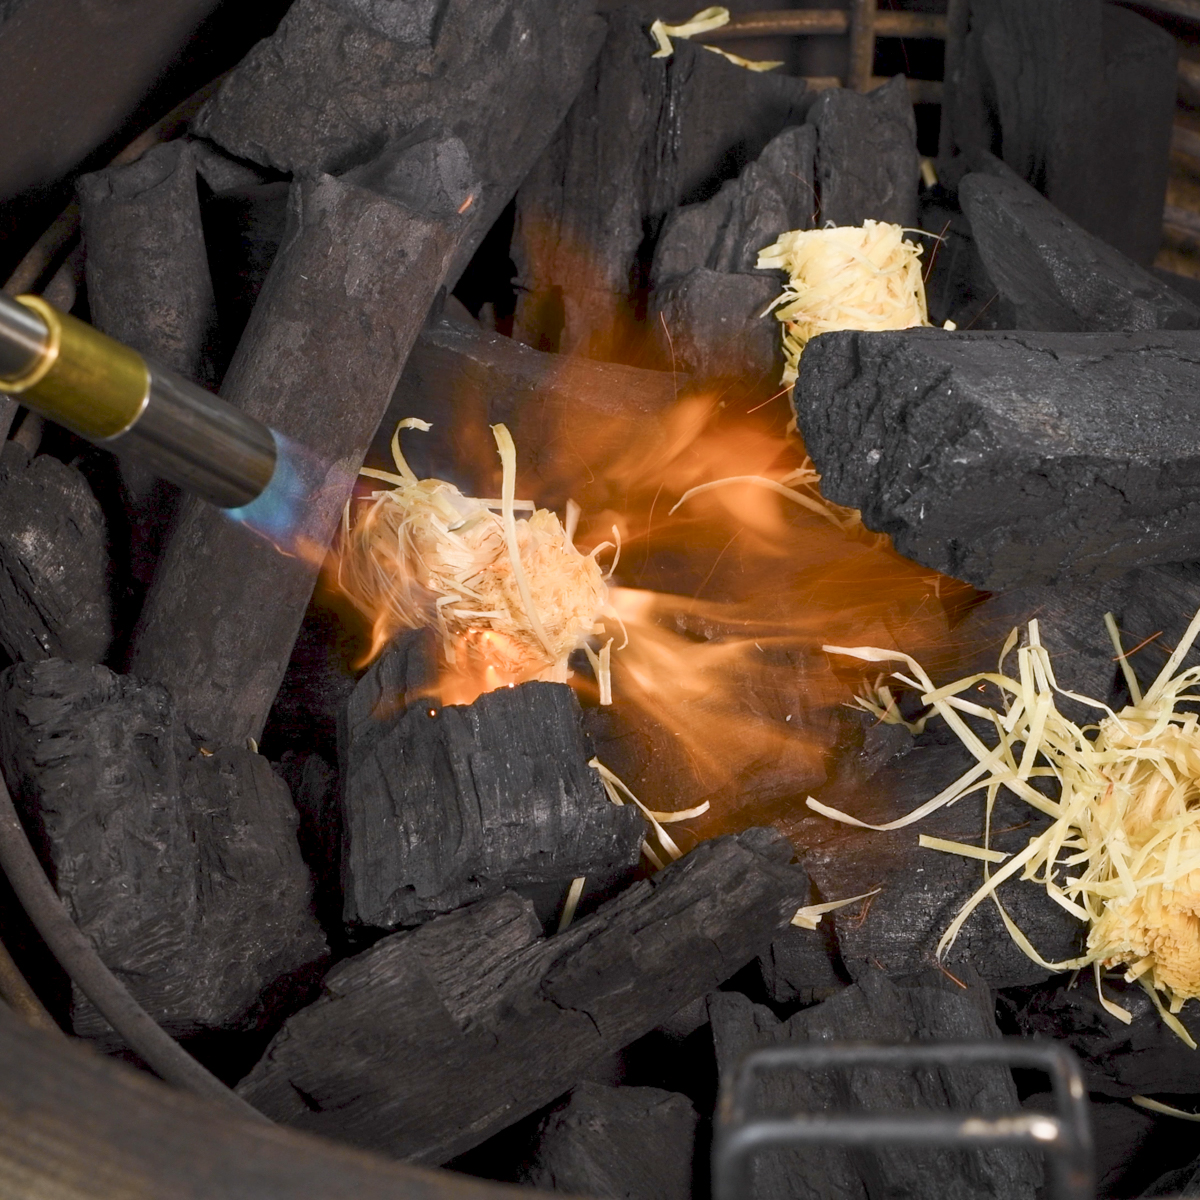
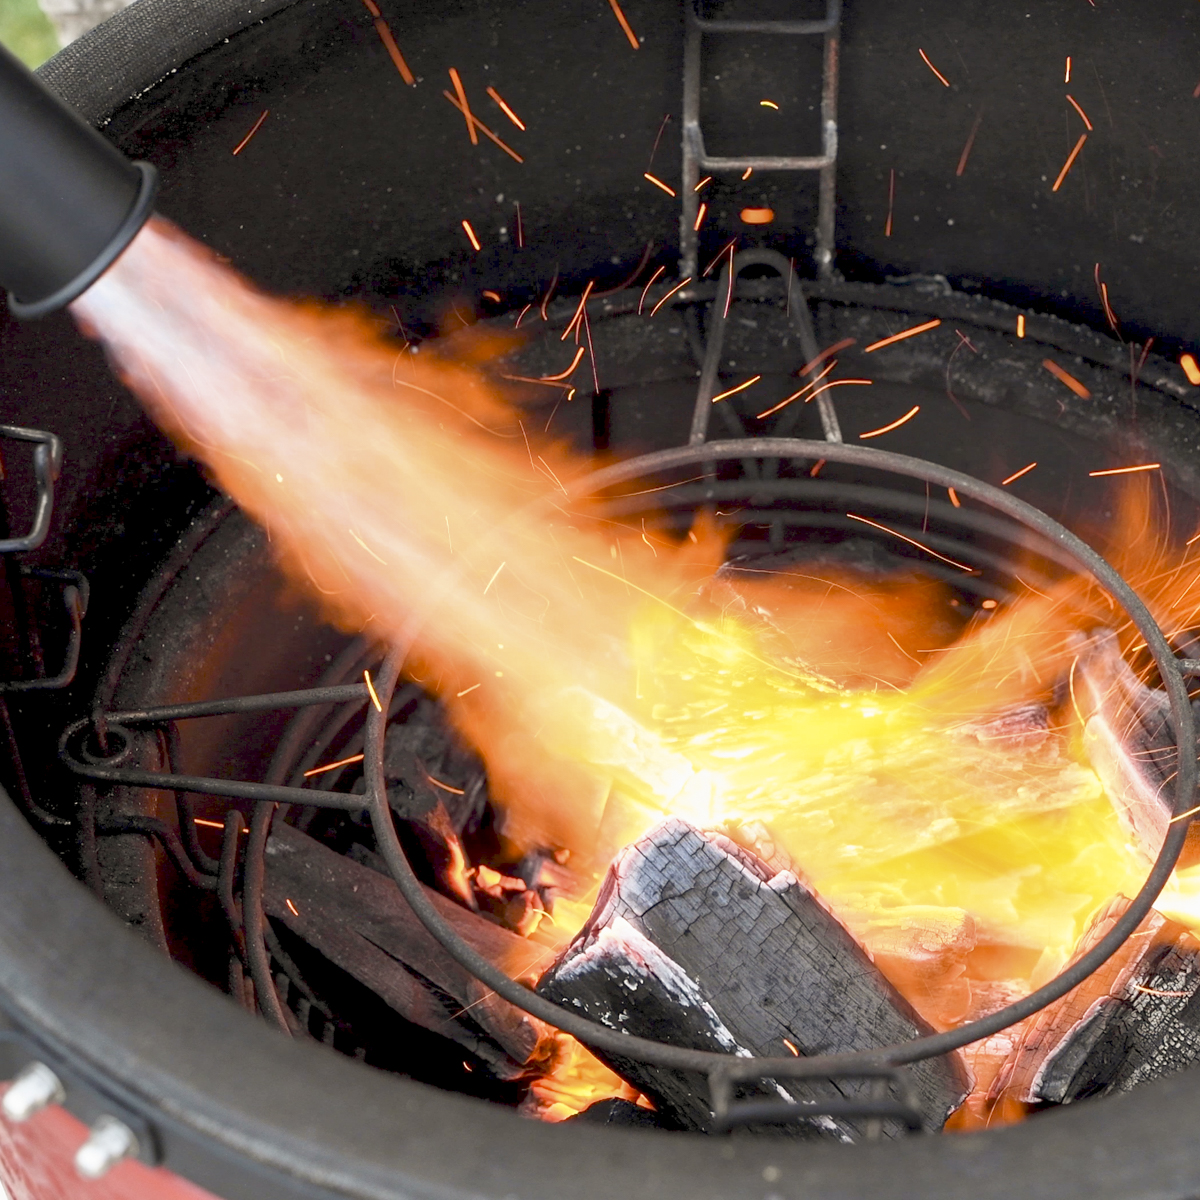
Open the bottom vent fully. Light the charcoal near the center of the pile using an electric starter, grill torch, or one paraffin fire starter placed just beneath the surface of the charcoal. Leave the dome open for 10 to 15 minutes while the fire becomes established.
Install the Cooking Grates
While wearing heat-resistant grill gloves, install both half-moon cooking grates on the upper supports of the Divide & Conquer rack.
Close the Dome and Set the Vents
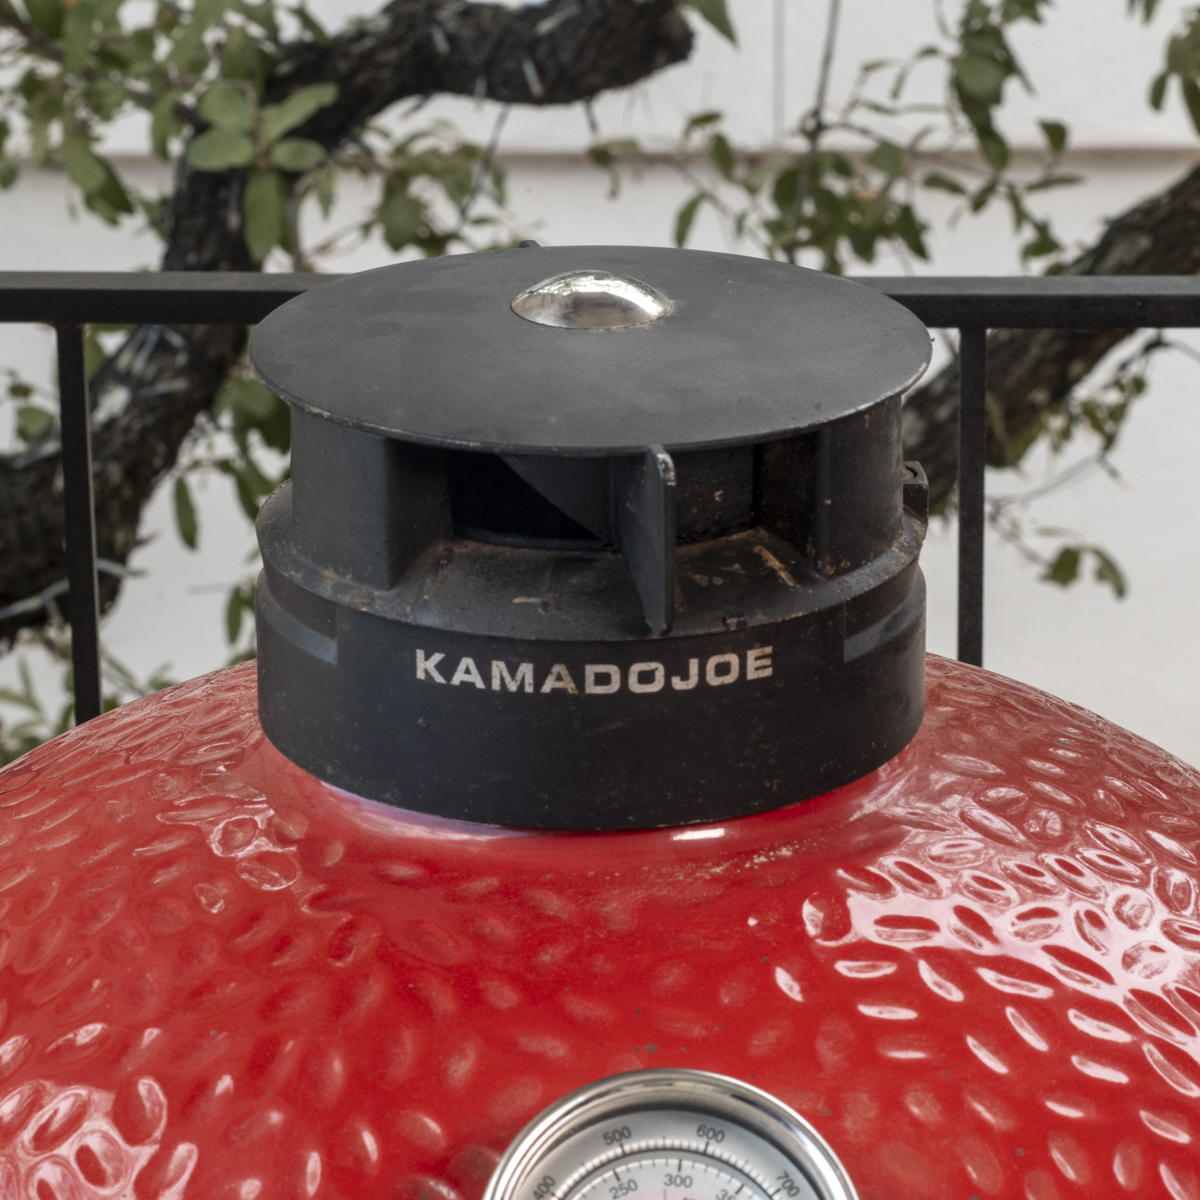
Close the dome. Leave the bottom vent and the adjustable vent on the Kontrol Tower fully open, but keep the swivel cap closed. Opening the swivel cap increases airflow through the grill and can cause the temperature to rise quickly.
Bring the Grill Up to Temperature
Kamado Joe recommends keeping the grill temperature below 400°F during the first hour of initial heating. For this procedure, I recommend bringing the grill to approximately 300°F.
When the dome thermometer reaches approximately 250°F, reduce the airflow by closing the bottom vent a little more than halfway. Close the Kontrol Tower top vent halfway. Use the adjustable vent on the Kontrol Tower to make small adjustments as the temperature approaches 300°F.
The temperature may continue rising after you reduce the airflow because the ceramic walls are still absorbing heat. Wait 10 to 15 minutes between adjustments to see how the grill responds. For more information about controlling grill temperature, see Kamado Joe Vent Settings: Temperature Control Guide.
Stabilize the Grill Temperature
Once the grill reaches approximately 300°F, allow time for the ceramic walls and cooking components to absorb heat. This process, called heat soaking, may take another 20 to 40 minutes or longer.
Monitor the dome thermometer and make small adjustments to the vents as needed.
Shut Down the Grill and Check the Hardware
After completing at least one hour of initial heating, shut down the grill. Close the bottom vent completely. Wait 5 minutes, then close the adjustable vent on the Kontrol Tower, keeping the swivel cap closed. Closing both vents cuts starves the fire of air and puts it out. Do not use water to extinguish the charcoal. Keep the dome closed and allow the grill to cool completely.
Once the grill is completely cool, check the bands, hinge, latch, and shelf brackets to make sure they are still secure. Heating and cooling can affect hardware tension. If any hardware needs adjustment, follow the manufacturer's instructions for your model.
Store Your Kamado Joe
Open the bottom vent about ½ inch and the top vent about ¼ inch. This allows air to circulate through the grill and helps prevent moisture buildup and mold.
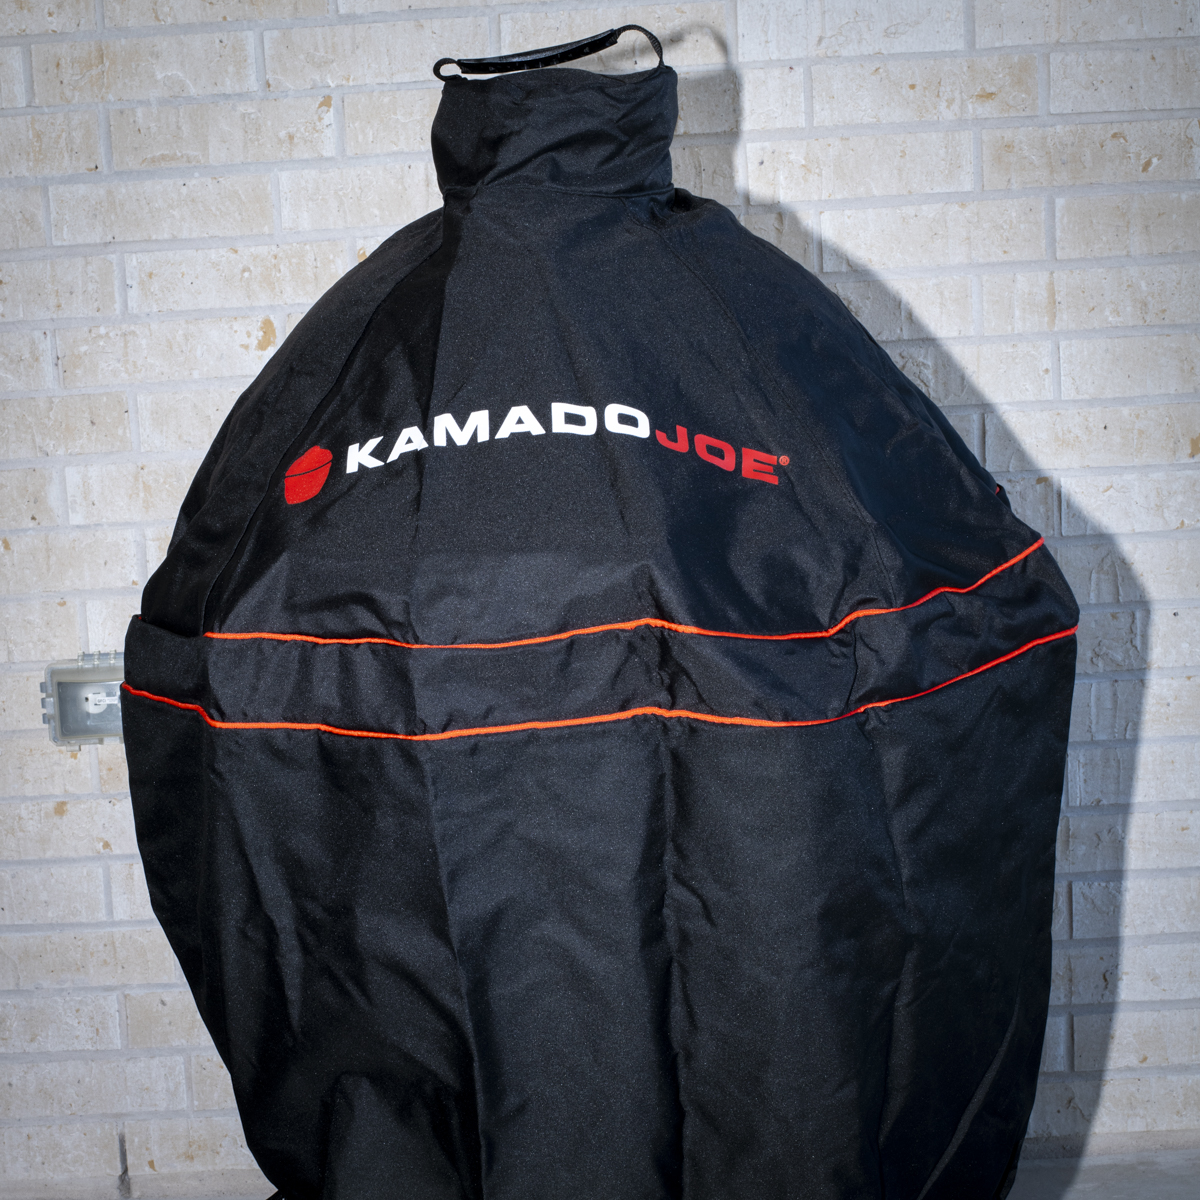
Cover your Kamado Joe to protect it from rain, snow, dust, and debris. Use a properly fitted, breathable grill cover that allows moisture to escape. Avoid plastic tarps, which can trap condensation against the grill.
For more information about choosing a cover, see Kamado Joe Grill Cover Review: Is the Classic Joe Cover Worth It?
Final Thoughts
Preparing a new Kamado Joe involves more than assembling the grill and lighting the first fire. Checking the hardware, completing the initial heating procedure, and learning how to control the temperature are important parts of getting started.
Temperature control takes practice. Small vent adjustments, allowing time for the ceramic to heat soak and the grill temperature to stabilize, and following proper shutdown procedures are all part of operating a Kamado Joe.
Frequently Asked Questions
As the fire becomes established, the grill temperature will gradually rise. The ceramic walls and cooking components will absorb heat, and the temperature may continue rising even after you begin closing the vents. It may take some time for the temperature to stabilize.
A Kamado Joe responds gradually to changes in airflow. Although you have partially closed the vents, the temperature may continue rising before it begins to stabilize. Wait 10 to 15 minutes after making an adjustment to give the grill time to respond and the temperature to stabilize.
Heating and cooling can affect the tension of the metal bands and other hardware. As the grill heats up and cools down, some fasteners may loosen, which can affect the alignment of the dome and how well the gasket seals.
Yes. You can begin cooking once the initial heating procedure is finished. However, I recommend shutting down the grill and allowing it to cool before your first cook.
Other Resources
If you found this guide helpful, here are a few more resources that will help you get the most out of your Kamado Joe:
- Kamado Joe Owner's Handbook
- The Texas Backyard Kitchen - Complete Meals from Fire to Table
- Kamado Joe 101 Playlist
- Kamado Joe Vent Settings: Temperature Control Guide
- 10 Things I Wish I Knew Before Buying a Kamado Joe
- 12 Common Kamado Joe Mistakes and How to Avoid Them
- Kamado Joe Accessories: What's Worth Buying?
Leave a Reply