Cooking on a Kamado Joe involves a bit of a learning curve, especially if your previous experience has been with a gas or kettle grill. Most of the problems owners face are related to how airflow affects the fire and how the temperature of the ceramic affects the way food cooks.
This guide covers 12 common mistakes that can affect the performance of a Kamado Joe, including restricted airflow, lighting too much charcoal, and cooking food before the grill is ready.
Jump to:
- 1. Starting a Cook with Old Ash in the Firebox
- 2. Using Briquettes Instead of Lump Charcoal
- 3. Dumping Charcoal Dust into the Basket
- 4. Lighting Too Much Charcoal at Once
- 5. Using Too Much Smoking Wood
- 6. Lighting Lump Charcoal with Lighter Fluid
- 7. Cooking Before the Kamado Joe Is Fully Heated
- 8. Cooking Over Heavy White Startup Smoke
- 9. Using a Traditional Wire-Bristle Grill Brush
- 10. Opening a Hot Kamado Joe Lid Too Quickly
- 11. Starting a Long Cook Without a Temperature Monitoring Plan
- 12. Ignoring Maintenance Until Something Goes Wrong
- Final Thoughts
1. Starting a Cook with Old Ash in the Firebox
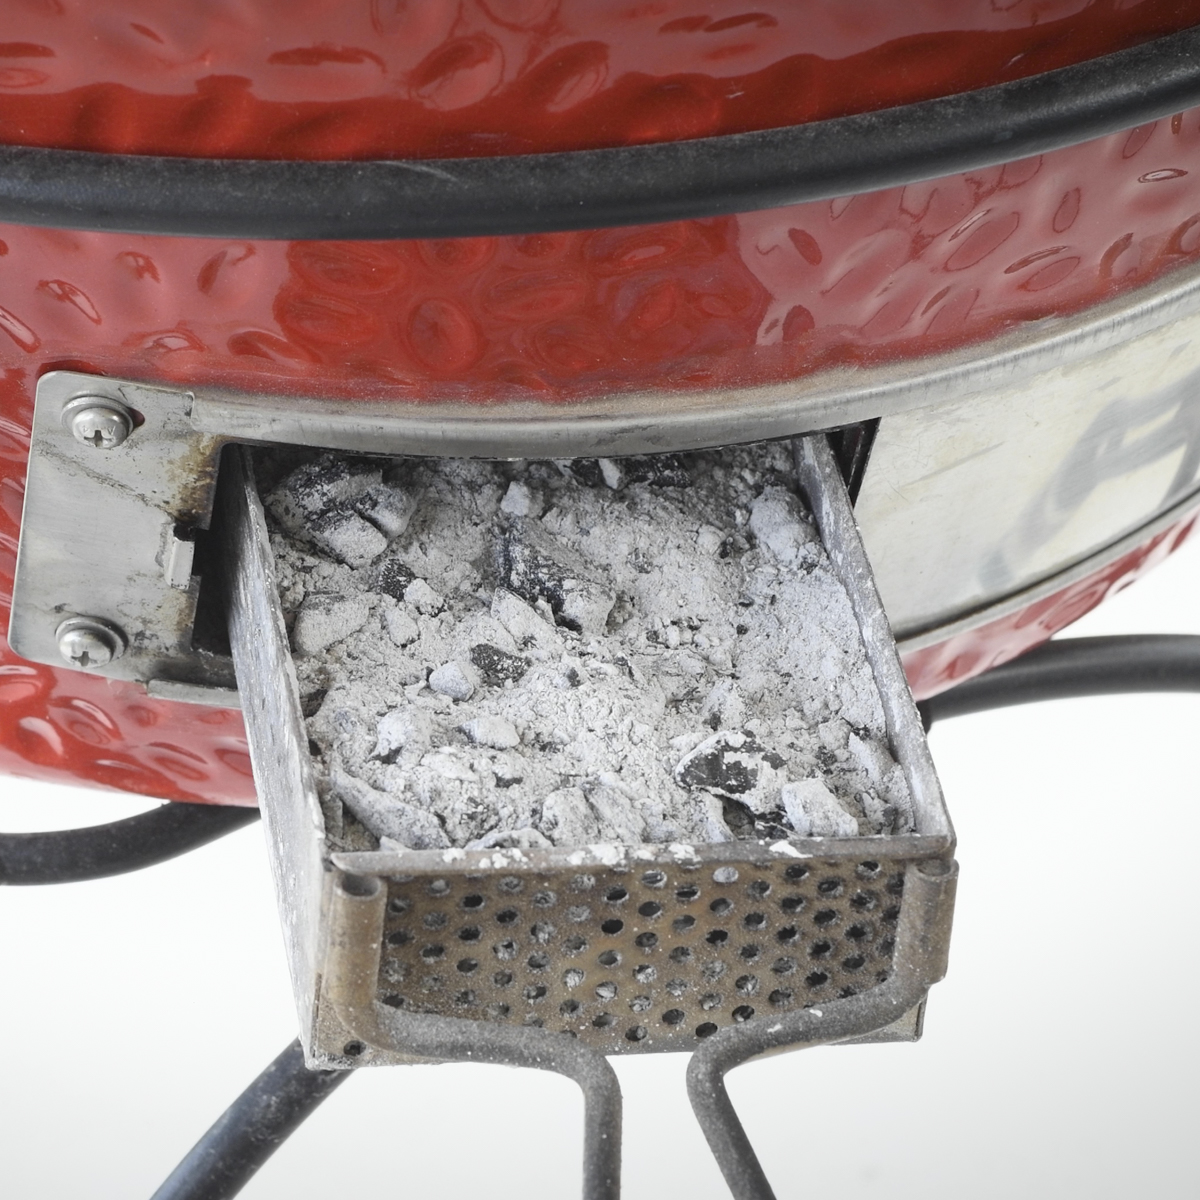
Old ash can restrict the airflow needed to start and maintain a fire in a Kamado Joe. Air enters through the lower vent, passes through the charcoal, and exits through the top vent. When ash blocks that path, the fire may be slow to start, difficult to keep burning, or unable to reach high heat, even with the vents open.
Before lighting the grill, gently stir the remaining charcoal so the old ash drops through the basket or charcoal grate holes. Empty the ash drawer and make sure the air openings are clear. The Kick Ash Basket and Kick Ash Can Review explains how these accessories simplify ash removal and help prevent ash buildup from restricting airflow.
2. Using Briquettes Instead of Lump Charcoal
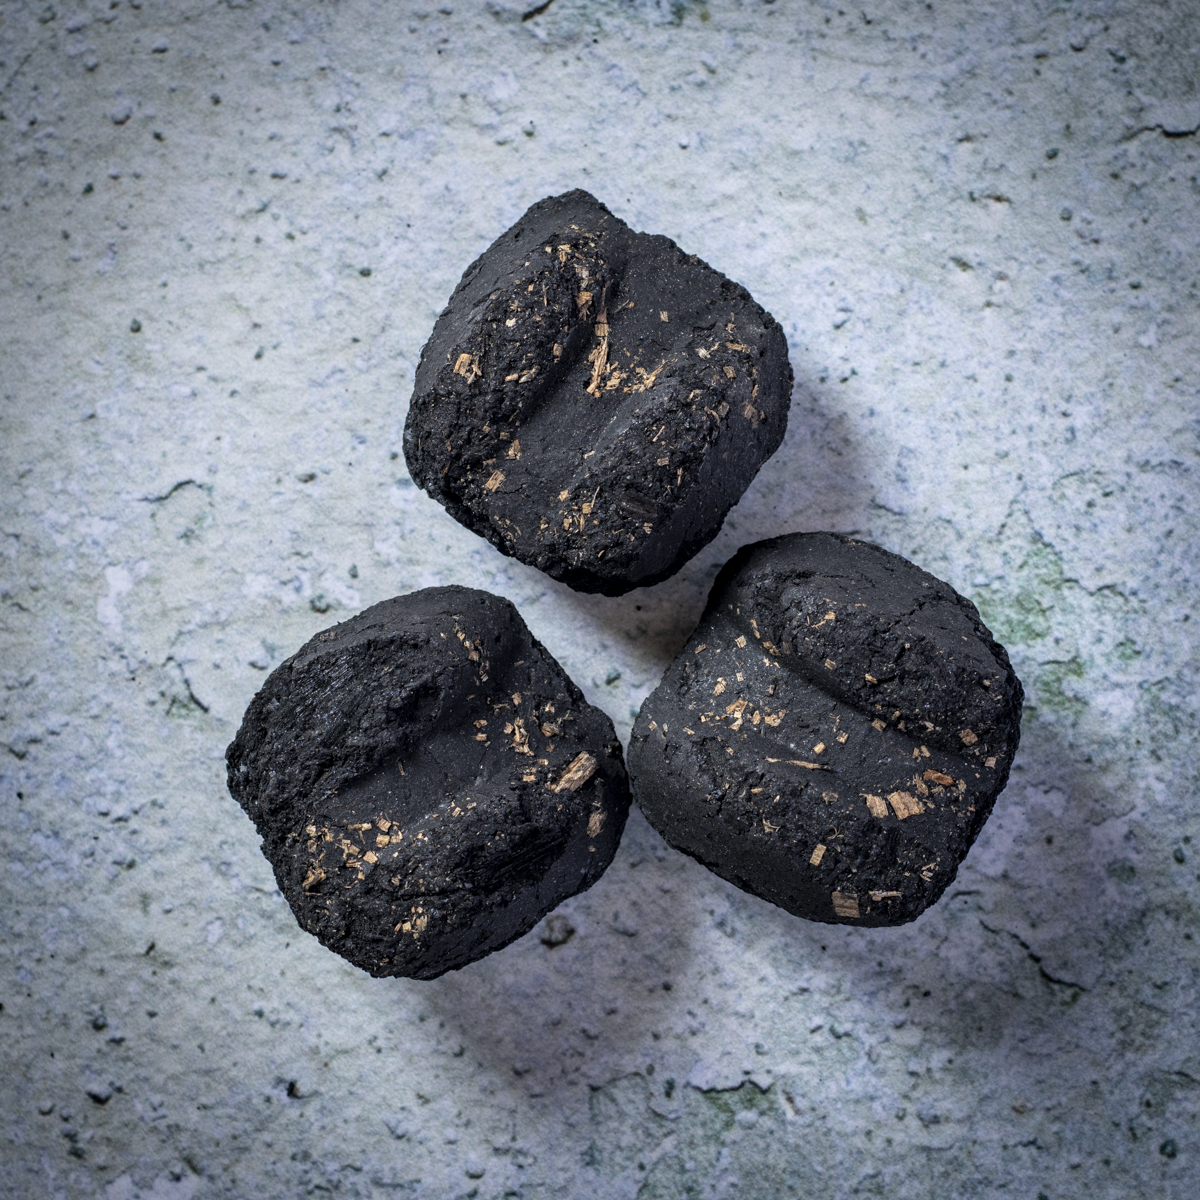
Charcoal briquettes are not recommended for use in a Kamado Joe. Briquettes typically contain fillers that produce more ash than lump charcoal as they burn. During a long cook, the ash produced by briquettes can restrict airflow, making it harder to maintain a steady temperature and even cause the fire to go out.
Hardwood lump charcoal is the preferred fuel for a Kamado Joe. It's made from irregular pieces of hardwood, like oak, that are carbonized. Lump charcoal produces less ash, burns hotter, and responds quickly to changes in airflow. Brands of lump charcoal can vary significantly in density, the size of the pieces, and the amount of dust and debris in the bag. My lump charcoal review compares nine major brands for usable charcoal, density, quality control, and cost per usable pound.
3. Dumping Charcoal Dust into the Basket
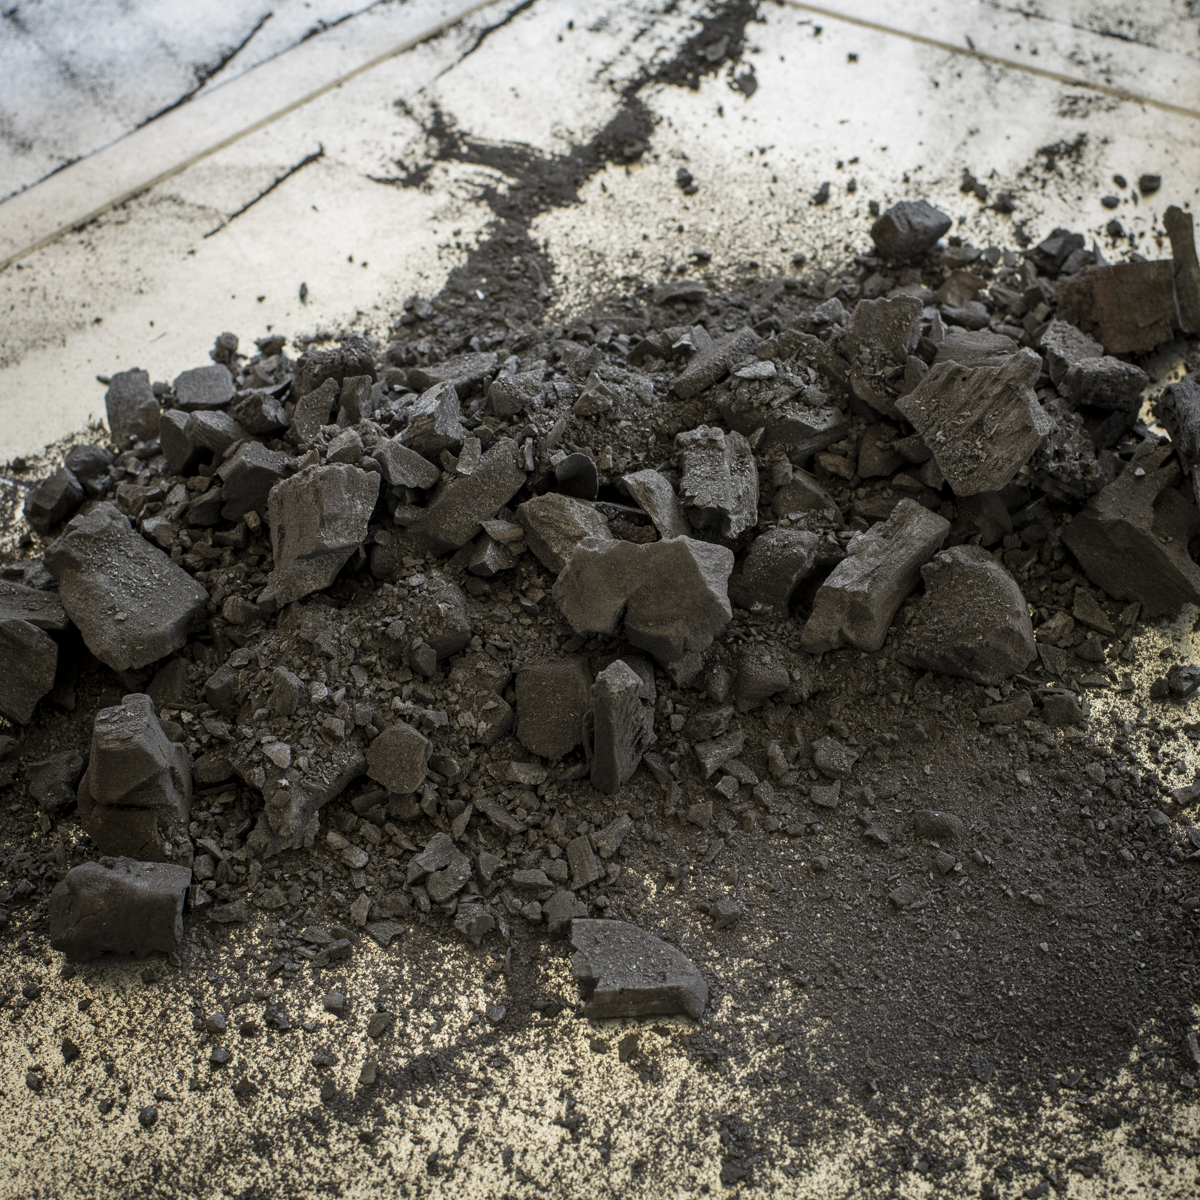
Fine charcoal dust and tiny fragments of charcoal can settle between larger pieces of charcoal and obstruct airflow, making the charcoal hard to light and more difficult to maintain temperature.
Avoid emptying the bottom of the bag as you add charcoal to your charcoal basket. If you accidentally pour some smaller charcoal pieces and dust into the basket, use your ash tool to gently stir the charcoal, letting the dust fall to the bottom. The key is to keep the spaces between the charcoal pieces clear so air can flow freely.
4. Lighting Too Much Charcoal at Once
Lighting the charcoal in multiple areas can create a hot fire that spreads fast and becomes difficult to control. This will cause the temperature to rise too quickly, making it hard to stabilize the grill at the target temperature. Ceramic heats up much faster than it cools down. Once the ceramic becomes overheated, lowering the temperature can take a long time. Making small airflow adjustments early is much easier than trying to bring the temperature back down after overshooting the target.
If you overshoot the target temperature, close the vents down to about ¼ inch to reduce the airflow. Give the ceramic time to cool down and avoid opening the lid which can introduce more oxygen and cause the fire to burn hotter. Monitor the temperature and make small vent adjustments as the temperature falls.
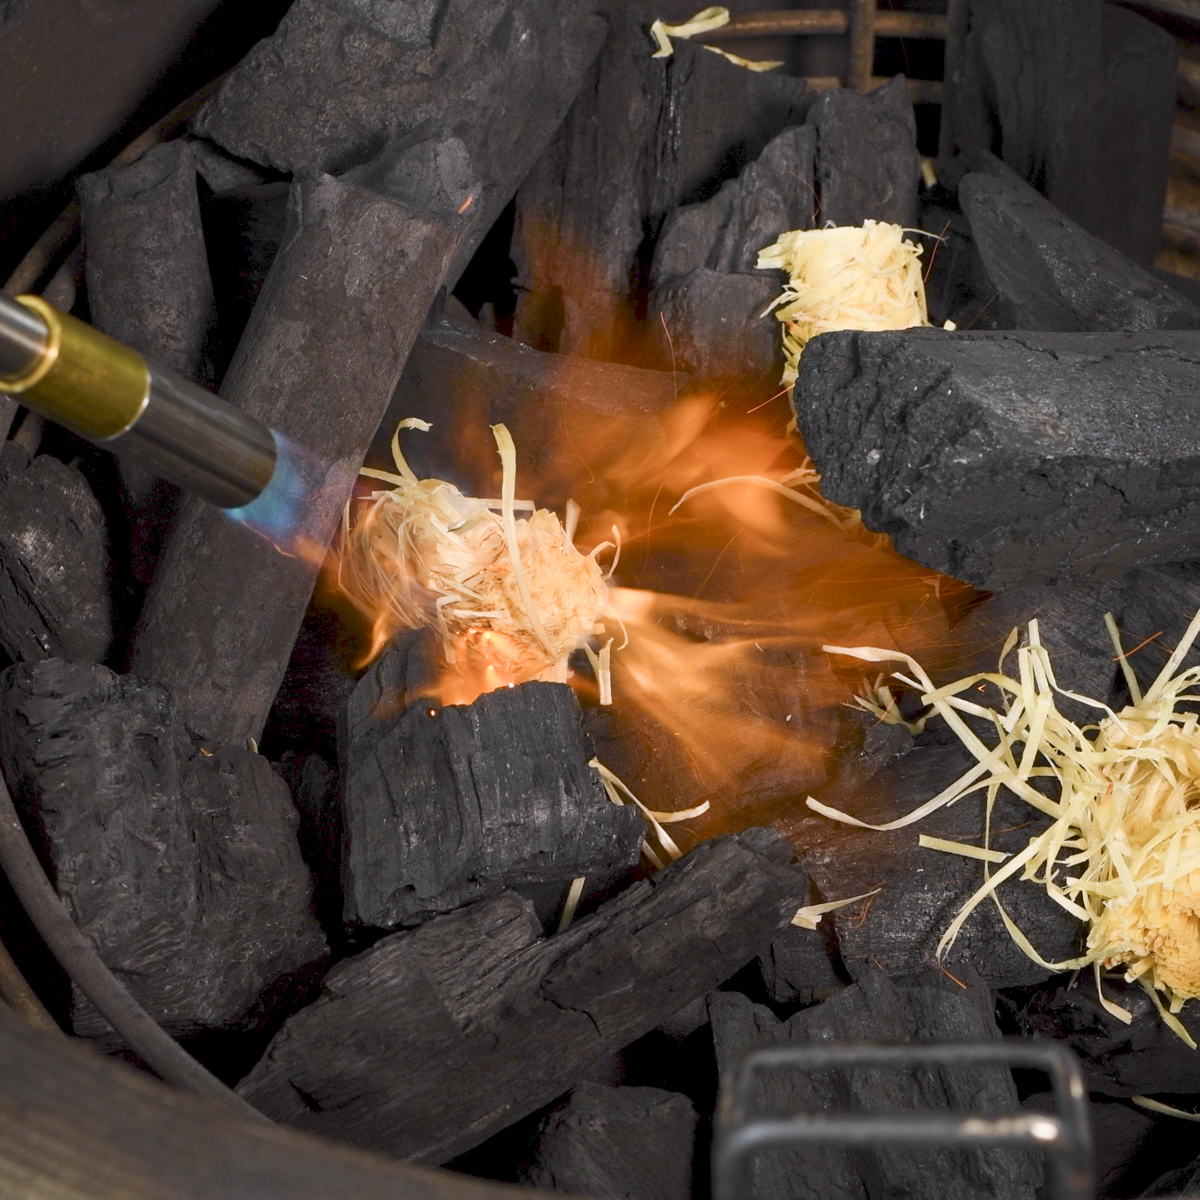
For most cooks, light only a small area of the charcoal, about 4 inches in diameter, near the center. This creates a controlled burn that can grow slowly and reach the target temperature without overheating the grill. The Kamado Joe Temperature-Control Guide covers fire size and vent adjustments in more detail.
5. Using Too Much Smoking Wood
Using too much wood can produce an overpowering, bitter smoke flavor that cannot be removed once it has penetrated the food. Some foods, like chicken and turkey, are more susceptible to being over-smoked and can taste off with even a small amount of smoke.
For better flavor and smoke control, use only a few chunks of wood and distribute it throughout the charcoal so it ignites as the fire spreads during the cook. Lump charcoal already contributes smoke flavor, so only a few chunks of wood are needed. For poultry, use lump charcoal only, particularly if serving guests. Stronger woods, such as hickory and mesquite, can be more overpowering than oak or fruit woods, so use them sparingly.
6. Lighting Lump Charcoal with Lighter Fluid
Lighter fluid can soak into the ceramic and produce chemical fumes and unpleasant flavors that remain in the food. It can also create a sudden flare-up and make the fire more difficult to control. Kamado Joe explicitly advises against using lighter fluid in any of its grills.
Use paraffin wax fire starters, an electric starter, a chimney starter, or a grill torch. These starters ignite the charcoal without introducing unwanted chemicals or flavors. Be sure to keep combustible items clear of sparks while lighting the charcoal.
7. Cooking Before the Kamado Joe Is Fully Heated
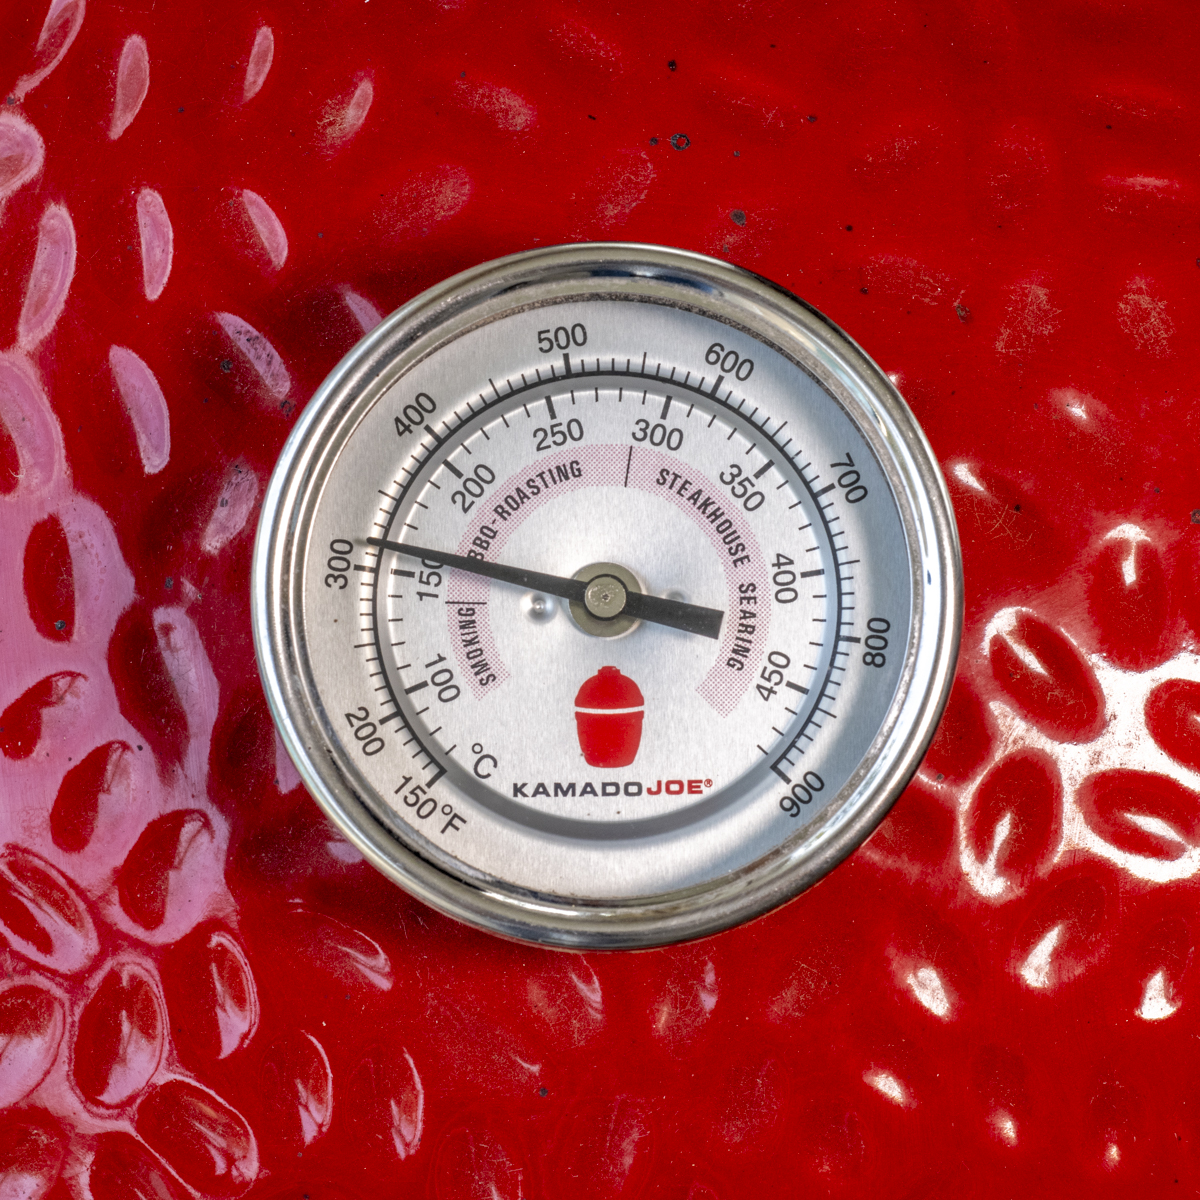
Adding food too early can result in uneven cooking and make it difficult to maintain the target cooking temperature. Once the charcoal is lit, it can be tempting to start cooking as soon as the dome thermometer reaches the target temperature. But a stable dome temperature does not mean the Kamado Joe is ready. The ceramic needs time to absorb heat and stabilize before you begin cooking.
A ceramic grill is essentially a big convection oven that radiates heat onto the food from all directions. The ceramic walls, heat deflectors, and accessories like a pizza stone or griddle need adequate time to get hot. Once the target temperature is reached, allow 20 to 30 minutes for the ceramic to heat through before adding food. This process, called heat soaking, gives the ceramic time to heat evenly so it can radiate heat when cooking. Use an infrared thermometer to confirm the surface temperature on a pizza stone or griddle.
It is also helpful to take meat out of the refrigerator 30 minutes before cooking. Adding cold meat to a grill that has only recently reached the target temperature can cause the internal temperature to drop, requiring additional time for the grill to recover.
8. Cooking Over Heavy White Startup Smoke
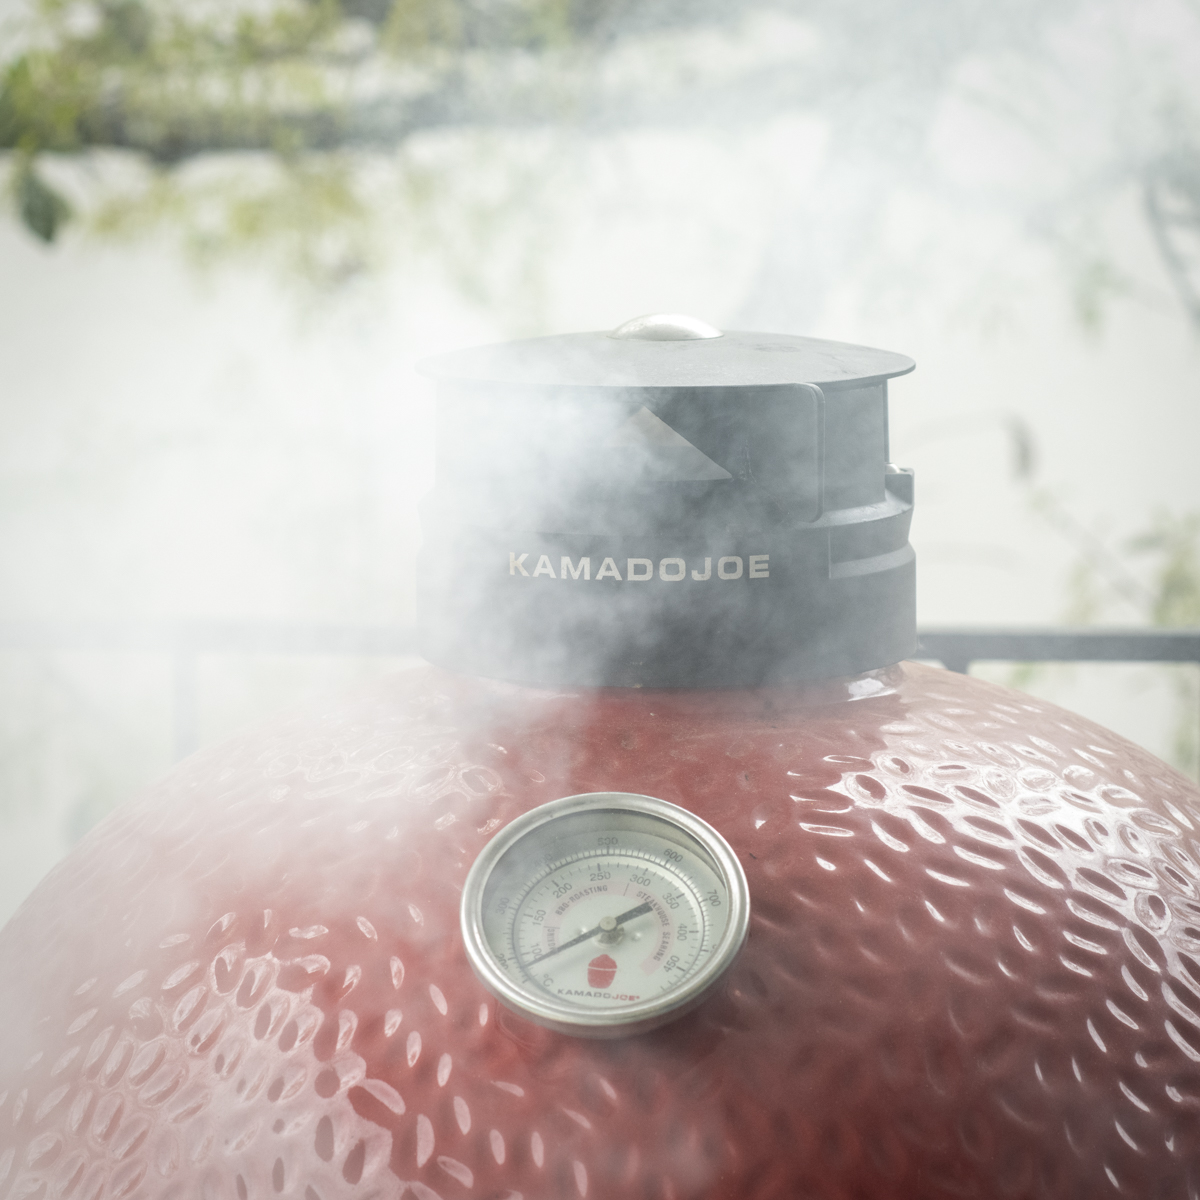
Cooking while the Kamado Joe is producing heavy white smoke can leave food with a harsh, bitter flavor. This white smoke is produced when charcoal is first lit and will usually dissipate within 15 to 20 minutes.
Make sure that the charcoal is burning cleanly before you begin cooking. Clean-burning smoke will become lighter and thinner, and may appear faintly blue or barely visible.
9. Using a Traditional Wire-Bristle Grill Brush
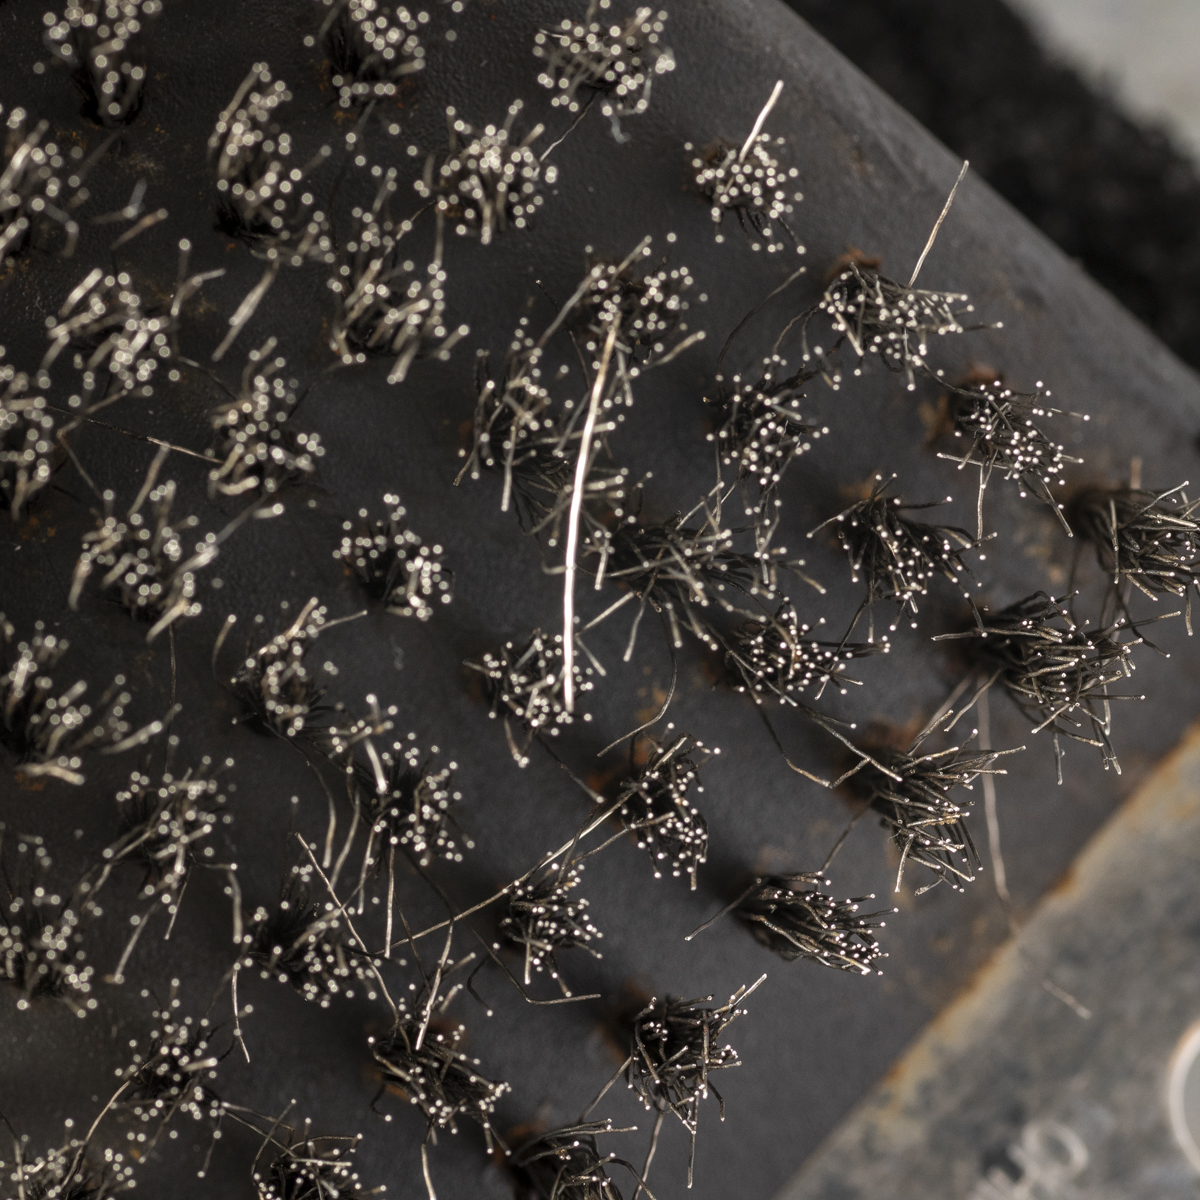
Grill brushes made with wire bristles can shed individual bristles that stick to the cooking grate and can transfer to food. These bristles can cause serious injury if swallowed.
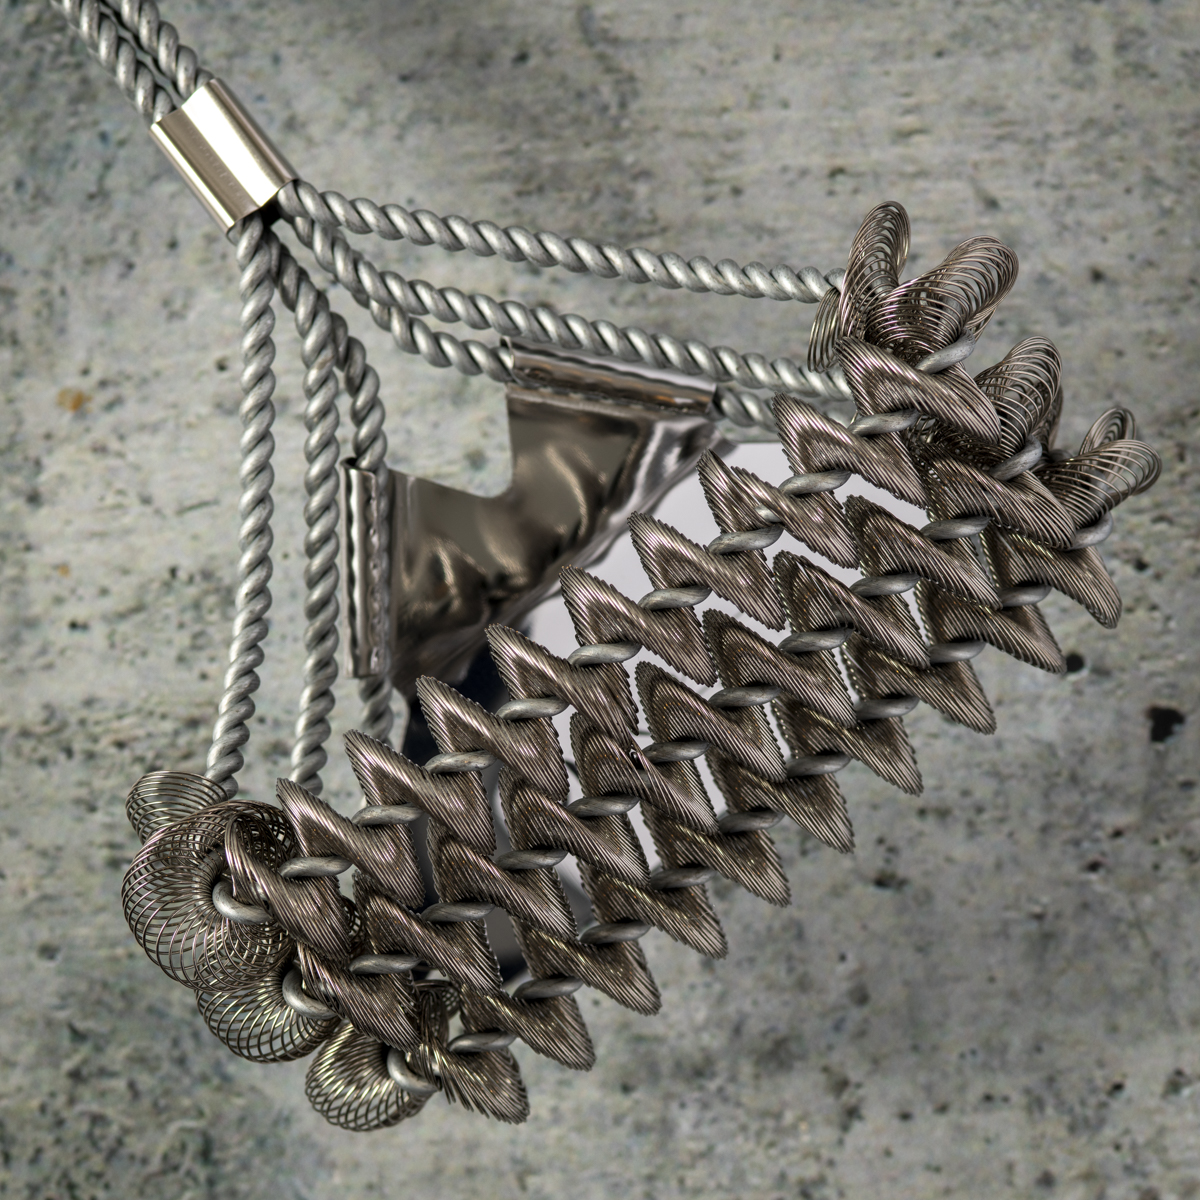
Use a spiral wire grill brush instead. Spiral wire brushes are made from one long piece of wire and don't have individual bristles that can break off. Always inspect brushes for wear and replace them if the coils are damaged or beginning to separate.
10. Opening a Hot Kamado Joe Lid Too Quickly
Opening a hot Kamado Joe lid too quickly will cause a sudden rush of oxygen into the grill, creating a flashback, sending a burst of flame toward the front of the grill. The risk is highest when the vents are open and the fire is burning at a high temperature.
Always stand to the side rather than directly in front of the grill and keep your face and body away from the opening. Carefully open the lid and lift it two or three inches, then pause 5 seconds before fully opening it. This is called burping the grill and should be done anytime the Kamado Joe is above 350°F.
11. Starting a Long Cook Without a Temperature Monitoring Plan
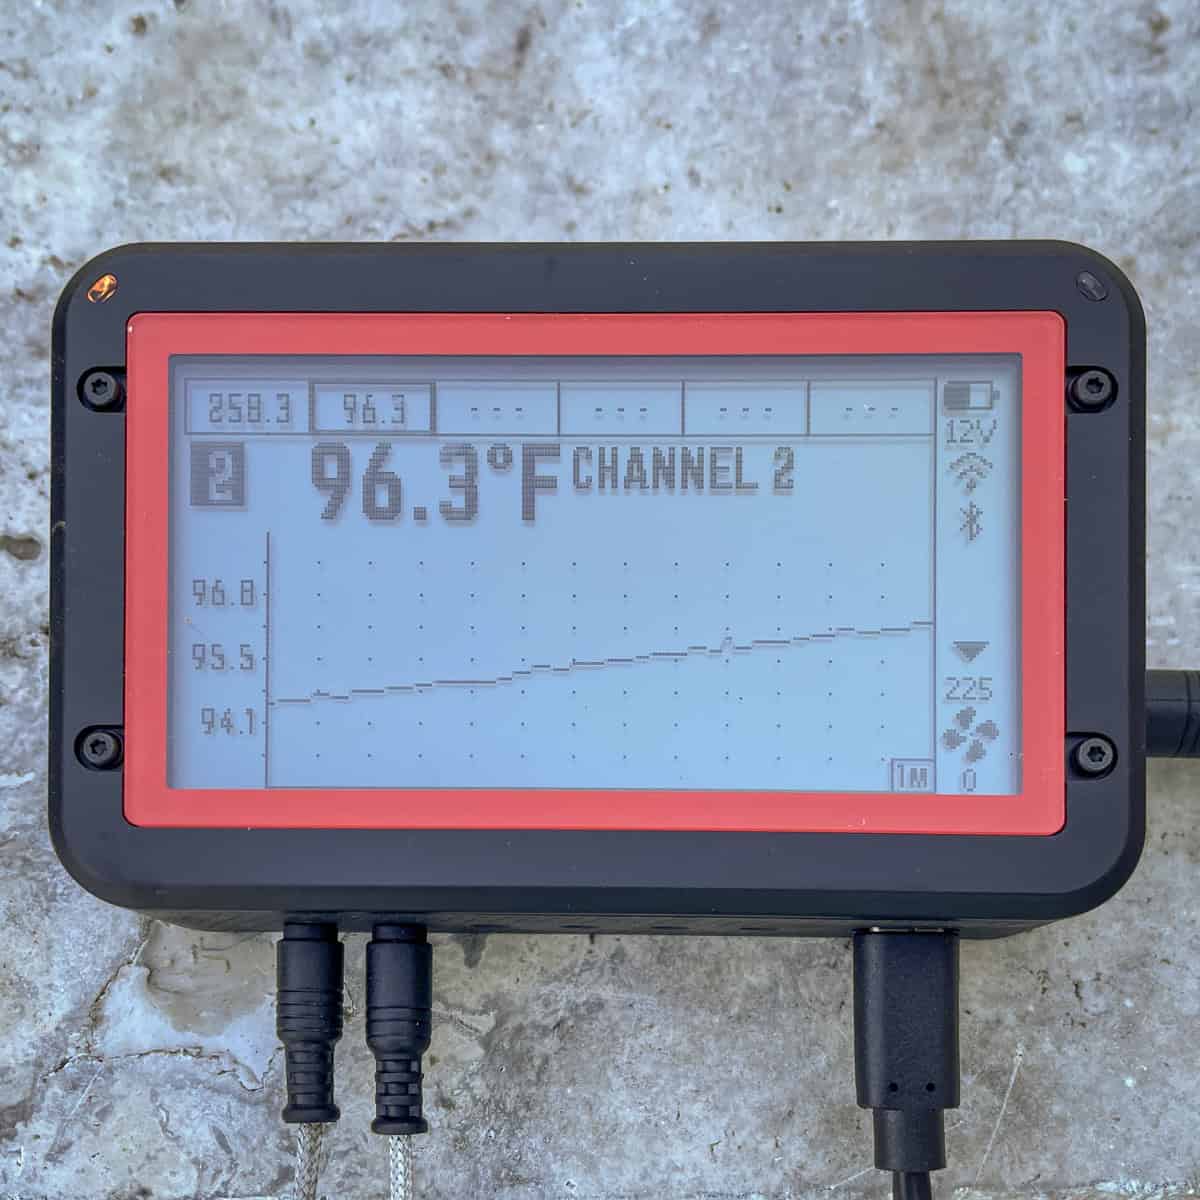
The grill can drift away from the target temperature even when the fire was set correctly at the beginning. Without a reliable way to track the grill and food temperatures, the fire may run too hot or too cool, affecting the outcome of your cook. Before you start a long cook, decide how you will monitor both the grill temperature and the food temperature so you know when conditions change.
There are several ways to monitor temperatures during a long cook. The simplest is to check the grill temperature frequently and adjust the vents manually when needed. A leave-in thermometer allows you to monitor the temperature remotely without repeatedly checking the grill. For more automated control, a temperature controller like the FireBoard can monitor the cooking chamber temperature and adjust airflow as needed. My FireBoard 2 Drive Review explains the process in more detail.
12. Ignoring Maintenance Until Something Goes Wrong
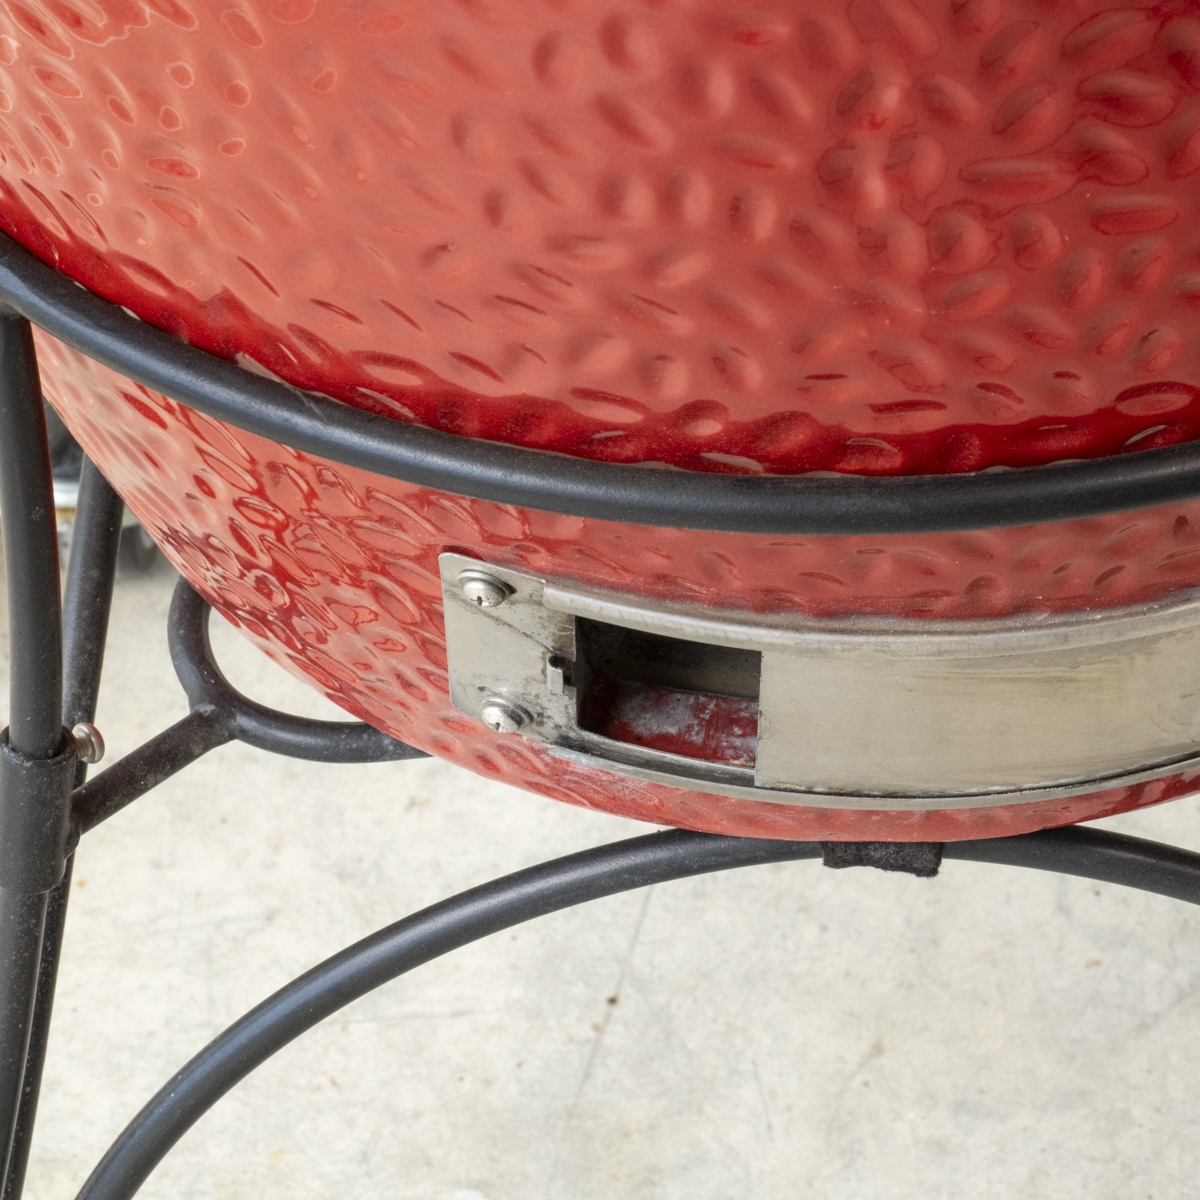
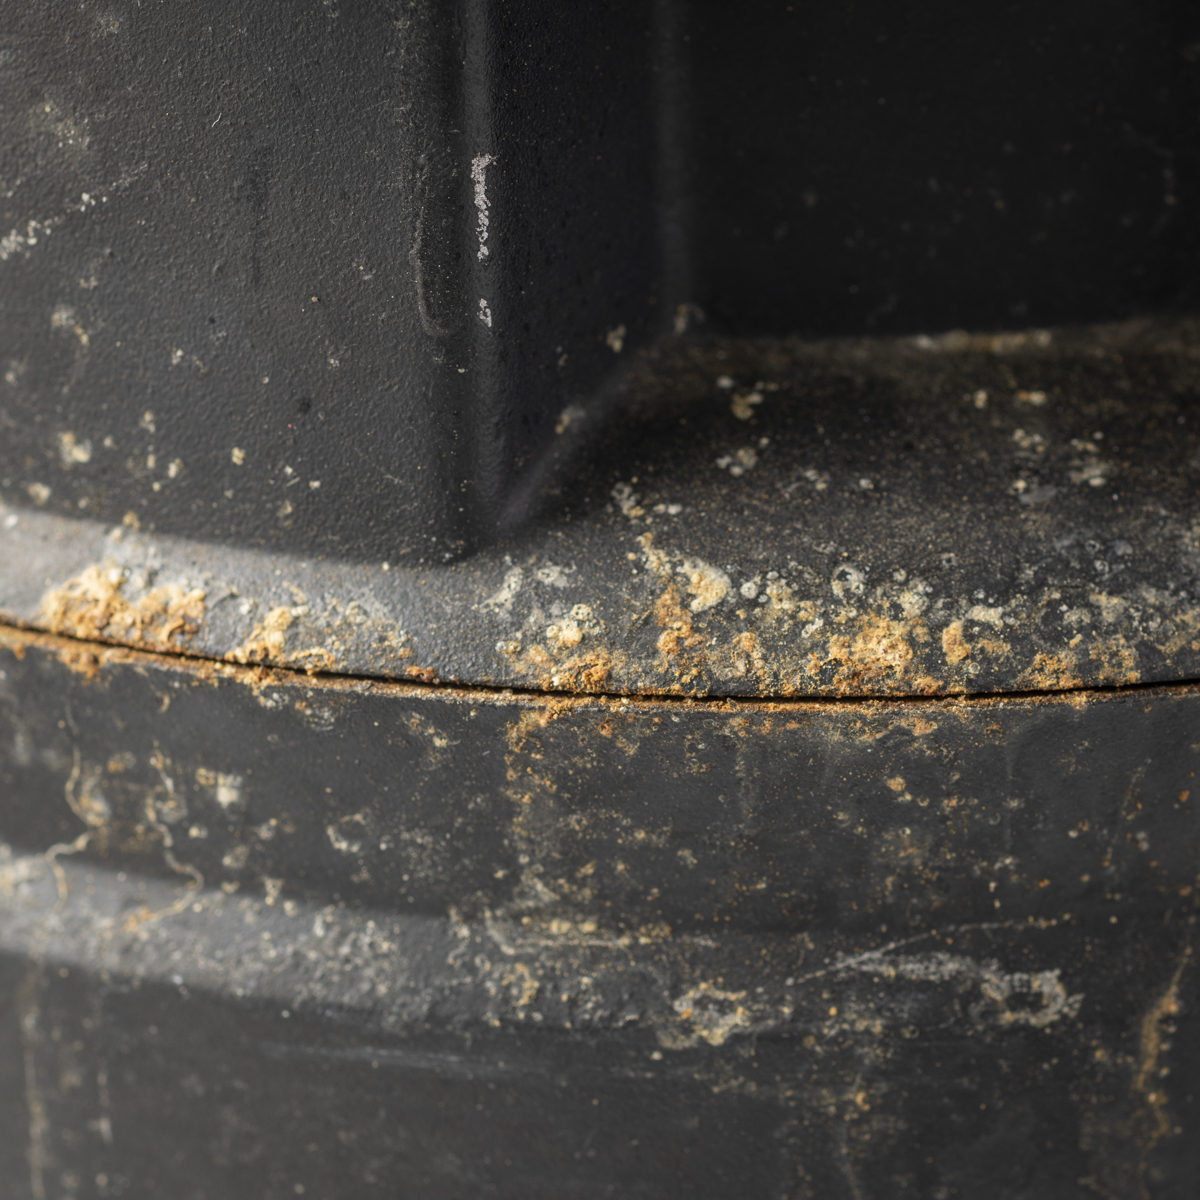
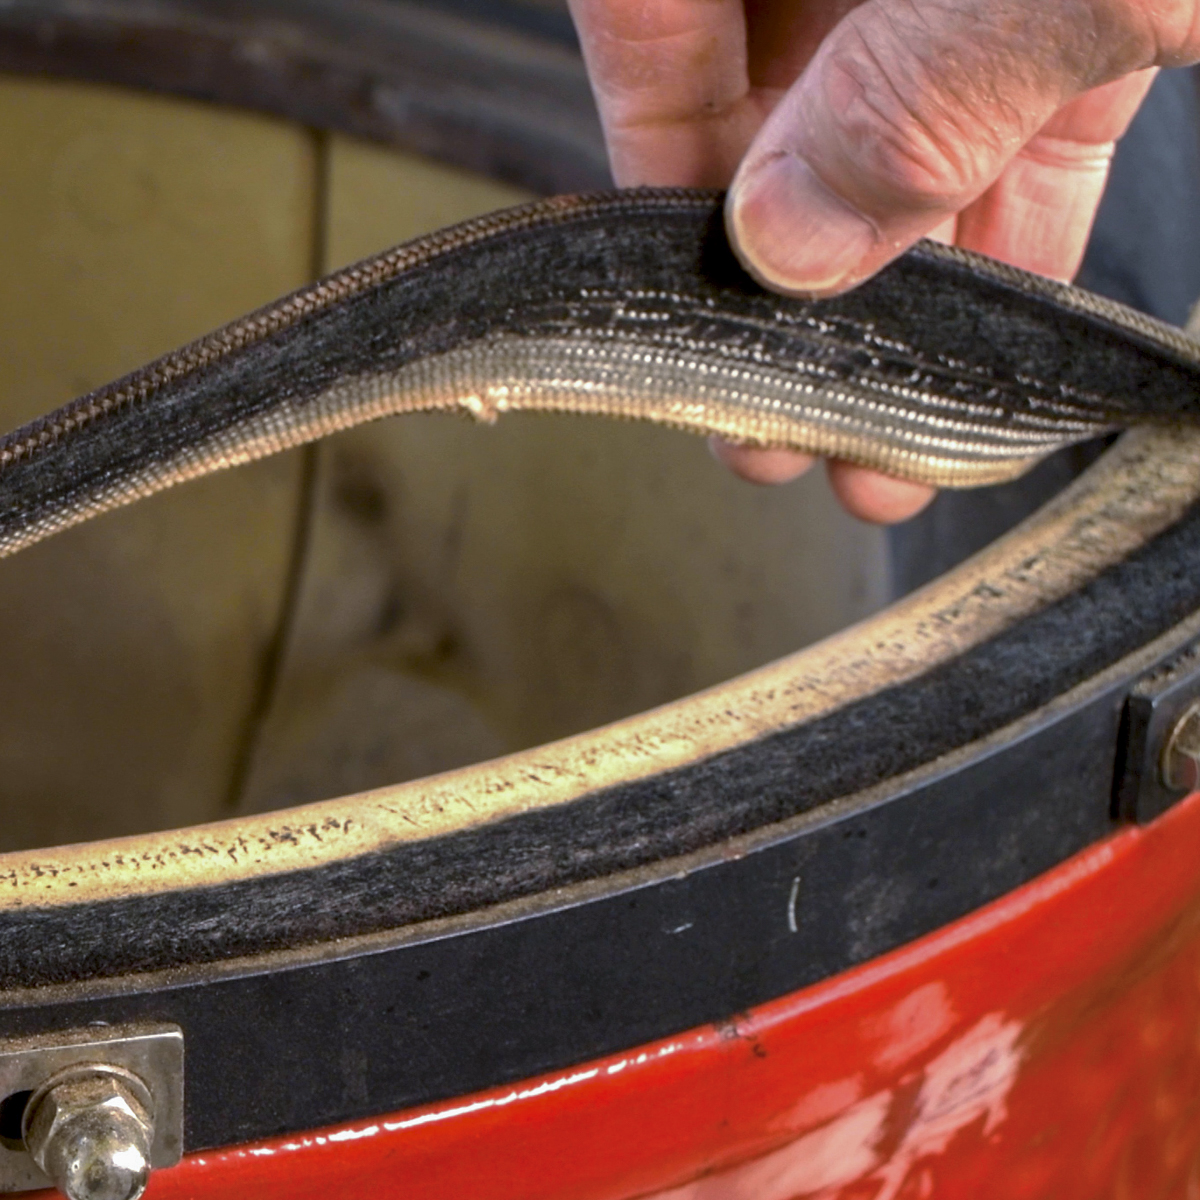
A loose gasket, sticky Kontrol Tower, poorly adjusted latch, or inaccurate dome thermometer may not seem urgent until the grill is already hot and the food is on. Discovering that the gasket has failed while you are preparing to cook a pork shoulder is more than inconvenient. Relying on a dome thermometer that reads 40°F low can ruin the cook before you realize anything is wrong.
Small maintenance problems are much easier to fix before they interrupt a cook. With the grill cold, inspect the parts that control airflow, seal the cooker, and measure temperature. Confirm that the top vent moves freely, check the gasket for lifting or damage, make sure the latch closes and releases correctly, and test the dome thermometer for accuracy.
Replace or repair worn parts as soon as you find them. Routine inspection gives you time to address the issue before the next cook depends on it. My Kamado Joe Cleaning and Maintenance Guide covers each of these jobs in detail.
Final Thoughts
A Kamado Joe becomes much more predictable once you develop a few good habits around setup, fire management, temperature control, and maintenance. By recognizing the problems early and using the steps in this guide, you can avoid many of the issues that can affect the grill's performance. Once those fundamentals become routine, you can spend less time troubleshooting and more time enjoying your Kamado Joe.
Leave a Reply