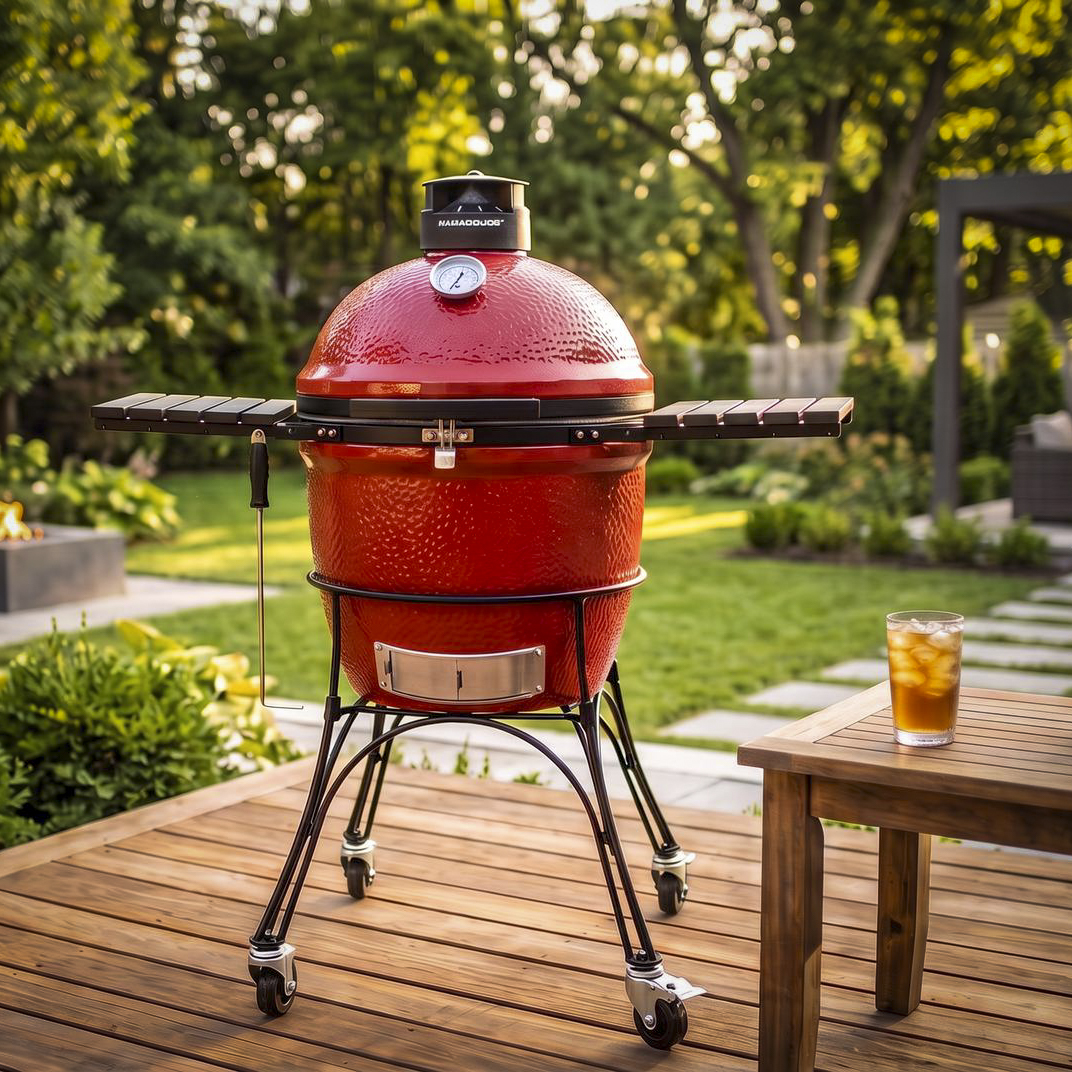
When I first bought a Kamado Joe, I fired it up, put down four big, beautiful bone-in ribeyes, and promptly burned them to a crisp. The grill was far too hot, and I had not yet learned how to manage the fire in a ceramic cooker. That was an expensive introduction to something I thought I already knew how to do. I had 20 years of experience grilling on kettle-style charcoal grills and gas grills, but I still had to learn how to manage the fire and retained heat in a ceramic cooker.
A Kamado Joe rewards you for understanding a few basics: airflow, retained heat, and how the cooking surface affects the food. Once those basics make sense, grilling, smoking, roasting, and baking become much easier.
These are the ten things I wish I had known before buying my Kamado Joe. They cover the lessons that matter most when you begin cooking and when you decide which accessories are useful. You can also watch my Ten Things I Wish I Knew video to see the grill and equipment I use. Where a subject deserves detailed instructions, I have linked to the guide or review that covers it.
Jump to:
- 1. A Kamado Joe Heats Up Faster Than It Cools Down
- 2. Airflow Matters More Than the Size of the Flames
- 3. The Dome Thermometer Does Not Measure Your Griddle
- 4. The Cooking Surface Changes the Result
- 5. Easier Ash Cleanup Makes the Next Cook Better
- 6. A Temperature Controller Is Most Valuable During Long Cooks
- 7. A Water Pan Is Useful for Long Smoking Sessions
- 8. The Top Vent Needs Regular Attention
- 9. The Small Tools Deserve as Much Thought as the Big Accessories
- 10. Charcoal Quality Is Worth Looking At
- Frequently Asked Questions
- Final Thoughts
1. A Kamado Joe Heats Up Faster Than It Cools Down
Heat a Kamado Joe gradually with a small to moderate fire because an overheated cooker can take a long time to cool down. The ceramic body holds heat extremely well, which is one reason it works so well for long cooks. Once the ceramic absorbs more heat than you need, closing the vents slows the fire, but the ceramic itself will not cool quickly.
Opening the vents wide during startup can create a much larger fire than you need. Watch the temperature as the fire develops and begin adjusting the vents as you approach your target temperature. It is much easier to add a little more heat than to recover after the entire cooker gets too hot.
2. Airflow Matters More Than the Size of the Flames
Control the fire by controlling the air moving through the grill. Air enters through the lower vent, travels through the charcoal, and exits through the top vent. The way you light the charcoal and set those openings determines how quickly the fire grows and how much heat it produces.
Start a long, low-temperature cook with a full firebox but only light it in one place. For example, use a single firestarter in the center of the charcoal to create a small fire. High-temperature grilling needs a different startup. Use three firestarters to light the charcoal in three places, then give the lit charcoal enough time to establish before setting the vents for the kind of cooking you intend to do.
As the grill approaches the target, make small adjustments and give each change time to work. Repeatedly moving both vents makes it harder to tell which adjustment helped. My Kamado Joe Temperature Control Guide explains how I set the fire and manage the vents for different cooks.
3. The Dome Thermometer Does Not Measure Your Griddle
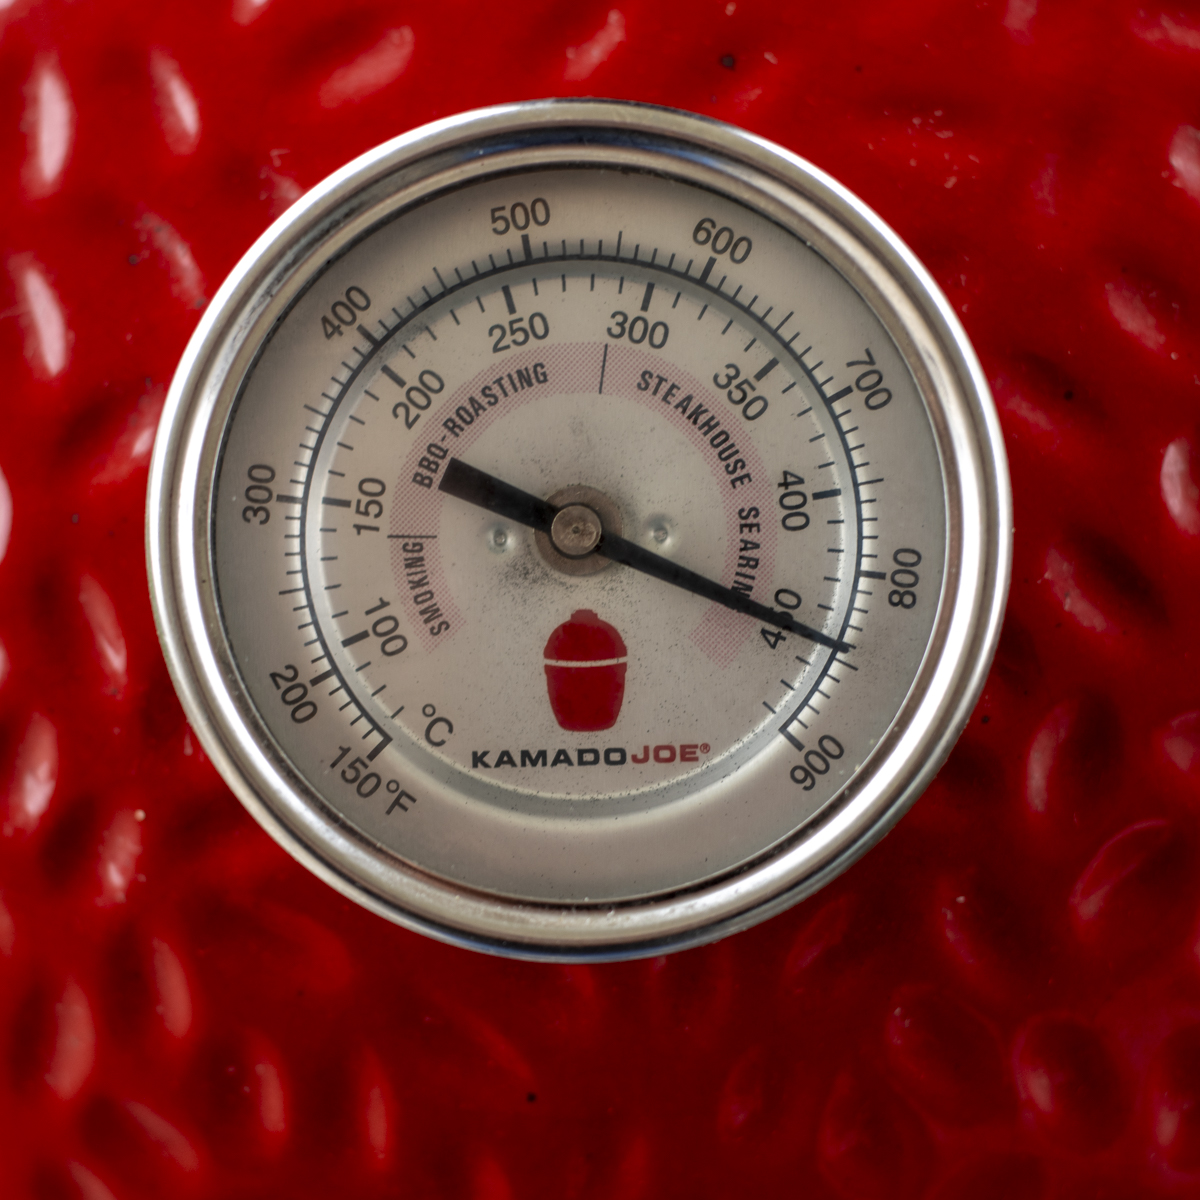
Use a thermometer that measures the temperature you need to know. The dome thermometer is useful for following the cooking environment, but it does not tell you the surface temperature of a griddle or the internal temperature of a steak. Those are separate measurements.
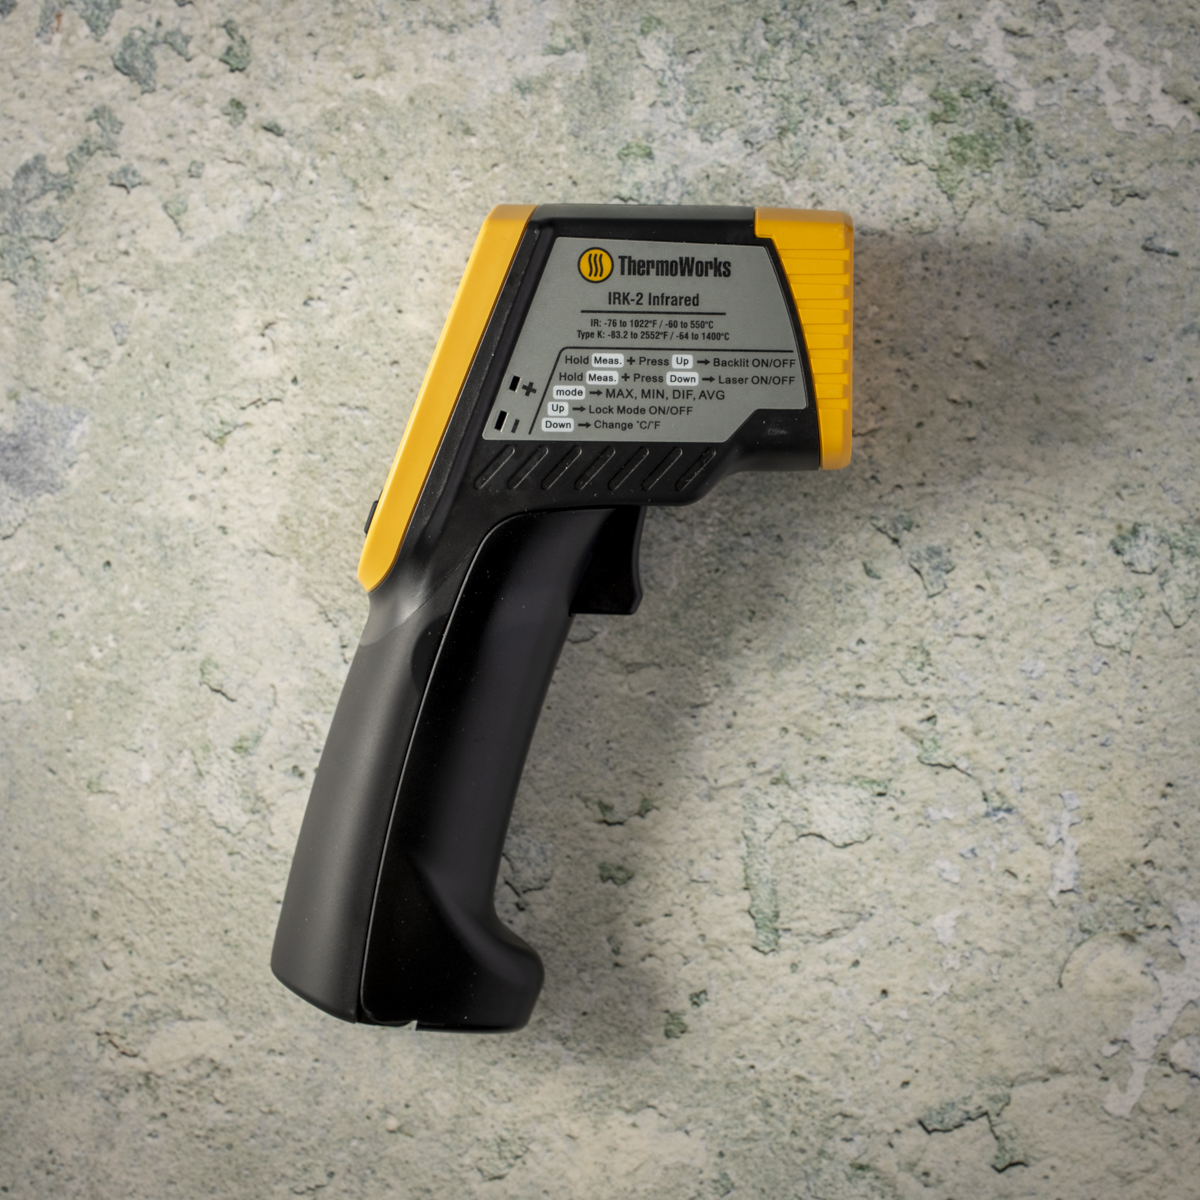
An infrared thermometer is especially useful when cooking on cast iron or carbon steel. I use one to check the surface before searing instead of assuming the dome reading tells me how hot the metal has become. Infrared readings are more reliable on dark, well-seasoned cooking surfaces than on shiny, bare metal. A probe thermometer serves another purpose by measuring food internally or monitoring the cooking environment near the food.
A heavy cooking surface may still need time to heat after the dome temperature looks ready. Let the equipment warm thoroughly, then measure the temperature appropriate to the task. My Karbon Steel Griddle review explains how surface temperature fits into my griddle cooking.
4. The Cooking Surface Changes the Result
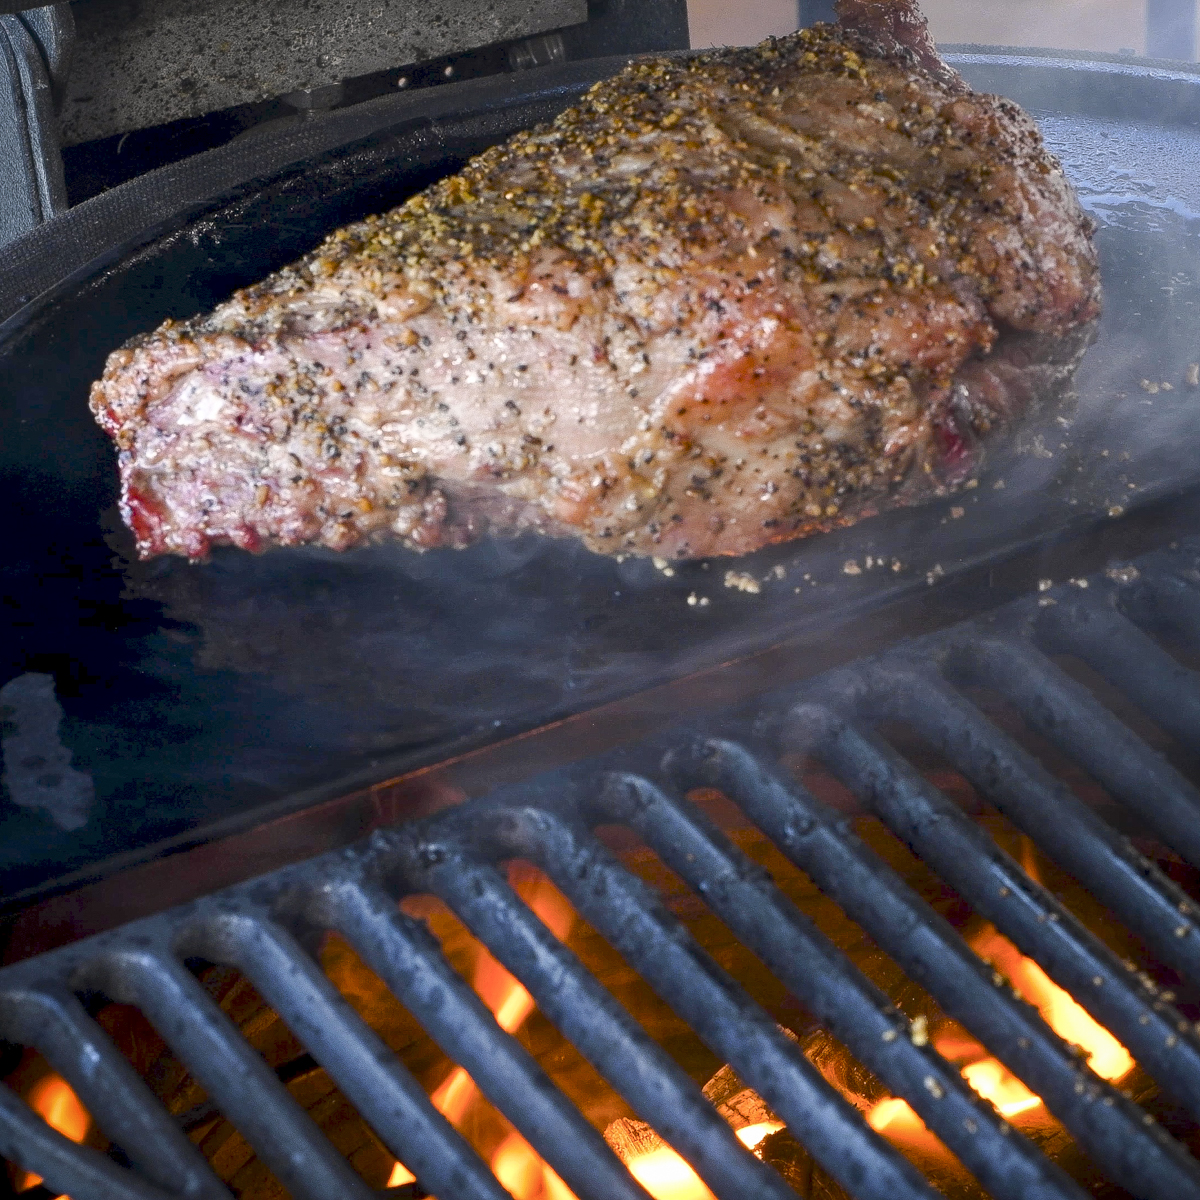
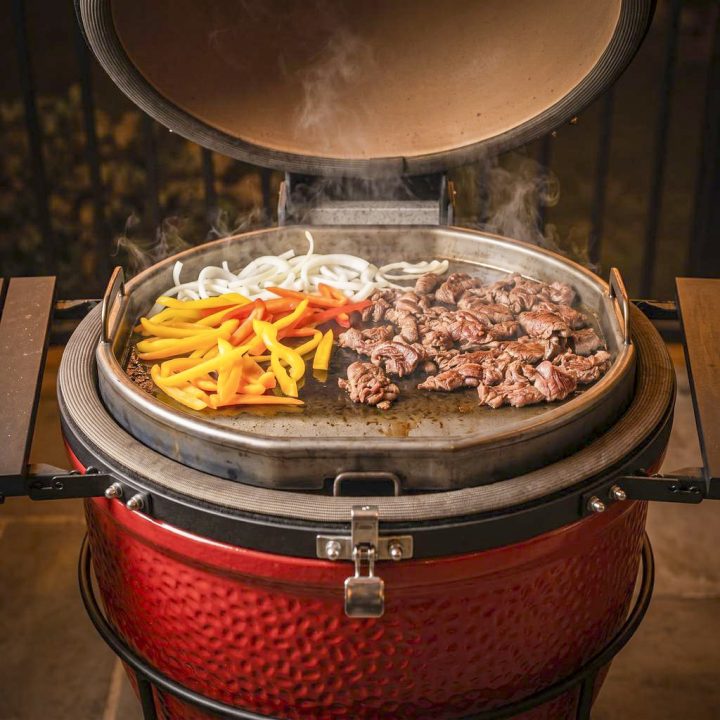
Choose the cooking surface according to the result you want. Cast-iron grates produce pronounced grill marks, while a flat griddle puts more of the food in direct contact with hot metal. That difference matters when you are searing a steak or making a smash burger.
I use a half moon cast iron griddle on one half of the cooking rack and a half moon cast iron grate on the other. The griddle is reversible, with a smooth face for searing and smash burgers and a ridged face for vegetables or panini.
Cast-iron surfaces need cleaning, drying, and regular seasoning. Start with the stainless-steel grates that came with the grill, then add a different surface when it supports something you actually want to cook.
5. Easier Ash Cleanup Makes the Next Cook Better
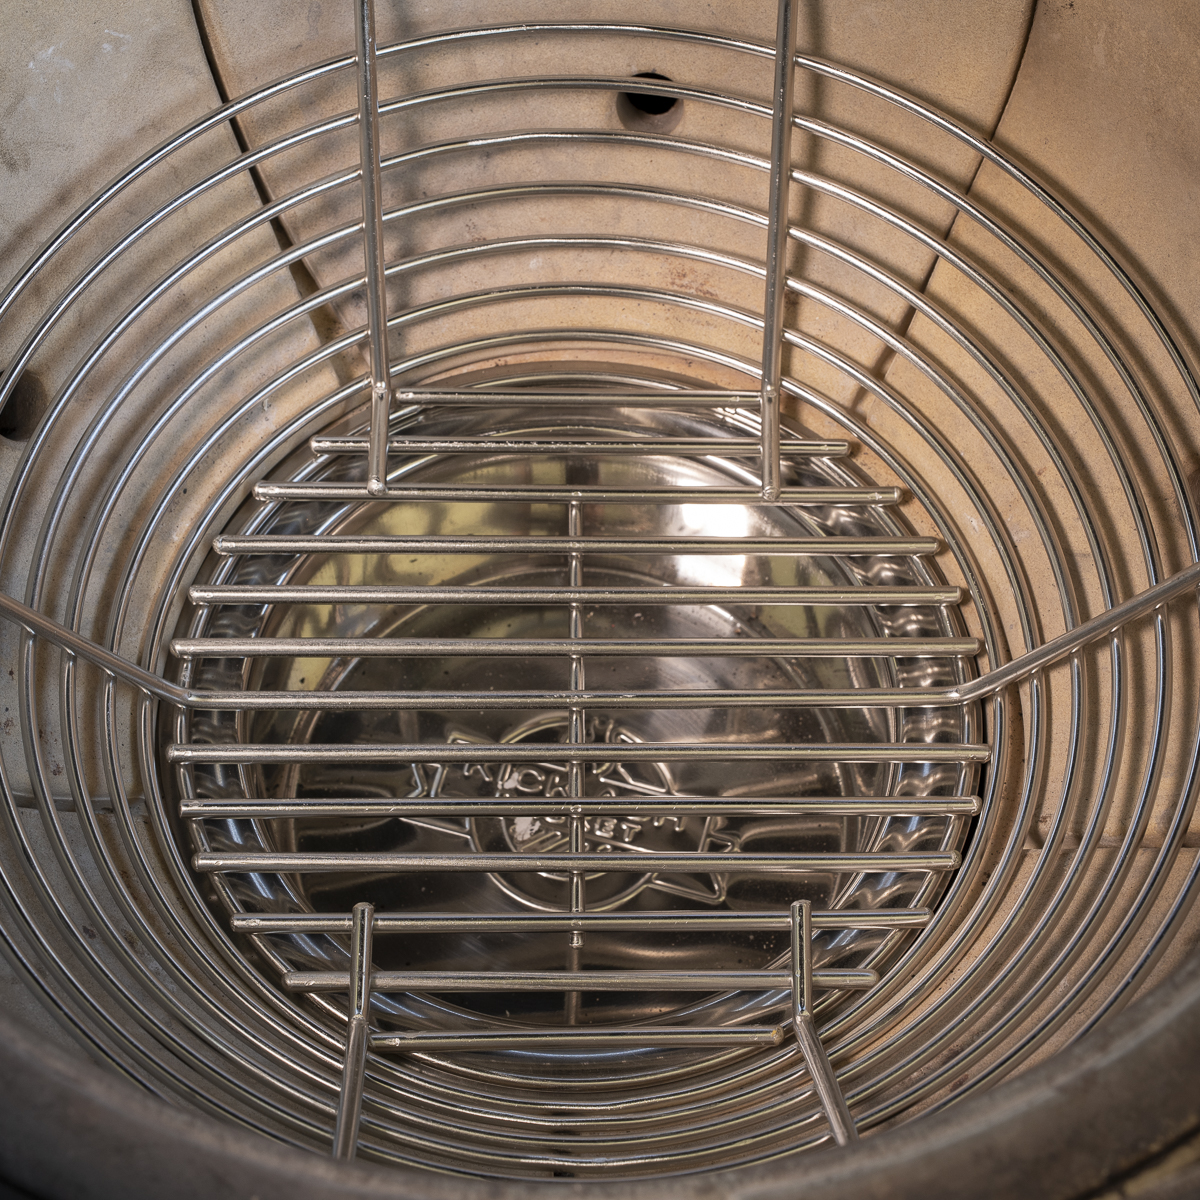
Clear ash from beneath the charcoal before each cook so air can move through the firebox. A stainless-steel charcoal basket makes that easier by letting you separate reusable lump charcoal from loose ash. After the Kamado Joe has cooled completely, lift the basket and shake it gently rather than working all the ash through the holes of the original charcoal grate.
If your grill already includes a basket, use it before deciding whether to replace it. The Kick Ash Can replaces the original ash collection assembly and changes the area behind the lower vent. The Kick Ash review covers the cleanup benefit and the concern about hot charcoal potentially escaping after that modification.
6. A Temperature Controller Is Most Valuable During Long Cooks
A temperature controller is most useful when long smoking sessions are a regular part of your cooking. I use a FireBoard 2 Drive with a fan to monitor temperature and help regulate airflow when cooking briskets, pork shoulders, ribs, and other long cooks.
The biggest benefit for me is being able to follow a long cook without staying beside the grill. I can watch the temperature in the app and set alerts that tell me when something needs attention. After more than five years of using mine, that convenience still matters to me.
A controller works best after the basic fire and setup are right. The charcoal needs clear airflow, the probes need to be positioned correctly, and the alerts need to reach your phone. Learn to manage a vent-controlled fire first, then use a controller to make long cooks easier. My FireBoard 2 Drive review covers what has worked, what has worn out, and the settings I check before a long cook.
7. A Water Pan Is Useful for Long Smoking Sessions
I use a water pan for brisket, pork shoulder, ribs, and other long cooks because the added humidity makes those cooks more forgiving for me. It has become part of my usual indirect setup, but I treat it as an option for the cook rather than a requirement for a Kamado Joe.
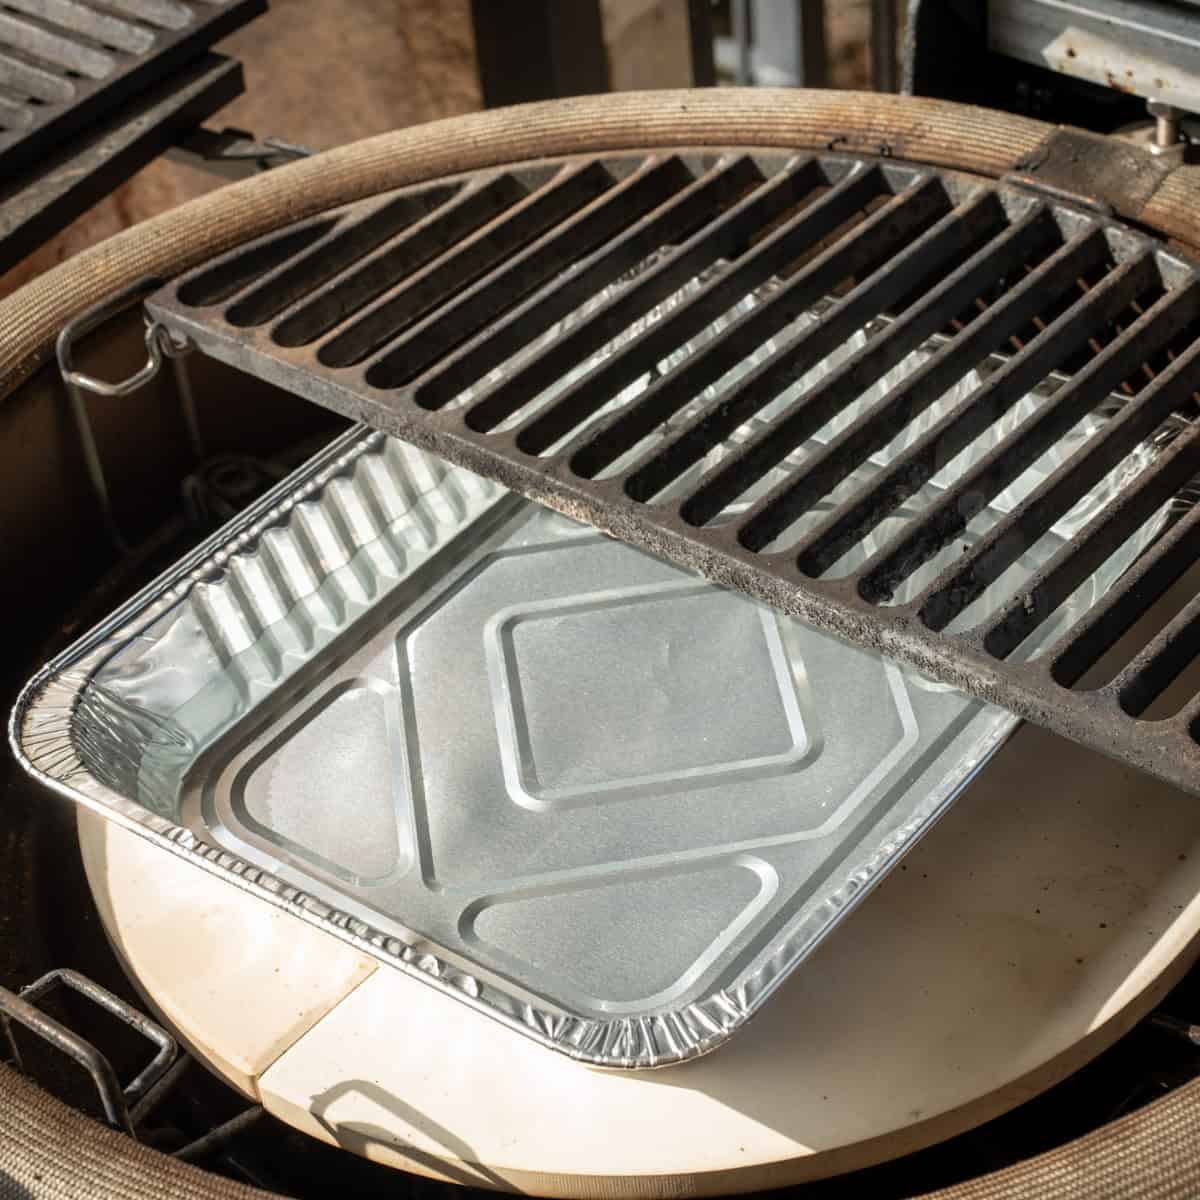
The ceramic heat deflector plates sit between the fire and cooking grates to shield the food from direct heat. Place the water pan directly on the deflector plates and below the cooking grate, with enough space around it for heat and smoke to circulate. Disposable aluminum pans simplify cleanup because water pans become coated in grease and smoke residue. Once the pan and its contents have cooled, dispose of it instead of scrubbing a heavily soiled reusable pan.
Choose a pan shallow enough to fit comfortably below the cooking grate. Some grocery-store pans are too tall and interfere with the grate, so check that everything seats properly before lighting the grill. My Kamado Joe water-pan guide explains placement, filling, and when I find a pan useful.
8. The Top Vent Needs Regular Attention
Keep the top vent clean and moving freely because precise temperature adjustments depend on it. Smoke and grease residue can build up until the vent becomes sticky or difficult to adjust, so pay attention to changes in how it moves.
Clean the vent according to the care instructions for its material and finish. My Kamado Joe maintenance guide covers the top vent along with the grates, ash, and other components. If your Kontrol Tower is damaged or difficult to use, my SmokeWare chimney cap review explains why I considered that replacement.
9. The Small Tools Deserve as Much Thought as the Big Accessories
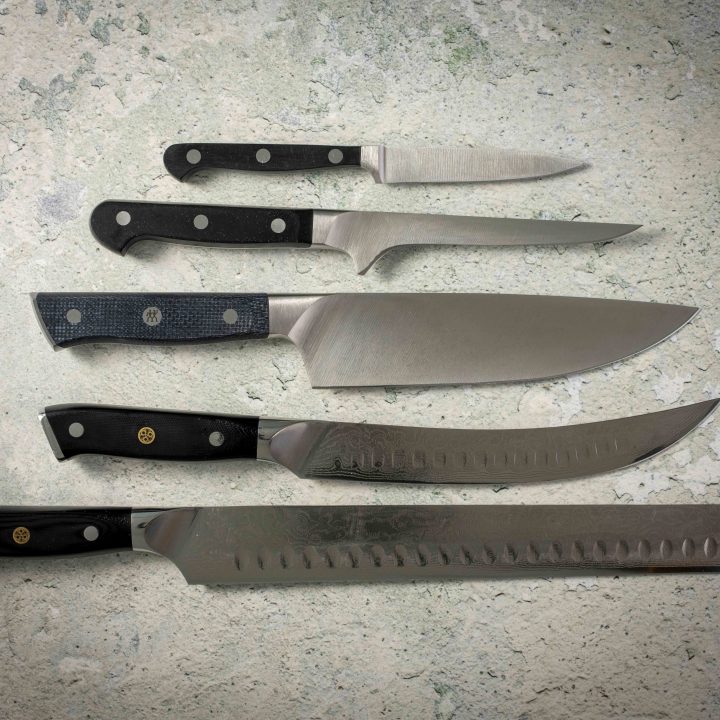
Have the tools for starting the fire, handling the cooking equipment, and moving the food ready before the grill gets hot. An ash tool, a suitable grate gripper, a grill brush, and heat-resistant gloves support almost every cook. Check what came with your grill before buying duplicates.
Choose your charcoal starter with the area around the grill in mind. A hot ember from lighting my grill once damaged my patio furniture. That taught me how far a spark can travel. Keep combustible items clear of the area and consider the wind before choosing your lighting method. I use tumbleweed-style starters when conditions make using a chimney starter or grill gun a poor choice.
For cleaning, I prefer a bristle-free coil-style brush over a traditional wire-bristle brush, and I still inspect the tool and grate for loose material. Match your gloves and handling tools to the heat and the task. Decide how you will lift a hot grate or carry a roast inside before you need to do it.
10. Charcoal Quality Is Worth Looking At
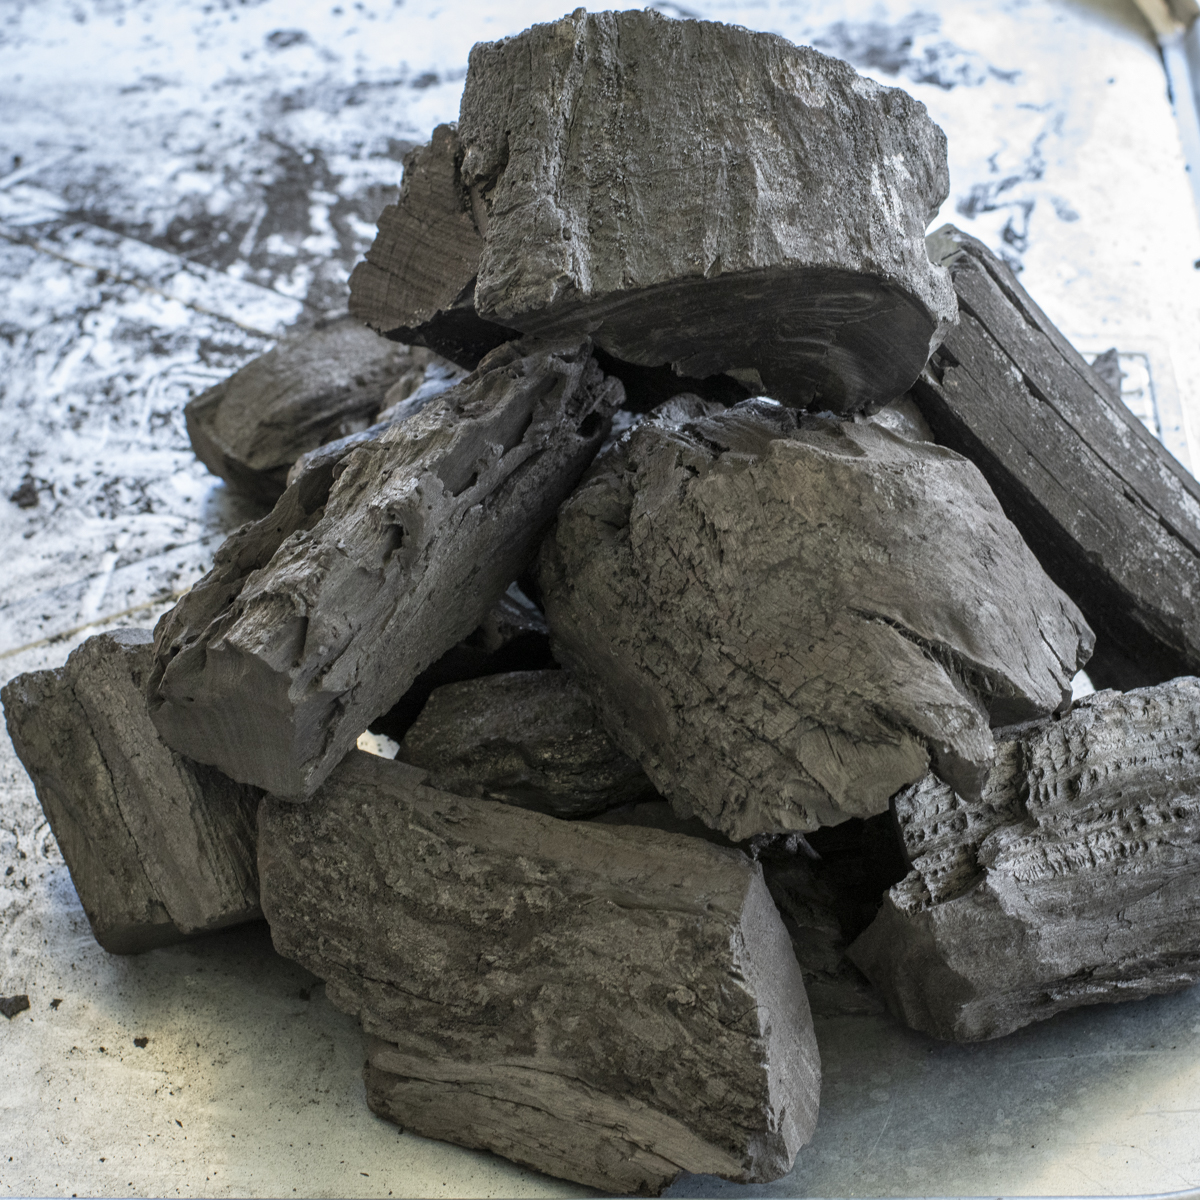
Choose lump charcoal by the usable contents of the bag and how well it suits your grill. Piece size, charcoal dust, and unwanted material all affect how much of the bag you can actually use.
My more recent comparison examined usable charcoal, cost per usable pound, density, and quality control. Those measurements gave me a better basis for choosing than simply repeating a list of brands I had liked. They also showed why a cheap bag may be a poor value if a substantial part of its weight is material you do not want in the firebox. The Best Lump Charcoal for Kamado Joe comparison explains the results and the limits of the testing.
Frequently Asked Questions
There is a learning curve, especially if you are used to adjusting a gas grill with a knob. Start with a straightforward cook and pay attention to how the fire responds to the vents. Repeating a manageable cook gives you a useful reference before you add more variables.
No. Check the equipment supplied with your grill and begin with the tools needed to cook and handle it properly. Add accessories when you know which job you want to make easier or which cooking method you want to try.
No. A controller can reduce the air supplied through its fan, but it cannot remove heat already stored in the ceramic. Start with an appropriately sized fire and approach the target temperature slowly. A controller works best when maintaining an established fire near your target temperature.
Start with my Kamado Joe versus Big Green Egg comparison if you are deciding between the two grills. It explains the ownership differences I noticed after years with both. If you are considering a secondhand grill, my used Kamado Joe buying guide covers what to inspect before making an offer.
Final Thoughts
Once you understand how the fire, airflow, and retained heat work together, the grill becomes much easier to use. You begin to recognize when it needs a small adjustment and when it simply needs more time.
Give yourself a few cooks to build that familiarity. Before long, the brisket, roast, or pizza that once seemed ambitious becomes another cook you know how to approach with confidence. At that point, you spend less time worrying about the grill and more time thinking about what you want to cook next.
Leave a Reply