The metal bands on a Kamado Joe help keep the dome aligned with the base so the gasket seals evenly. If a band loosens, the dome can shift out of alignment, making airflow and temperature control more difficult.
This article explains how the bands should sit on the grill when properly aligned and how to check and tighten the upper and lower bands. These instructions are for the Kamado Joe Classic II. The procedure may differ on other models.
Jump to:
How the Bands Fit Around the Dome and Base
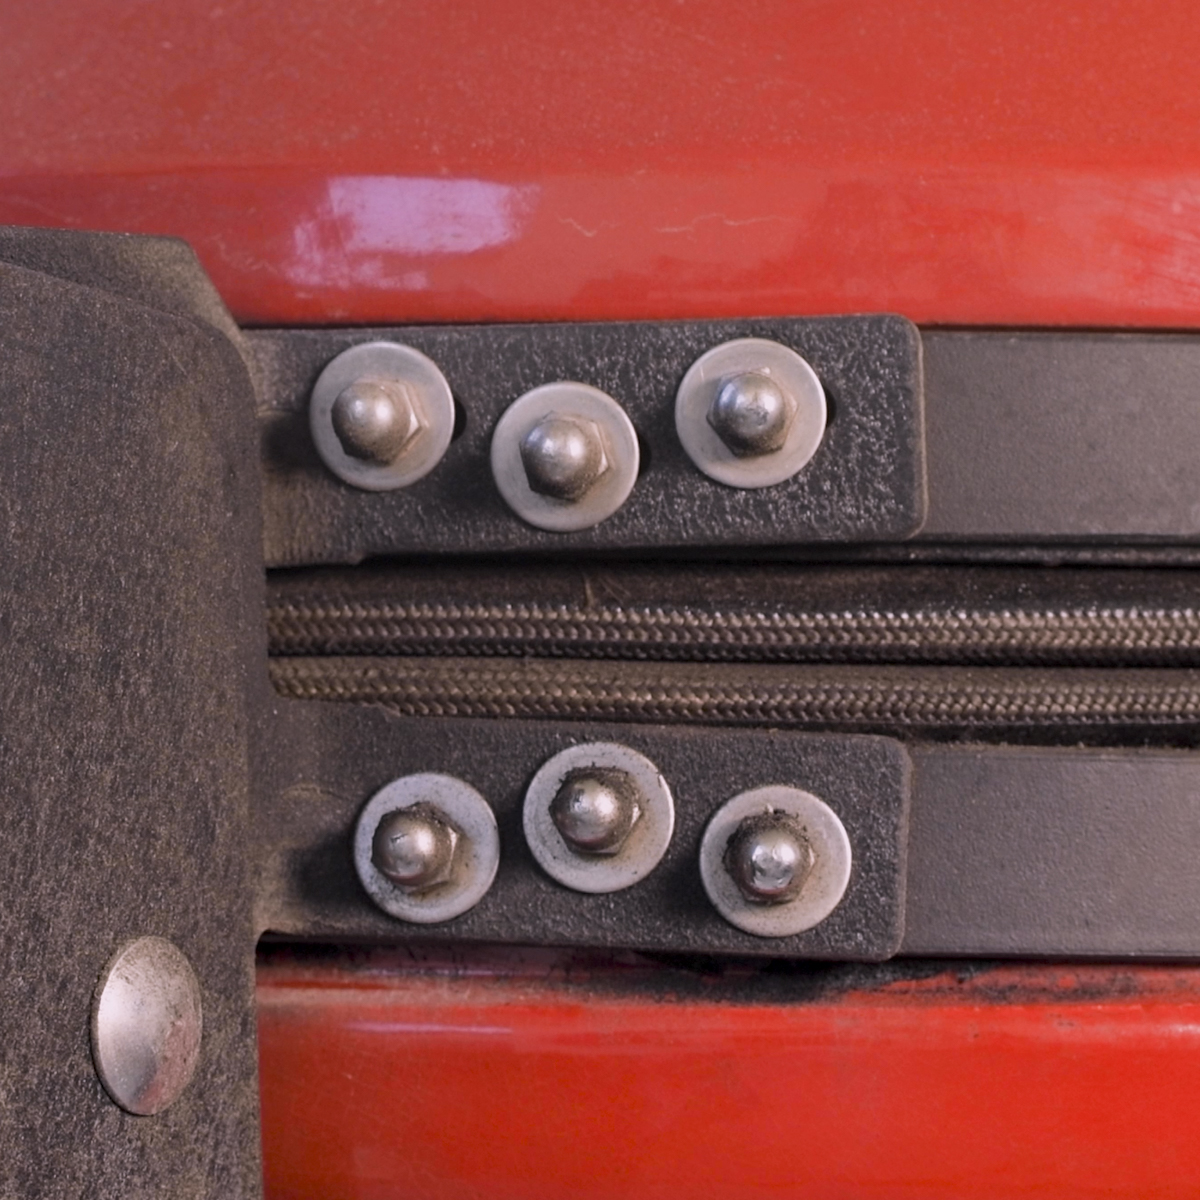
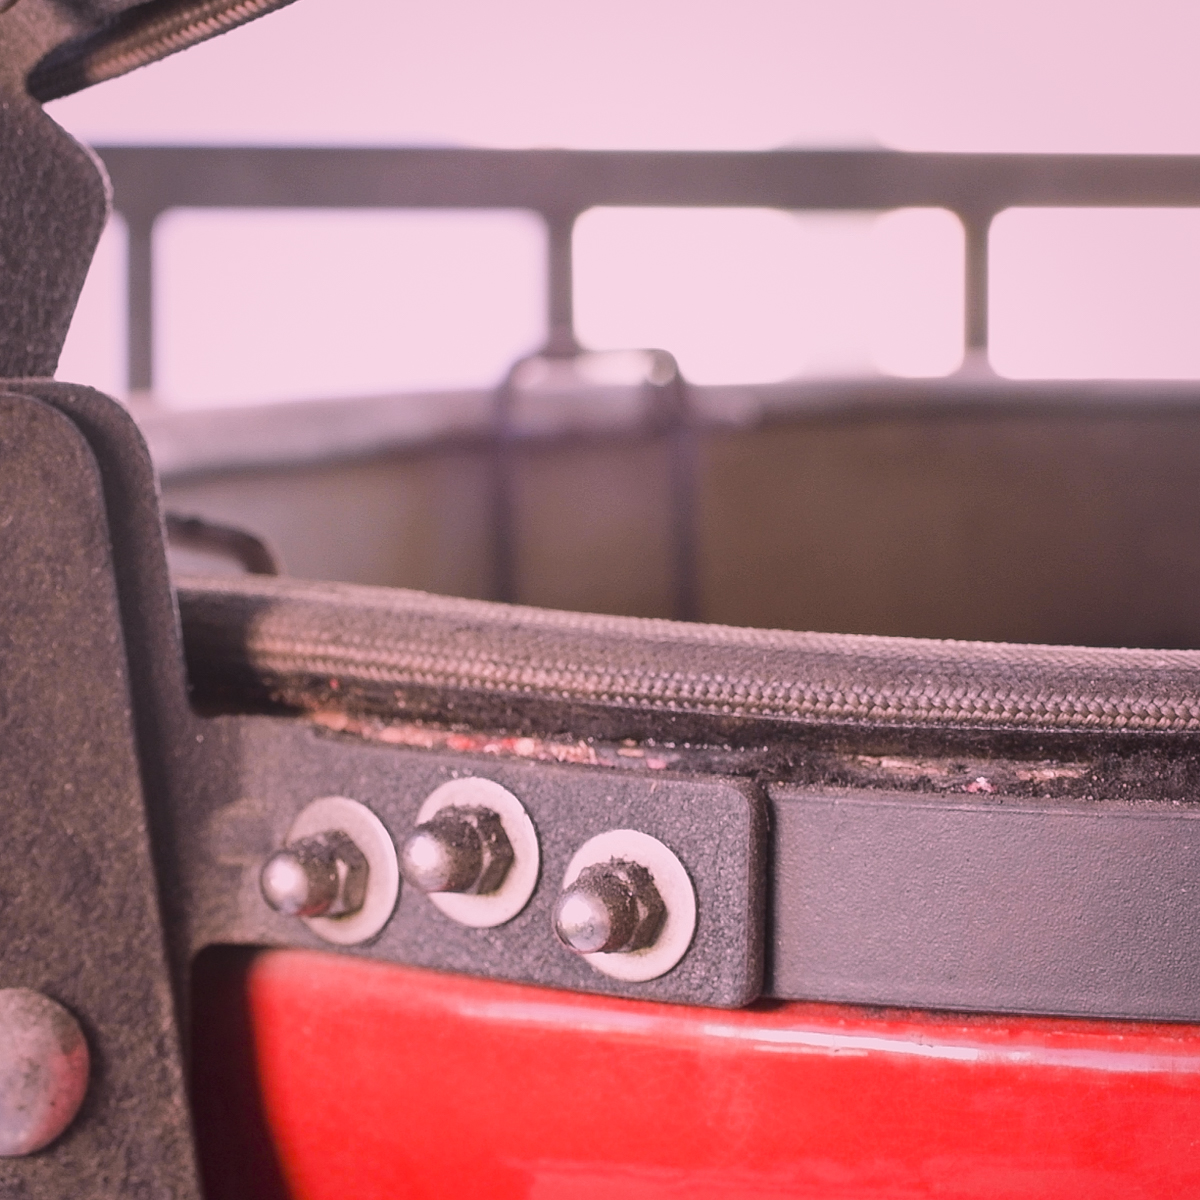
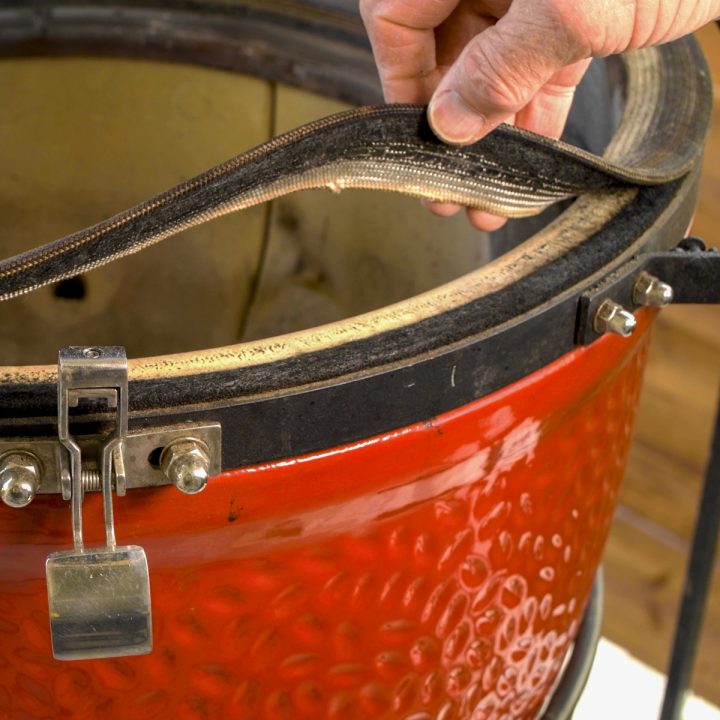
The metal bands are the two rings around the outside of the grill. The upper band surrounds the dome, and the lower band surrounds the base. Both bands connect to the hinge at the back of the grill. The upper band carries the weight of the dome as it opens and closes. The lower band anchors the hinge to the base of the grill. Each band should remain flush against its raised lip without shifting as the dome opens and closes.
How to Tell if a Band Is Loose
The first sign that a band was loose on my grill was that the gasket looked flatter at the front than at the back. When I opened and closed the dome, the lower band shifted approximately ⅛ inch. With the dome open, the lower band sat flush against the raised lip on the base, as it should. When I closed the dome, the band shifted upward and away from the raised lip. I found that a bolt securing the lower band had worked loose. Repeated heating and cooling cycles can affect hardware tension, and nuts and bolts can loosen over time.
To check whether a band is loose, slowly open and close the dome while watching both bands. Each band should remain flush against its raised lip without shifting. A band that shifts away from the lip as the dome opens or closes may be loose.
Important Safety Warning
The metal bands secure the Air Lift Hinge to the grill. The hinge is under considerable spring tension. Loosening a band without properly securing the hinge can cause the dome or hinge components to move unexpectedly, resulting in serious injury. These instructions are for tightening the nuts and bolts on bands that are already correctly positioned.
Never loosen or reposition a band without following Kamado Joe's safety instructions for your grill model and using the required hinge disengagement tool.
Checking and Tightening the Bands
Before tightening the upper and lower bands, confirm that each band sits flush against its raised lip. Tightening a band while it is out of position can cause the dome to remain out of alignment.
Tighten the nuts and bolts only until snug. Do not overtighten, as excessive force can break a bolt or damage the ceramic dome or base.
Step 1: Gather Your Tools
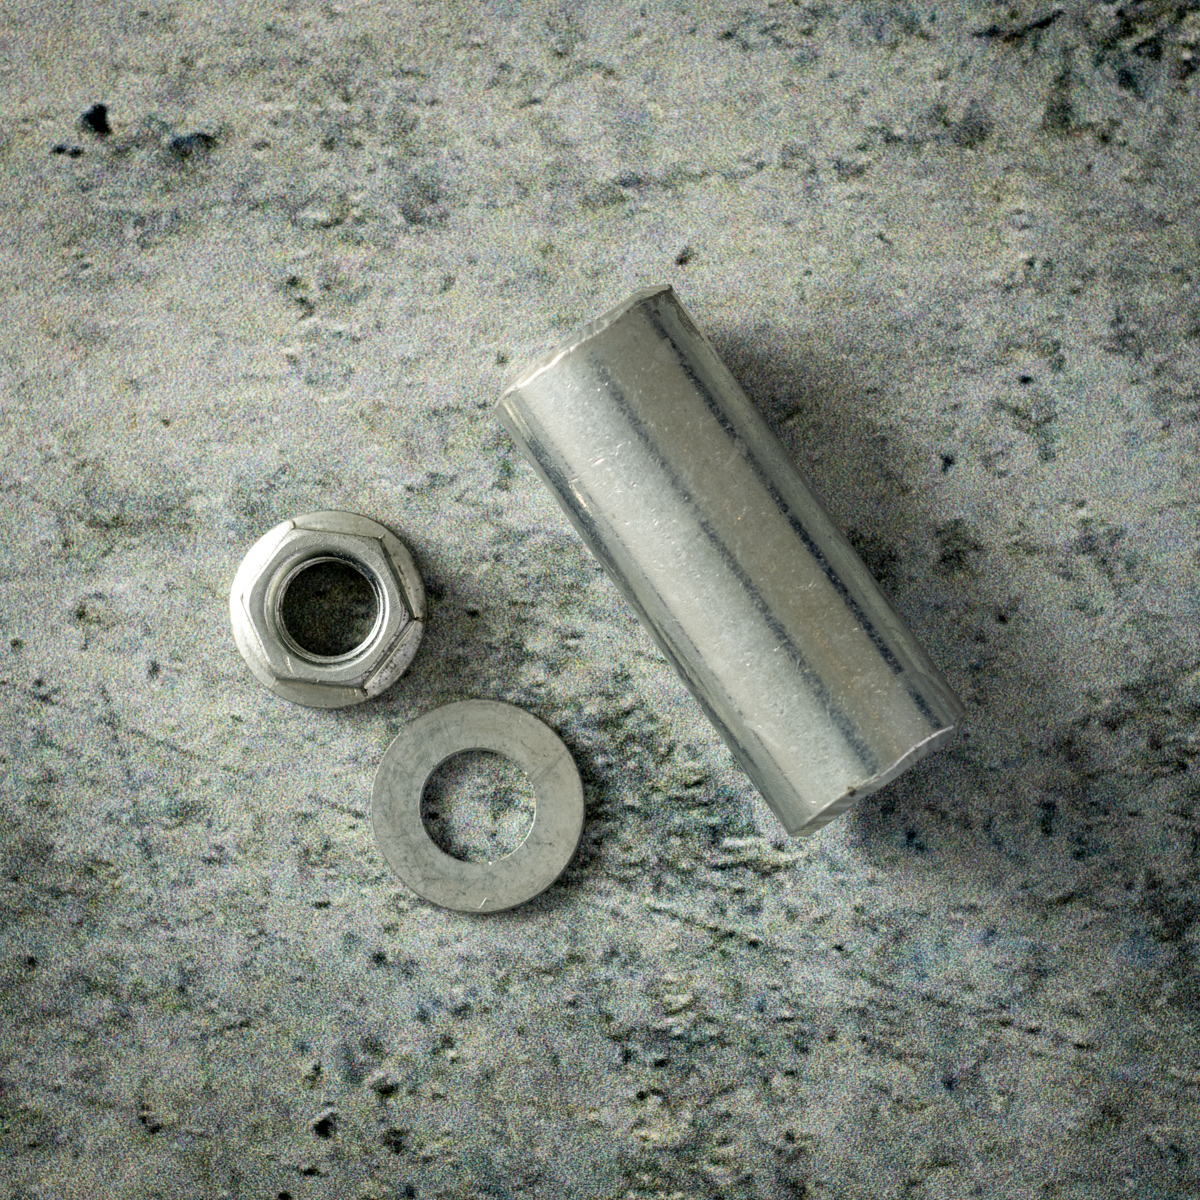
You will need an 8 mm Allen wrench for the bolts and a 17 mm end wrench for the nuts.
Step 2: Check the Lower Band
With the dome closed, check that the lower band sits flush against the raised lip on the base all the way around. Slowly open the dome and watch for any downward shifting.
Step 3: Tighten the Lower Band
If the lower band shifts downward against the raised lip as the dome opens, tighten the nuts and bolts with the dome open.
If the lower band remains flush against the raised lip without shifting, tighten the nuts and bolts with the dome closed.
If the band remains out of position with the dome open or closed, STOP. Do not attempt to loosen or reposition it. Follow the safety warning above.
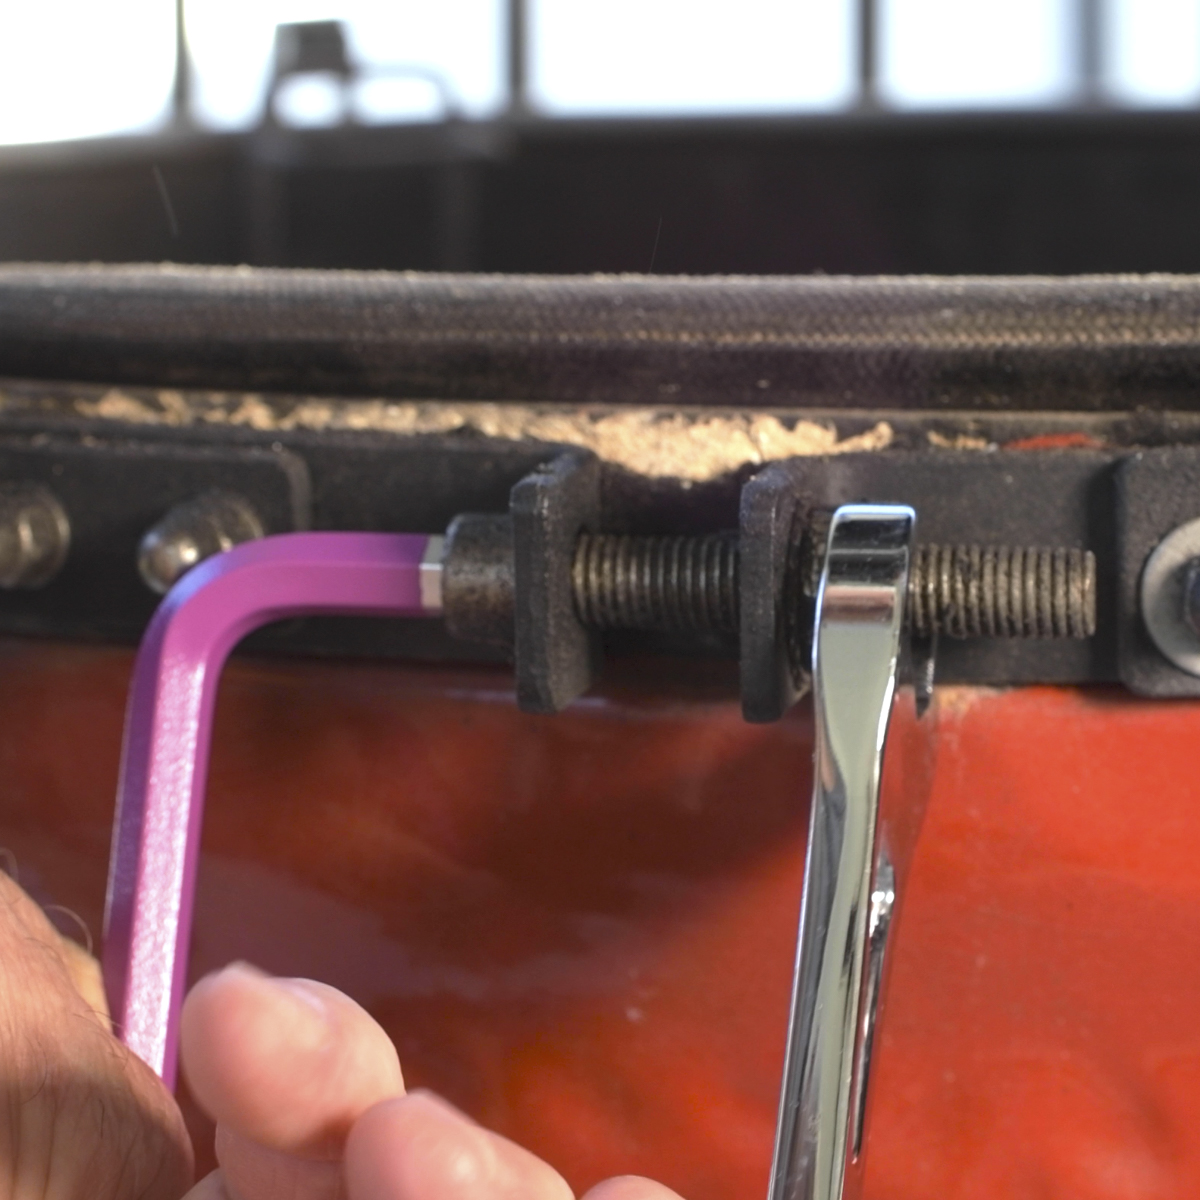
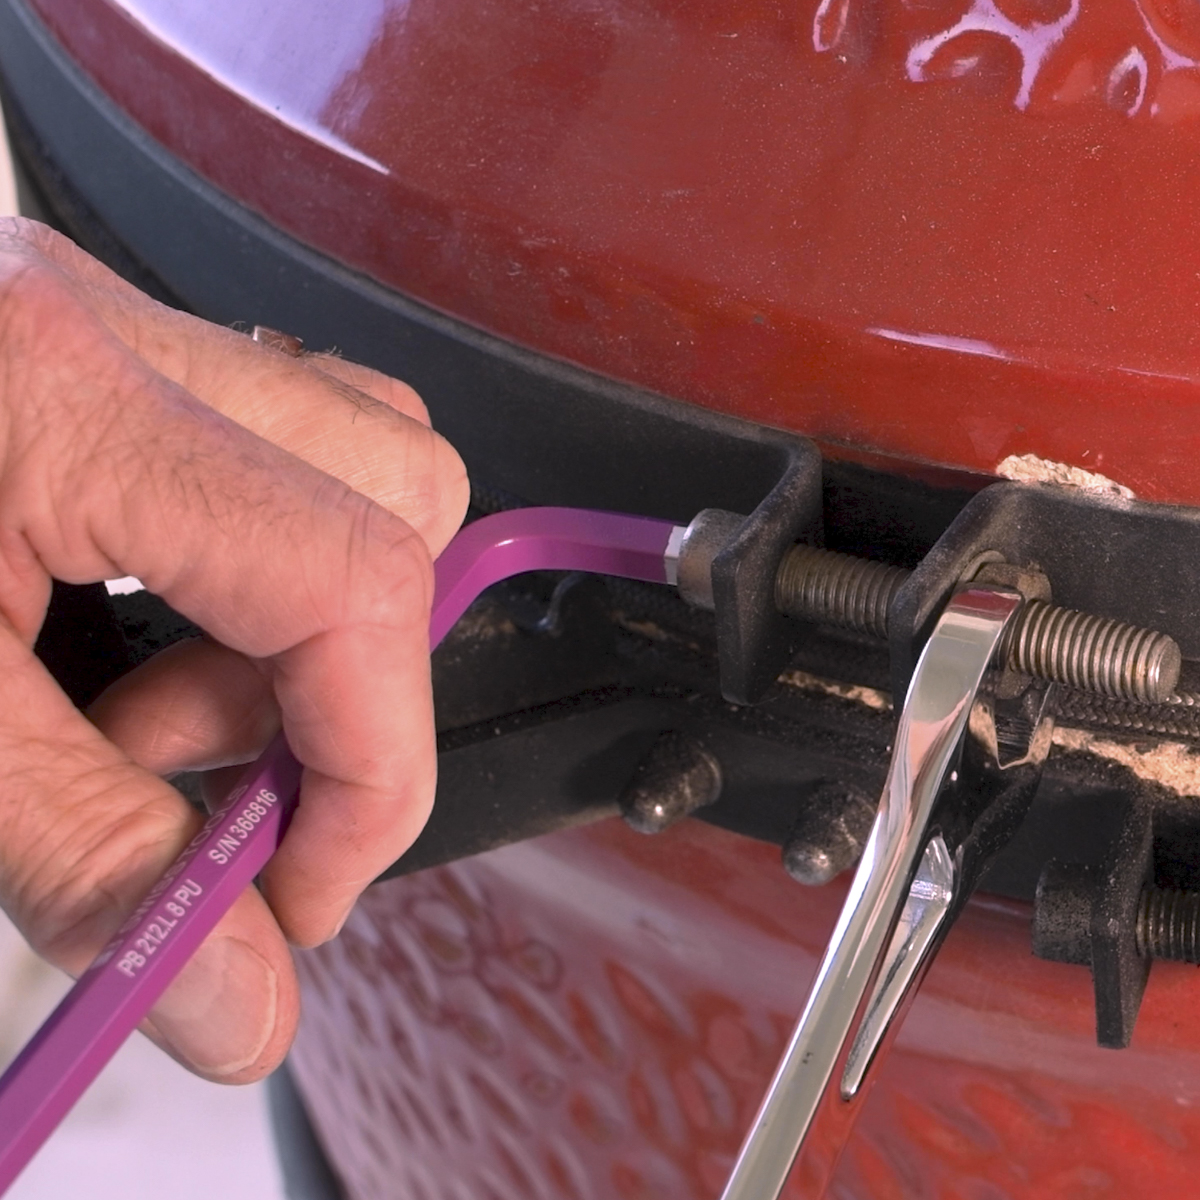
Step 4: Check and Tighten the Upper Band
Close the dome so its weight rests evenly on the base. Confirm that the upper band sits flush against the raised lip all the way around. If the upper band is correctly positioned, tighten the nuts and bolts.
Step 5: Confirm the Bands Are Secure
Slowly open and close the dome several times while watching both bands. They should remain flush against their raised lips without shifting. With the dome closed, confirm that the dome aligns evenly with the base and the gasket is evenly compressed.
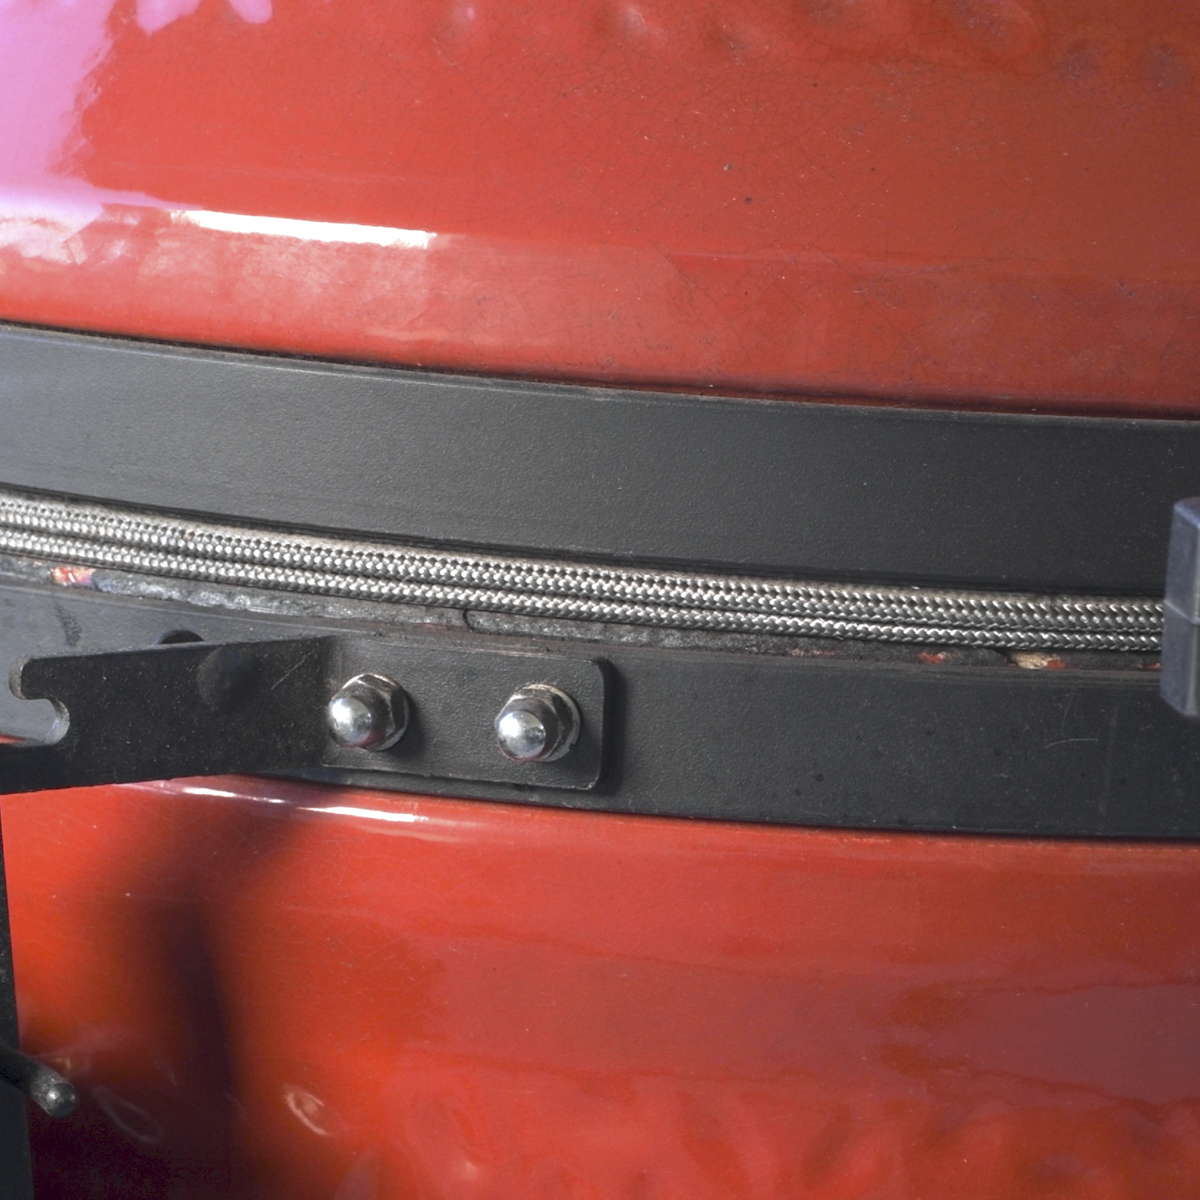
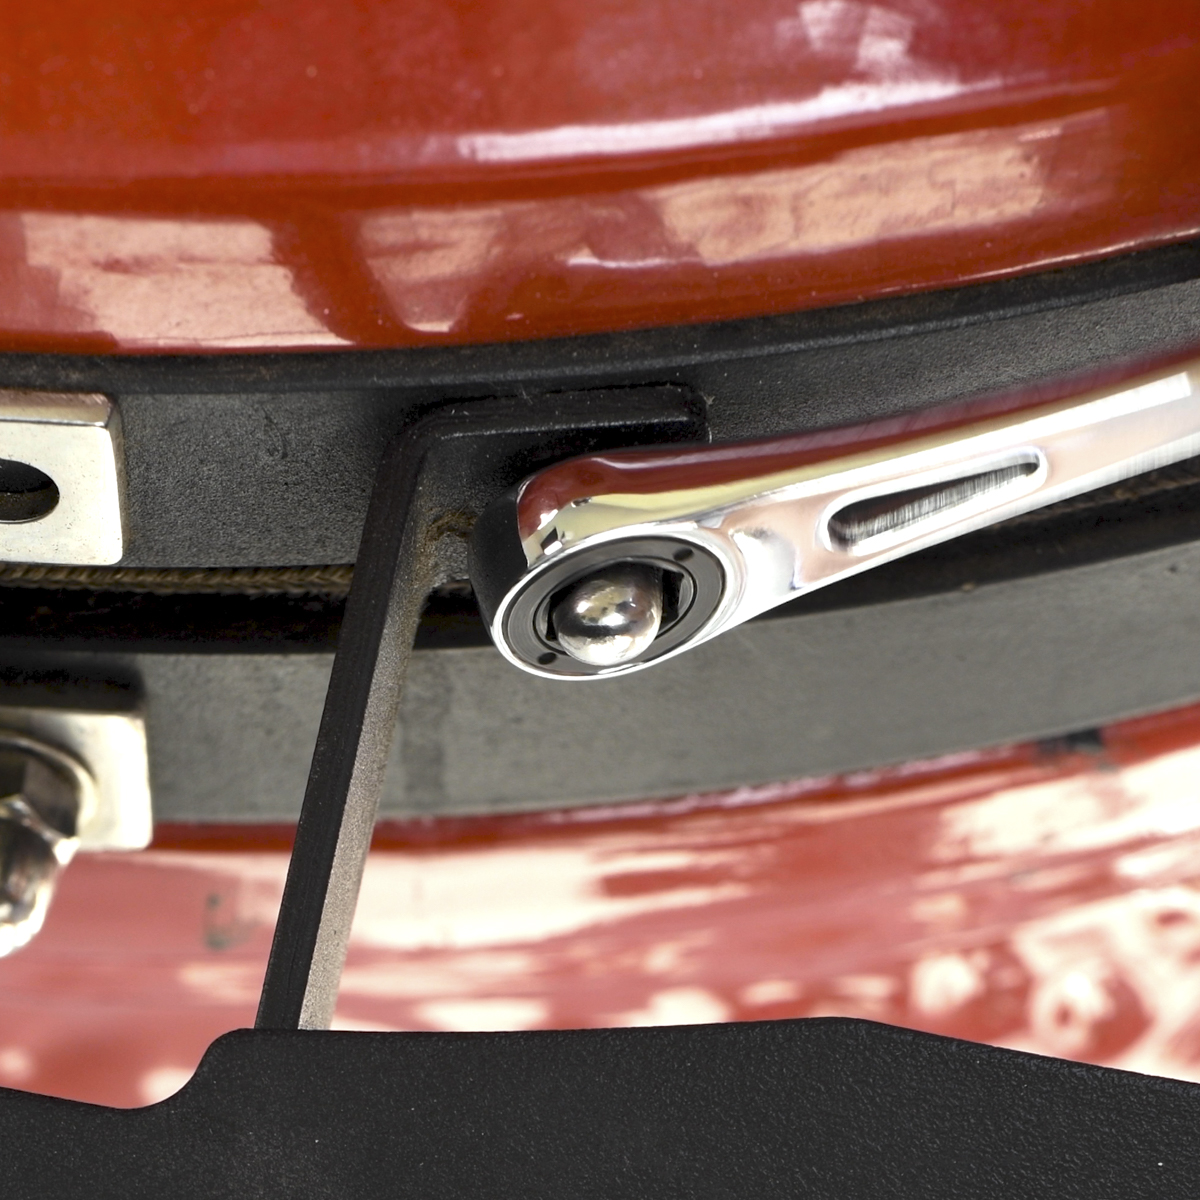
Step 6: Check the Remaining Nuts and Bolts on the Grill
Examine the nuts and bolts securing the hinge, latch, side shelves, and handle. Tighten any loose nuts and bolts until snug.
Band Inspection and Tightening Quick Reference
| Correct Band Position | The upper band sits against the raised lip on the dome; the lower band sits against the raised lip on the base. |
| Signs of a Loose Band | A band shifts away from its raised lip as the dome moves; the gasket looks more compressed in one area than another. |
| Tools Required | 8 mm Allen wrench for the bolts and 17 mm end wrench for the nuts (Classic II). |
| Dome Position | The lower band should be tightened with the dome open if it shifts downward against the raised lip as the dome opens. Otherwise, tighten it with the dome closed. Tighten the upper band with the dome closed. |
| Tightness | Until snug. Overtightening can break a bolt or damage the grill. |
| When to Stop | If a band does not sit flush against its raised lip with the dome open or closed, STOP. Do not loosen or reposition the band without following Kamado Joe's safety instructions for your grill and using the required hinge disengagement tool. |
| Procedure | 1. Gather your tools. 2. Check the lower band. 3. Tighten the lower band. 4. Check and tighten the upper band. 5. Confirm the bands are secure. 6. Check the remaining nuts and bolts. |
Final Thoughts
Periodically checking the hardware on your Kamado Joe helps keep the grill in good working condition and allows you to address issues before they affect cooking performance. For more information about routine inspection and maintenance, see How to Clean a Kamado Joe: The Complete Maintenance Guide.
Frequently Asked Questions
If either band shifts away from its raised lip as the dome opens or closes, it may need tightening. A gasket that is not evenly compressed can also be a warning sign.
On a Kamado Joe Classic II, an 8 mm Allen wrench fits the band bolts. A 17 mm end wrench fits the nuts. Tool sizes may differ on other Kamado Joe models.
No. Do not loosen or reposition a band without following Kamado Joe's safety instructions for your grill model and using the required hinge disengagement tool.
Other Resources
If you found this guide helpful, here are a few more resources that will help you get the most out of your Kamado Joe:
- Kamado Joe Owner's Handbook
- The Texas Backyard Kitchen - Complete Meals from Fire to Table
- Kamado Joe 101 Playlist
- How to Control Temperature on a Kamado Joe
- 10 Things I Wish I Knew Before Buying a Kamado Joe
- 12 Common Kamado Joe Mistakes and How to Avoid Them
- Kamado Joe Accessories: What's Worth Buying?

Leave a Reply