Wrapping and resting are the final steps that help a smoked brisket retain moisture, maintain firm bark, and slice cleanly. The timing matters because I want the brisket to move through the stall and develop its bark before the paper goes on, then cool gradually before I cut it. Together, the wrap and rest help the brisket reach the table hot, tender, and easy to slice.
My wrapping method starts after the brisket exits the stall. By then, the bark should be dark, firm, and securely attached. I brush both sides with melted beef tallow, wrap the brisket in pink butcher paper, and return it to the smoker. The brisket stays wrapped until the flat feels probe tender, usually somewhere between 200 and 205°F.
After cooking, I leave the brisket wrapped, cover it with clean towels, and place it in an empty insulated cooler. A rest of about two hours usually lowers the flat to about 145°F, where the meat slices cleanly and remains hot enough to serve. Throughout the process, temperature gives me a useful reference, but texture of the bark and the feel of the flat determine when I move to the next stage.
Jump to:
- Why Wrap a Brisket?
- When Should You Wrap a Brisket?
- Butcher Paper vs. Aluminum Foil
- How to Wrap a Brisket in Butcher Paper
- What Temperature Should You Cook a Wrapped Brisket To?
- Why Does a Brisket Need to Rest?
- How to Rest a Brisket in a Cooler
- How Long Should a Brisket Rest?
- Resting vs. Holding a Brisket
- When Is a Rested Brisket Ready to Slice?
- Frequently Asked Questions
- Final Thoughts
Why Wrap a Brisket?
I wrap after the stall to reduce evaporation during the remainder of the cook and limit the finished bark's exposure to heat and airflow. The wrap helps the brisket retain moisture while the flat becomes tender. Limiting the bark's exposure preserves the exterior developed during the unwrapped portion of the cook.
Even after the stall ends, a brisket continues to lose moisture as it cooks. A snug wrap slows evaporation and keeps rendered fat close to the surface while the flat becomes tender.
The paper also shields the finished bark from the hot air moving around the brisket. Because butcher paper is porous, steam can escape instead of collecting against the surface. The bark remains firm while the brisket finishes cooking inside the wrap.
When Should You Wrap a Brisket?
I wrap only after the brisket has moved through the stall and the bark is set. First, I watch for the internal temperature to begin climbing steadily again. Then I check the bark for the dark color and firm surface I want before applying the paper.
Many briskets enter the stall around 160 to 165°F, when evaporation can hold the internal temperature nearly steady for several hours. I leave the brisket unwrapped during that period so the surface can continue developing. Once the temperature resumes a steady climb, I know the stall has ended and move on to the bark check.
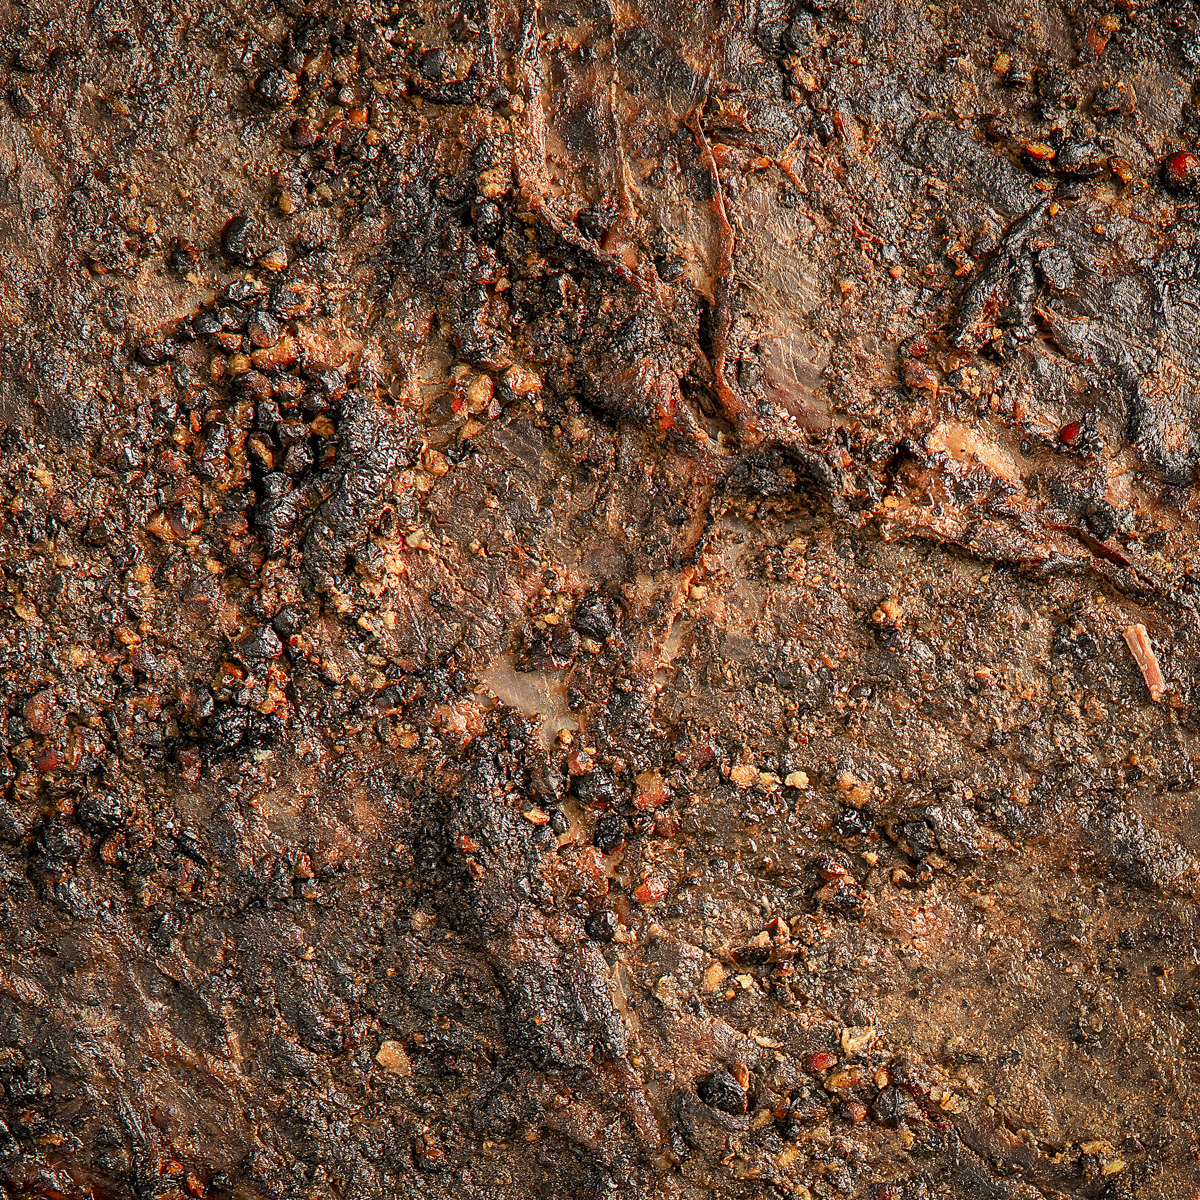
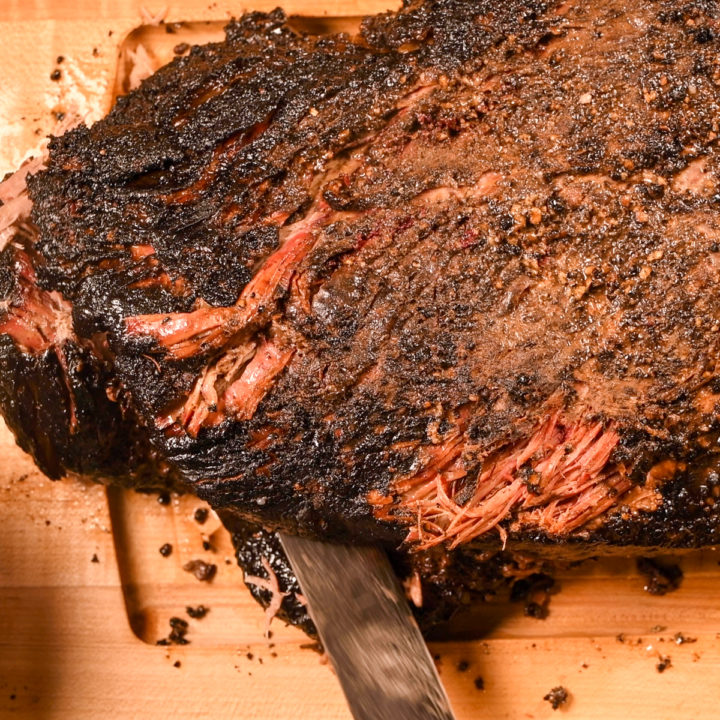
The bark should be dark, firm, and securely attached to the meat. I press the surface lightly with a finger; the brisket is ready when the seasoning stays in place. If the bark needs more color or firmness, I continue cooking the brisket unwrapped until the surface is ready, perhaps 15 more minutes.
Butcher Paper vs. Aluminum Foil
The choice of wrap affects how much moisture remains around the brisket and how firm the bark stays. Pink butcher paper and aluminum foil are the two most common choices, but they handle vapor differently. Paper favors a firmer bark, while foil favors greater moisture retention and a faster finish.
Pink butcher paper is porous enough to release some vapor while still reducing evaporation from the brisket. The paper stays close to the meat and keeps rendered fat near the surface. It also leaves the bark firmer than foil. I use unwaxed, uncoated, food-grade pink butcher paper for most Texas-style briskets because it gives me the balance I want.
Aluminum foil forms a tighter seal and traps more steam, liquid, and rendered fat. Foil can shorten the finish and retain more moisture than paper, although the steam produces a softer bark and a meat texture similar to pot roast. Foil, often called the Texas crutch, is useful when the serving schedule matters more than maintaining a firm bark.
How to Wrap a Brisket in Butcher Paper
Wrapping is easier when the paper, melted tallow, and work surface are ready before the brisket leaves the smoker. I use five steps: lay out the paper, brush the brisket with tallow, position the brisket and probe, fold the paper snugly, and return the package to the smoker. Keeping the steps in that order lets me work quickly and return the brisket in the same cooking position (fat cap up).
Step 1: Lay Out the Butcher Paper
Lay two sheets of butcher paper, each about 3 feet long and 18 inches wide, on a clean work surface. Overlap the long edges by about 6 inches to create one wide wrapping surface that stays together as you roll the brisket.
Step 2: Brush the Brisket with Beef Tallow
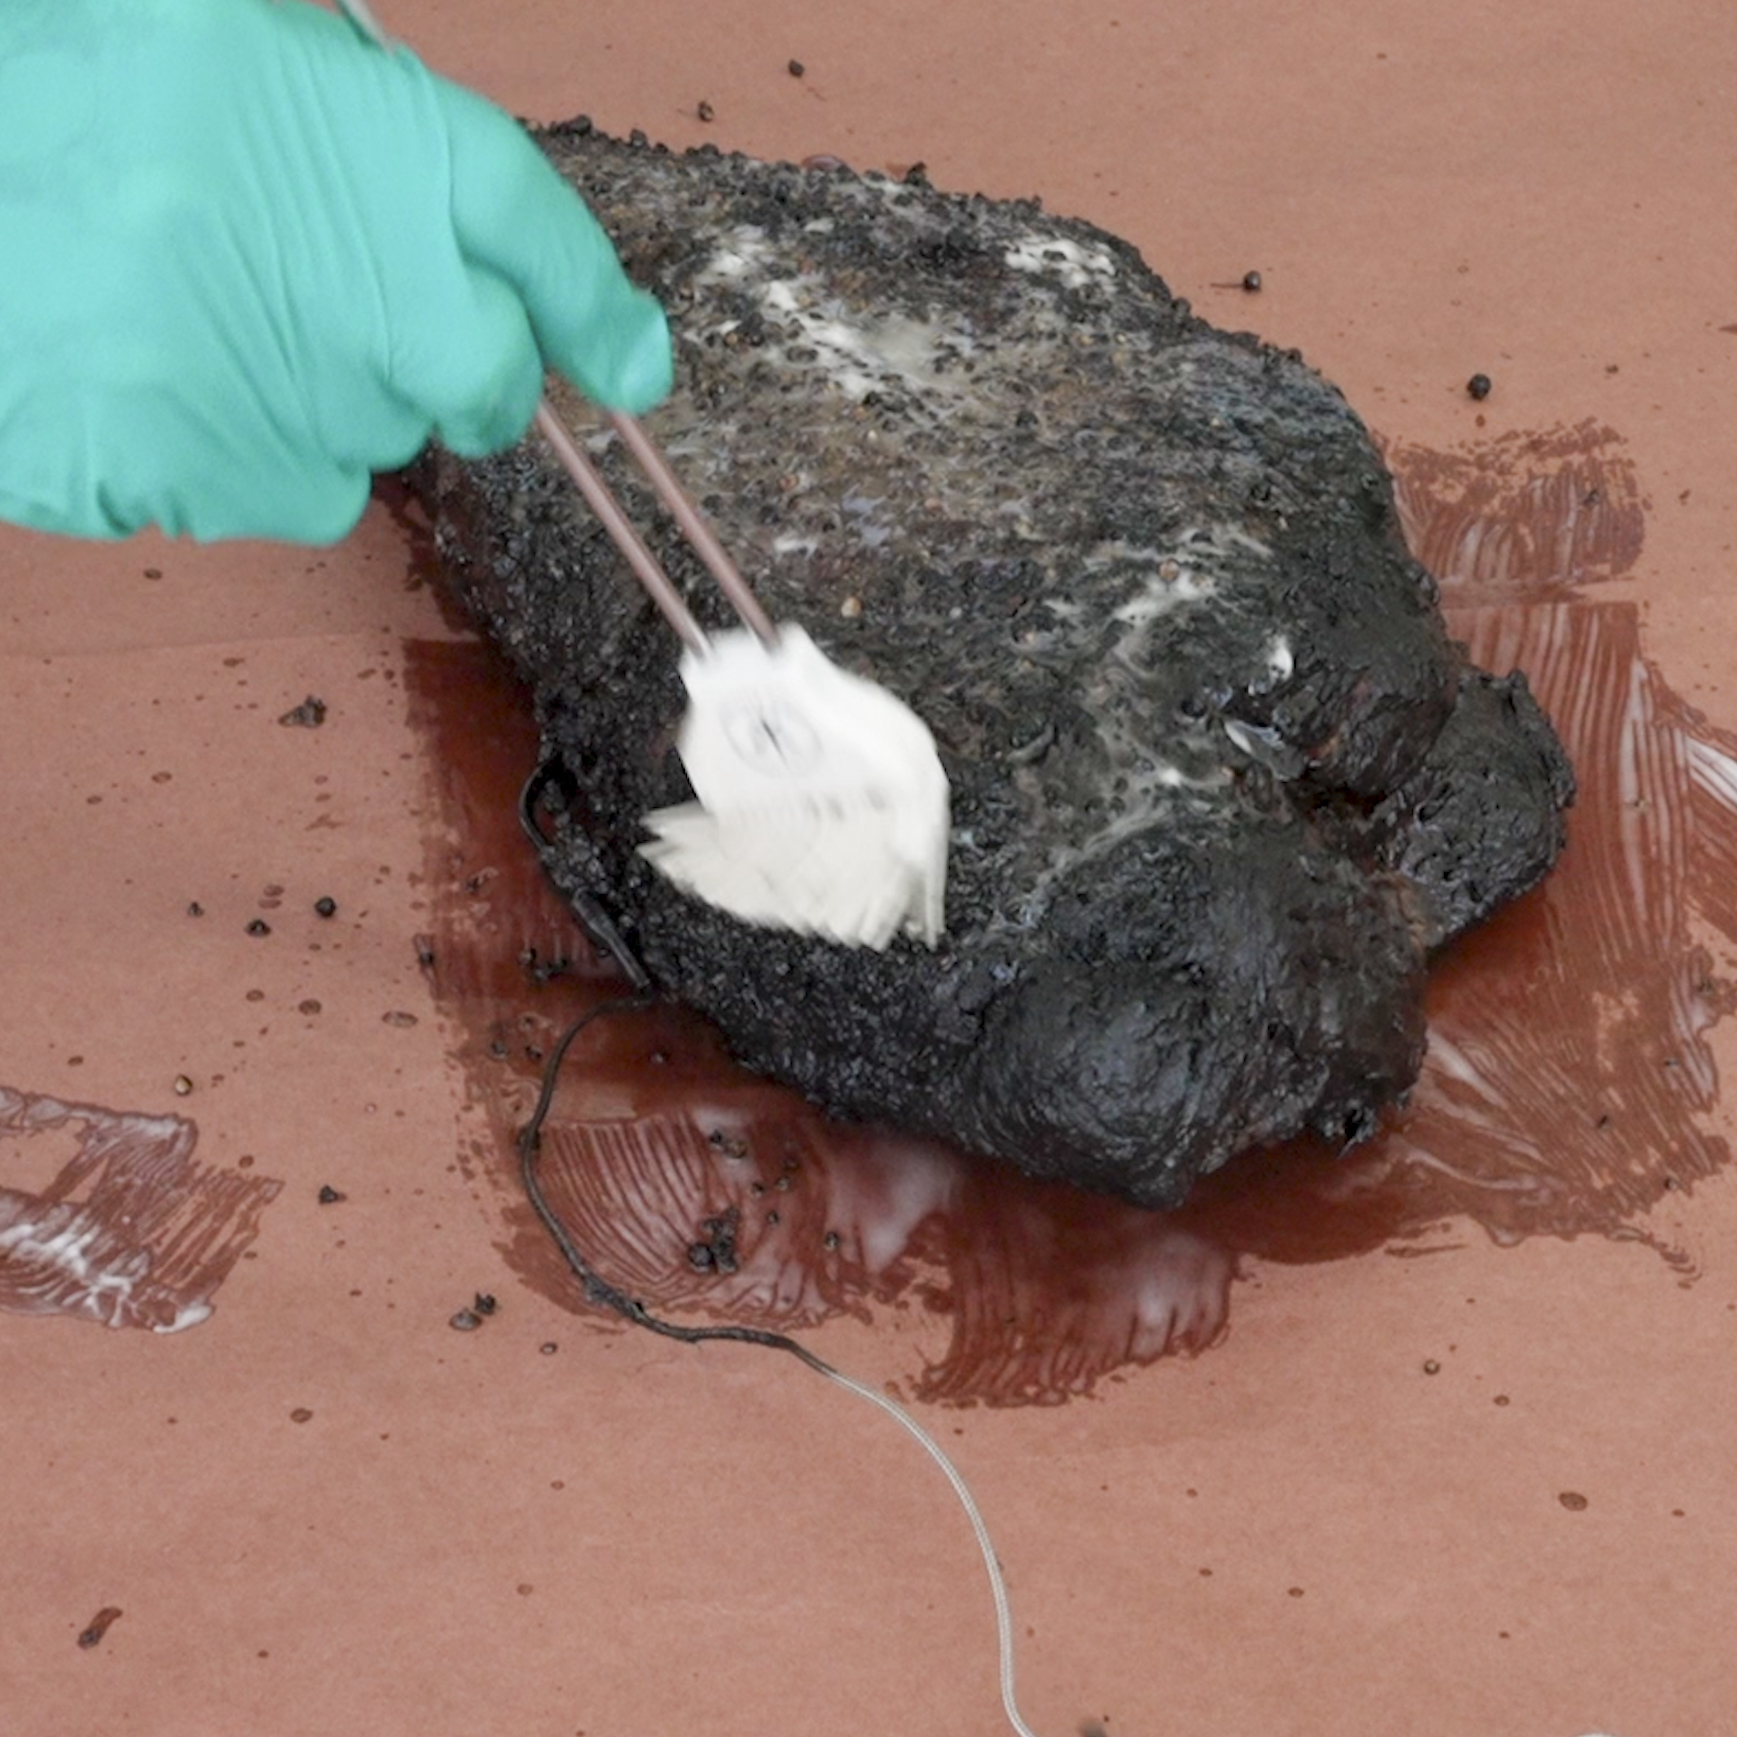
Brush a thin, even coating of melted beef tallow over both sides of the brisket. I often render the tallow from brisket trimmings, although purchased tallow works well. A light coating is sufficient.
Step 3: Position the Brisket and Temperature Probe
Place the brisket fat side up on the paper seam, about 8 inches from the edge closest to you. Keep the temperature probe in the thickest part of the flat. Route the wire along a fold so the paper can close snugly around it.
Step 4: Fold the Paper Snugly Around the Brisket
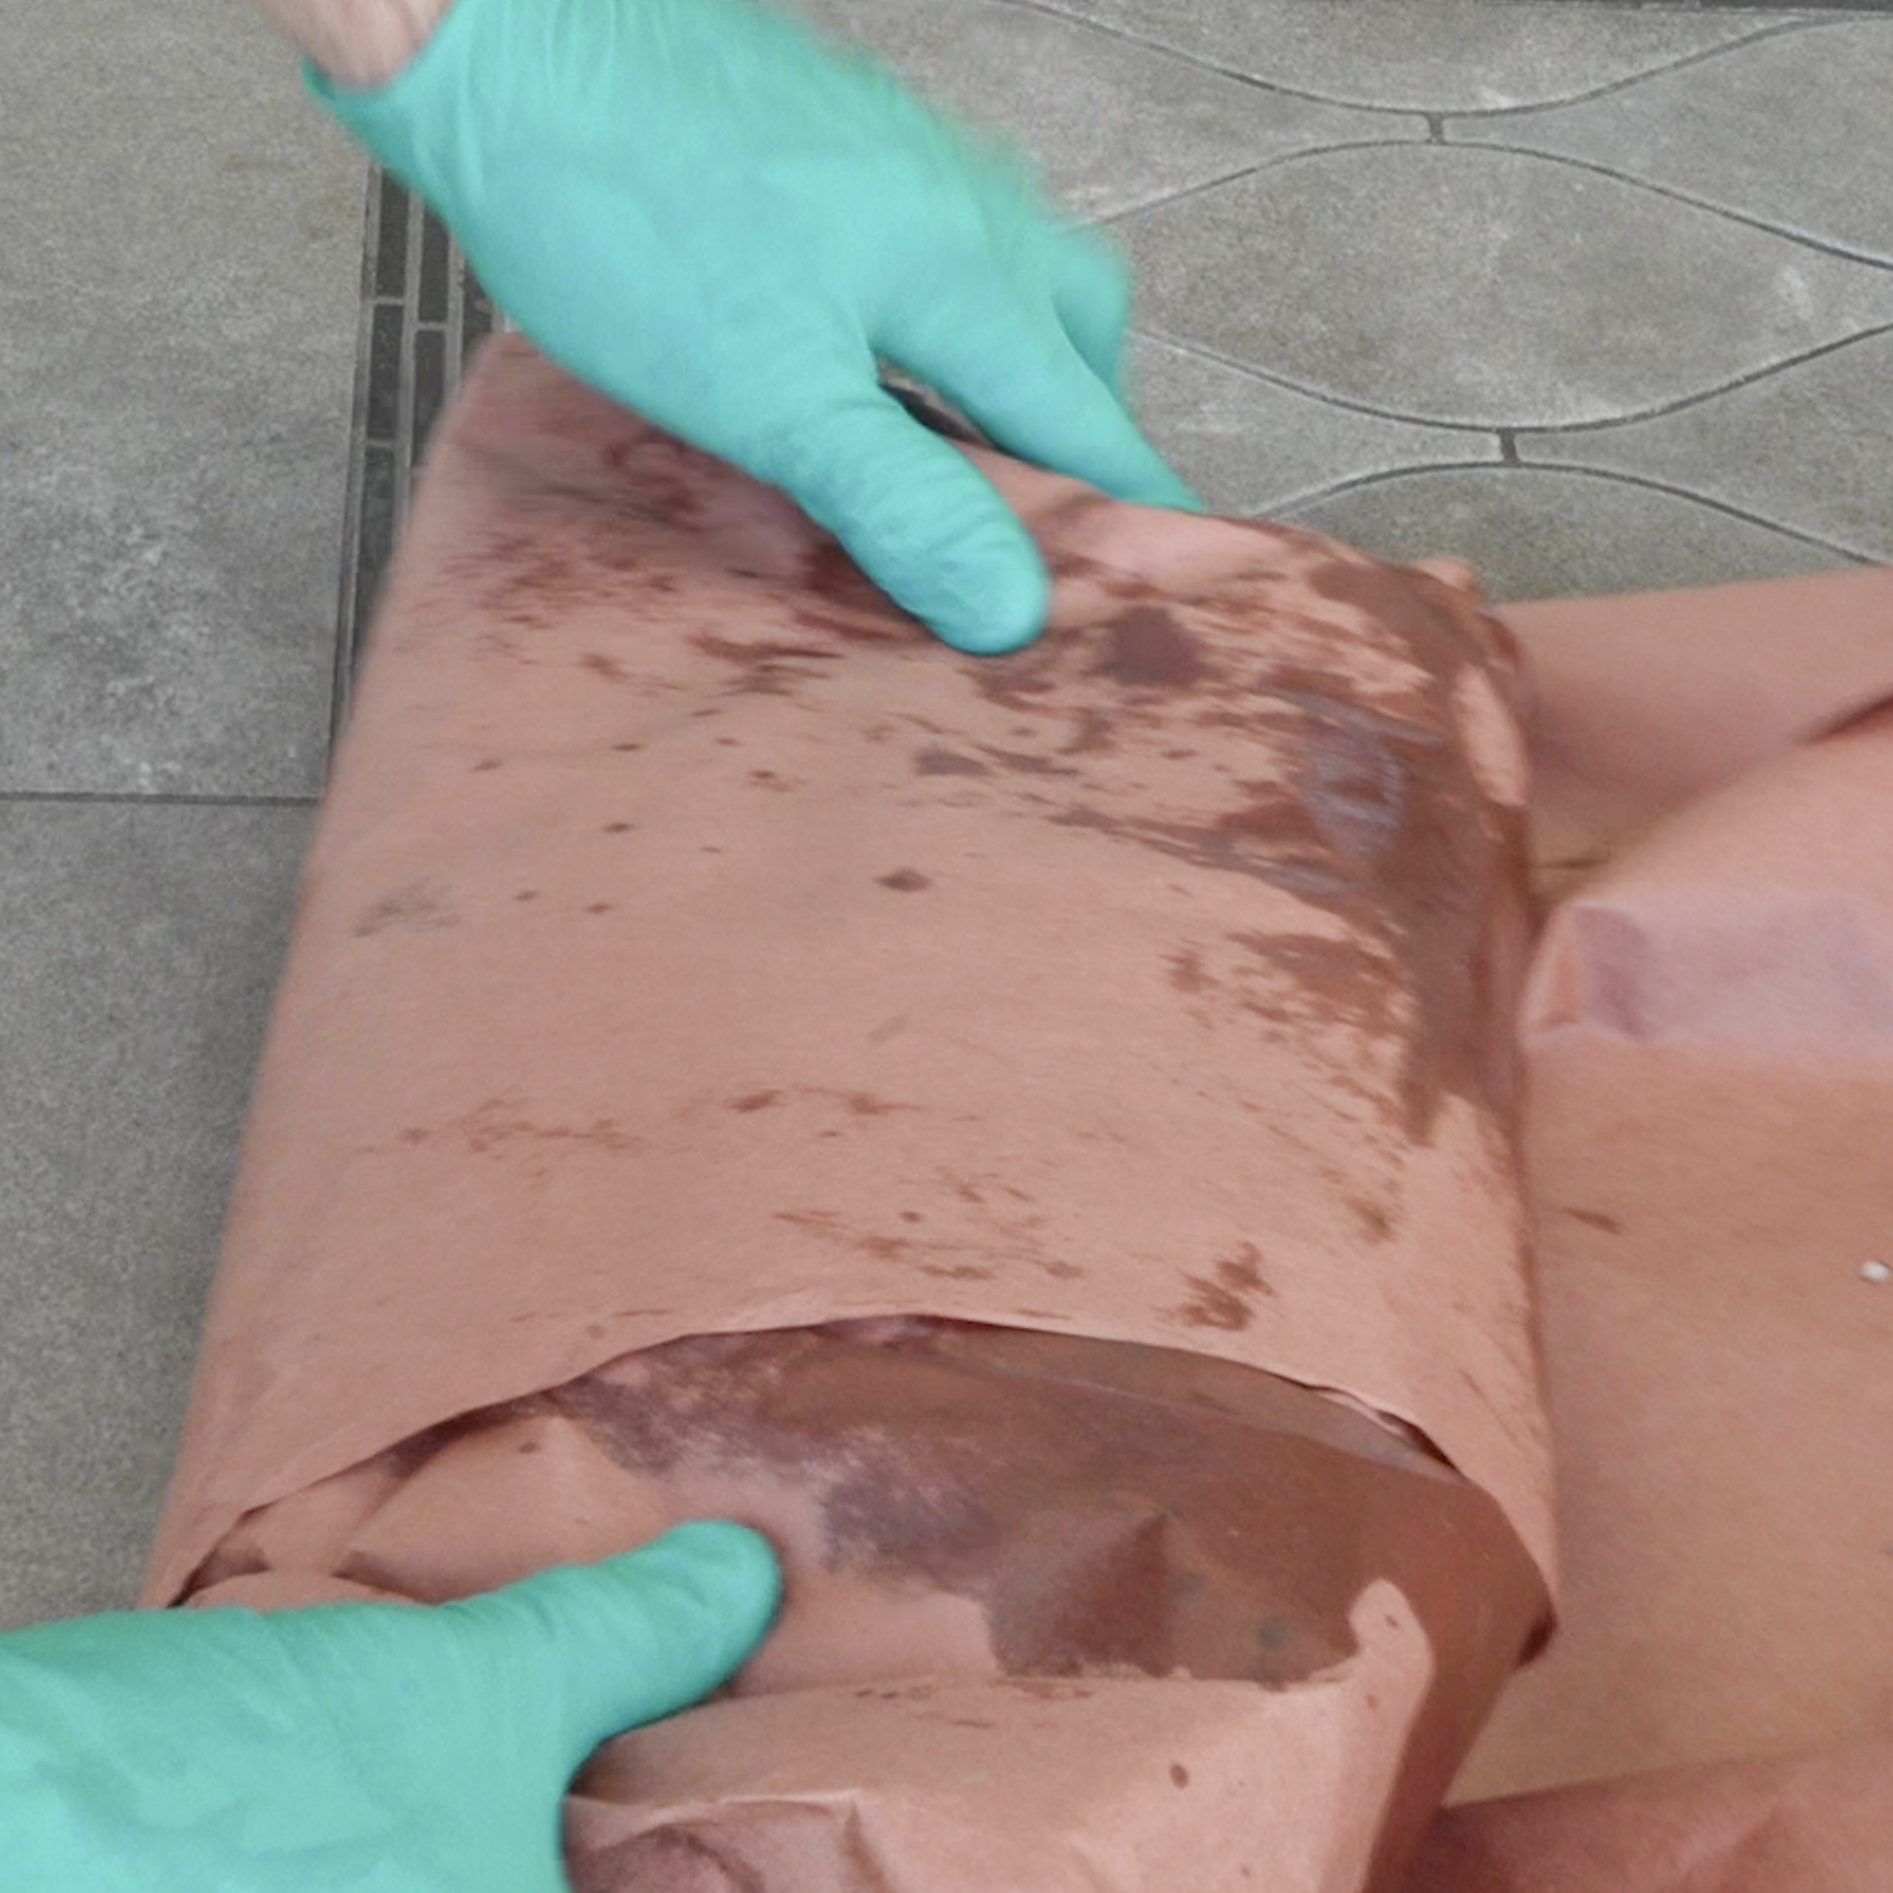
Pull the near edge of the paper up and over the brisket, tuck the paper against the meat, and flip the brisket over, away from you. The fat cap will face down after the first flip. Fold both sides of the paper inward, keep the creases close to the brisket, and continue rolling.
Make one final flip so the fat cap faces up again and the brisket is fully enclosed. Keep the paper snug and in contact with the bark, folding out any large pockets around the meat. Tracking the fat-cap side through each flip makes it easy to return the brisket to the smoker in its original cooking position.
Step 5: Return the Brisket to the Smoker
Place the paper-wrapped brisket back in the smoker in the same orientation it had before the wrap. In my method, the fat cap faces up. Keep the probe in the flat so you can monitor the internal temperature through the paper.
What Temperature Should You Cook a Wrapped Brisket To?
Most of my wrapped briskets finish between 200 and 205°F, but temperature tells me when to begin checking rather than when to stop cooking. I test the meat with a thin probe and pull the brisket when the flat offers very little resistance. The flat is the deciding area because it usually becomes tender after the fattier point.
As the flat approaches 200°F, push an instant-read thermometer or another thin probe through the paper and into several places in the meat. Check more than one area because one part can feel tender before the rest of the flat. Pull the brisket when the probe consistently slides in with very little resistance. The final temperature reading may be slightly above or below the usual range.
The point contains more fat and usually becomes tender before the leaner flat. Using the flat as the final test gives the leaner portion enough time to become tender while the point continues to render. When the flat is probe tender, the point will be ready as well.
Why Does a Brisket Need to Rest?
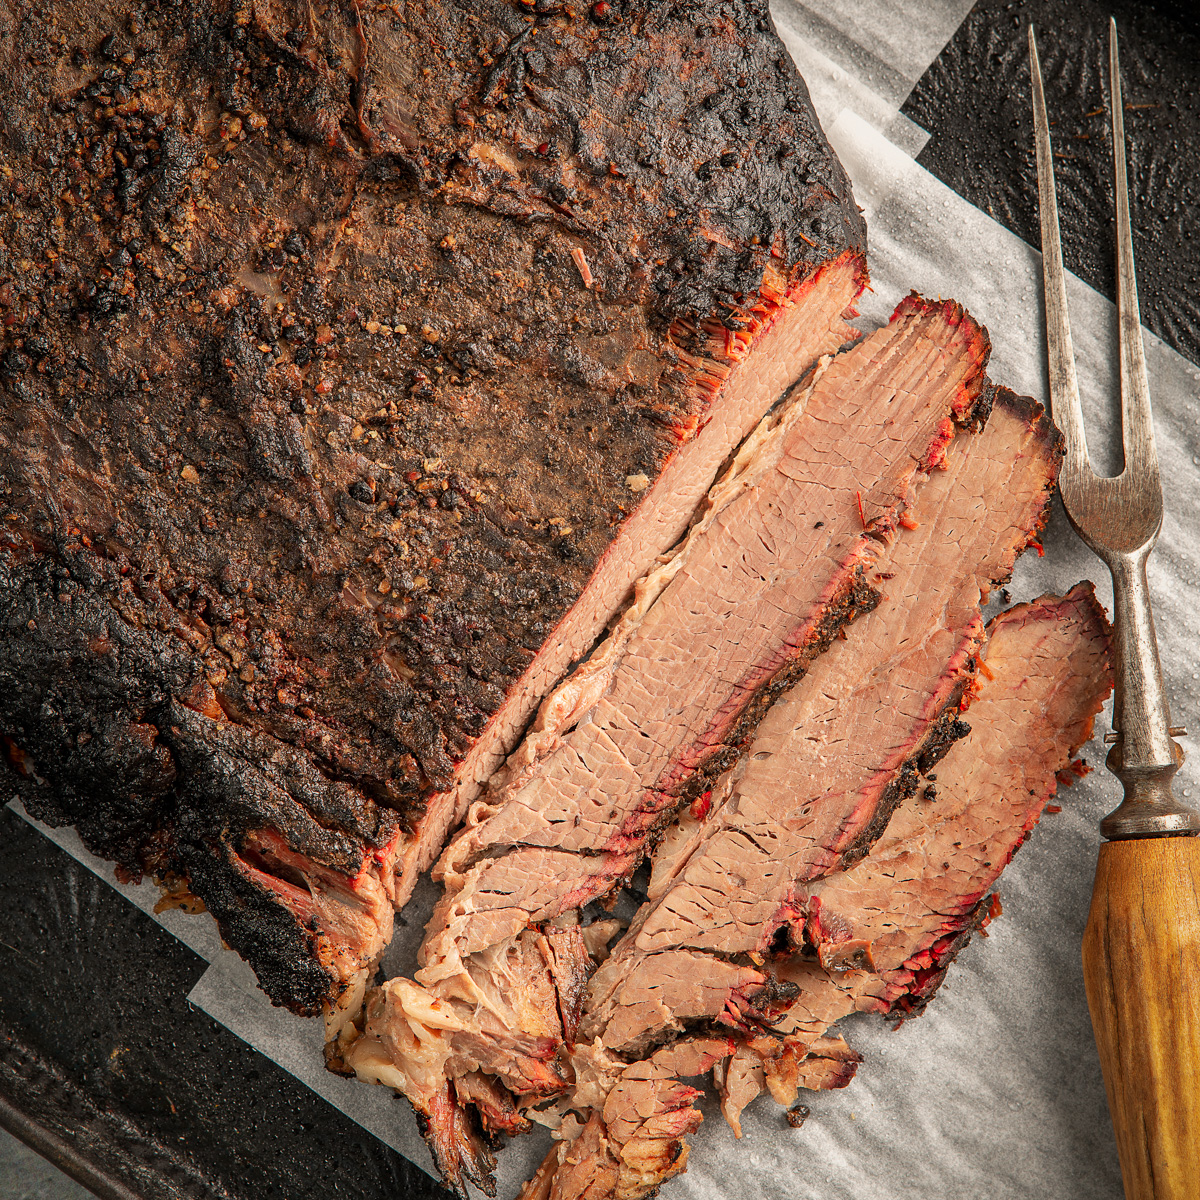
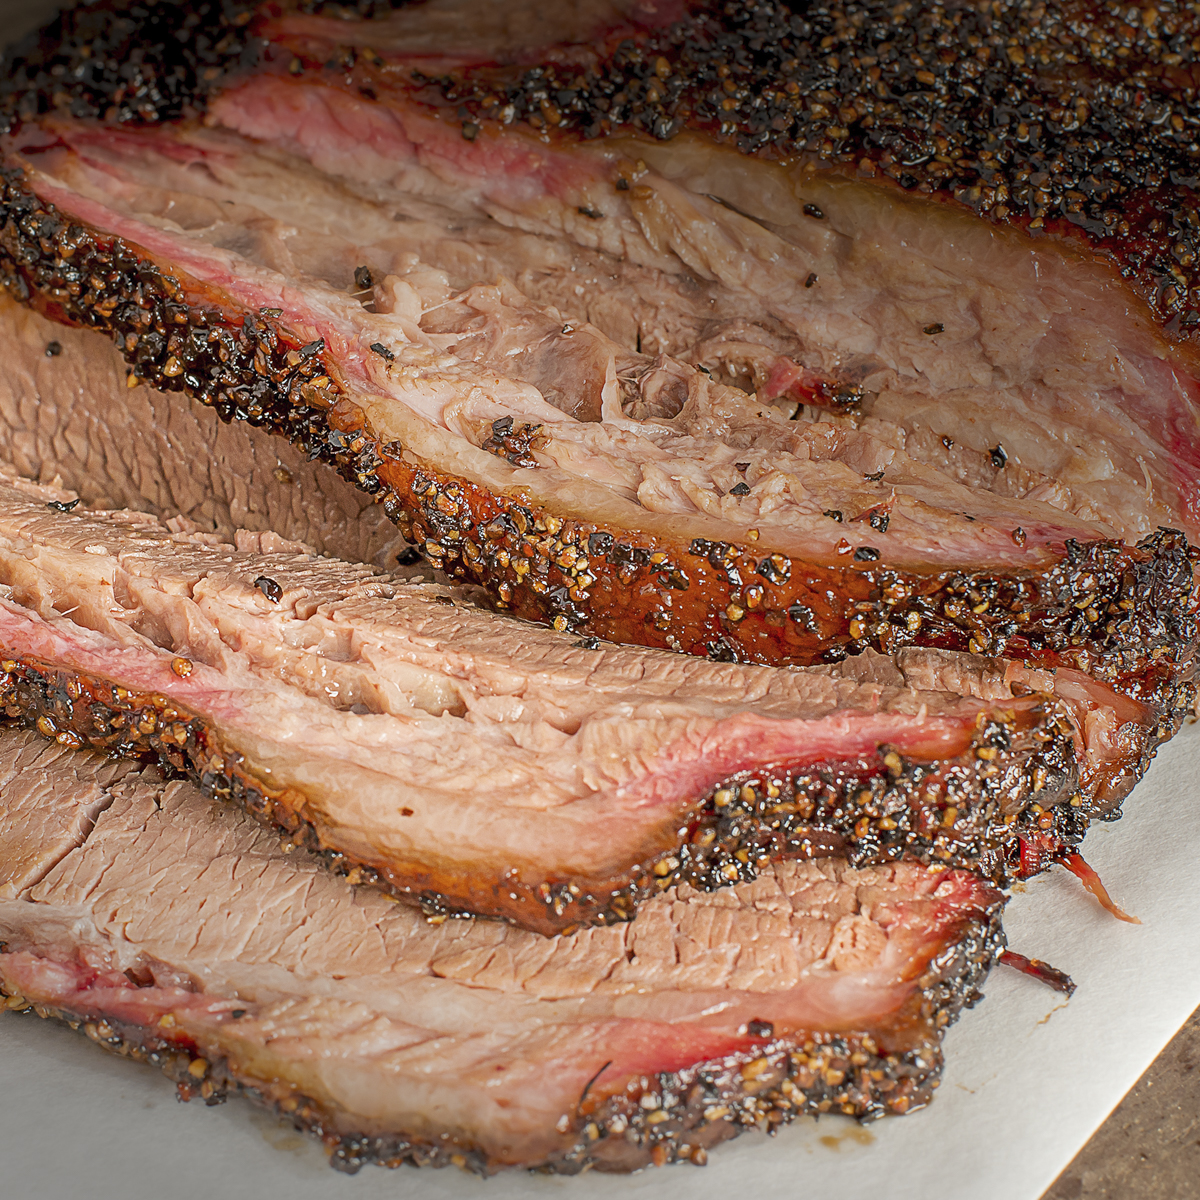
Resting lets the brisket cool gradually before slicing. As it cools, temperatures inside the meat become more even, the meat firms up enough to hold together when sliced, and less liquid runs onto the cutting board.
A finished brisket contains hotter and cooler areas. The rest allows those temperatures to become more even as the flat drops from its finishing temperature toward 145°F. The meat also firms as it cools, which helps the slices hold together when cut. Cooling also reduces the amount of liquid released when the brisket is cut. I used to describe that as the juices being reabsorbed, but it's actually more complicated than that. As the brisket cools, pressure inside the meat decreases, so less liquid is pushed onto the cutting board when the fibers are cut. More of the liquid remains in each slice, where I want it.
How to Rest a Brisket in a Cooler
An insulated cooler gives the finished brisket a protected place to cool gradually while staying hot for the meal. I keep the brisket wrapped with the probe in the flat, reinforce the butcher paper when needed, and cover the package with clean towels. The paper, towels, and cooler work together to preserve the wrap and slow the loss of heat.
Leave the brisket in its original butcher-paper wrap and inspect the paper for tears or heavy saturation. When the first layer needs support, add a fresh sheet around the brisket and leave the probe wire accessible.
Wrap the package in clean towels and place it in an empty, room-temperature cooler. Close the lid and leave the brisket alone while it rests. The towels and cooler insulation slow heat loss, giving the brisket time to cool gradually toward its serving temperature.
How Long Should a Brisket Rest?
Plan on about two hours for a whole brisket to rest in a cooler, then use the probe in the flat to decide when the rest is complete. Brisket size and cooler insulation affect how quickly the temperature falls. I remove the brisket at about 145°F. That's when it is ready to slice and still hot enough to serve.
I build a two-hour rest into my cooking schedule so the brisket can cool gradually and the meal can start on time. A smaller brisket may cool sooner, while a larger brisket or a well-insulated cooler may extend the rest. Planning for the full window gives me time to follow the temperature instead of rushing the brisket to the cutting board.
Resting vs. Holding a Brisket
Resting and holding serve different purposes after the brisket finishes cooking. A rest lets the brisket cool toward slicing temperature, while a controlled hot hold keeps it at a safe serving temperature after the normal rest. I use a cooler when I plan to serve in about two hours and controlled heat when the meal will be later than two hours.
For a normal rest, leave the wrapped brisket in the towel-lined cooler and monitor the probe temperature until the flat is about 145°F. The cooler's insulation slows heat loss and allows the temperature to fall gradually. At that point, slice the brisket or move it to a controlled holding setup.
For a longer hold, remove the towels and place the wrapped brisket in a warm oven or another temperature-controlled setup. Use a food thermometer to keep the brisket at 140°F or warmer, which follows USDA guidance for holding hot food. Controlled heat maintains a safe, predictable serving temperature until the meal begins.
When Is a Rested Brisket Ready to Slice?
Slice the brisket when the flat is about 145°F and the meal is ready to begin. At that point, the meat is hot enough to serve and firm enough to cut cleanly. Keep the brisket whole and wrapped until then so it retains heat and moisture.
At about 145°F, the flat should cut cleanly while remaining tender. A properly cooked slice bends over a finger and stays intact, then releases moisture when pressed gently. I use that combination of temperature and texture to judge whether the brisket is ready for the table.
Keeping the brisket whole helps it retain heat and moisture until serving. I unwrap it at the cutting board, separate the point and flat when needed, and slice each portion across the grain. I cut only what I plan to serve so the remaining brisket stays hot and wrapped.
Frequently Asked Questions
Wrapping and resting raise the same practical questions on nearly every brisket cook. The answers below explain whether and when I wrap, why I prefer butcher paper, how I use tallow, and how I manage the rest when the serving schedule changes.
A brisket can finish completely unwrapped and will usually develop the firmest bark. I prefer to wrap after the stall because butcher paper reduces evaporation and limits the finished bark's exposure to heat and airflow during the finish.
Wrap after the brisket has exited the stall and the bark is dark, firm, and securely attached. The exit temperature varies, so I use temperature movement and bark condition to decide when to wrap.
I prefer butcher paper because it reduces evaporation while releasing some vapor from the package. Foil retains more moisture and may shorten the finish, but it produces a softer bark and a meat texture similar to pot roast.
I brush a light coating of melted beef tallow over both sides of the brisket before wrapping. Tallow is optional, but the added fat helps keep the surface moist inside the paper.
I leave the brisket in its butcher-paper wrap during the rest. When the paper is torn or heavily saturated, I add a fresh outer layer before wrapping the brisket in towels.
My standard cooler rest is about two hours, or until the flat is about 145°F. The probe is more useful than the clock for the final decision because brisket size and cooler insulation affect the cooling rate.
Use controlled hot holding when the serving delay extends beyond a normal cooler rest. Move the wrapped brisket to a warm oven or similar temperature-controlled setup and keep it at 140°F or warmer.
Final Thoughts
Wrapping and resting become straightforward once you understand what each stage is meant to accomplish. You can rely on the brisket itself instead of treating time and temperature as inflexible rules. That judgment becomes easier with every cook, giving you greater confidence when the brisket reaches the cutting board.
Bringing the same care to these final stages carries the work of trimming, seasoning, and managing the fire through to the finished brisket. The reward is a firm, flavorful bark, a tender flat, and moist slices that cut cleanly and stay together. When the first slice bends over a finger without falling apart, you will know the patience was worth it.
Leave a Reply