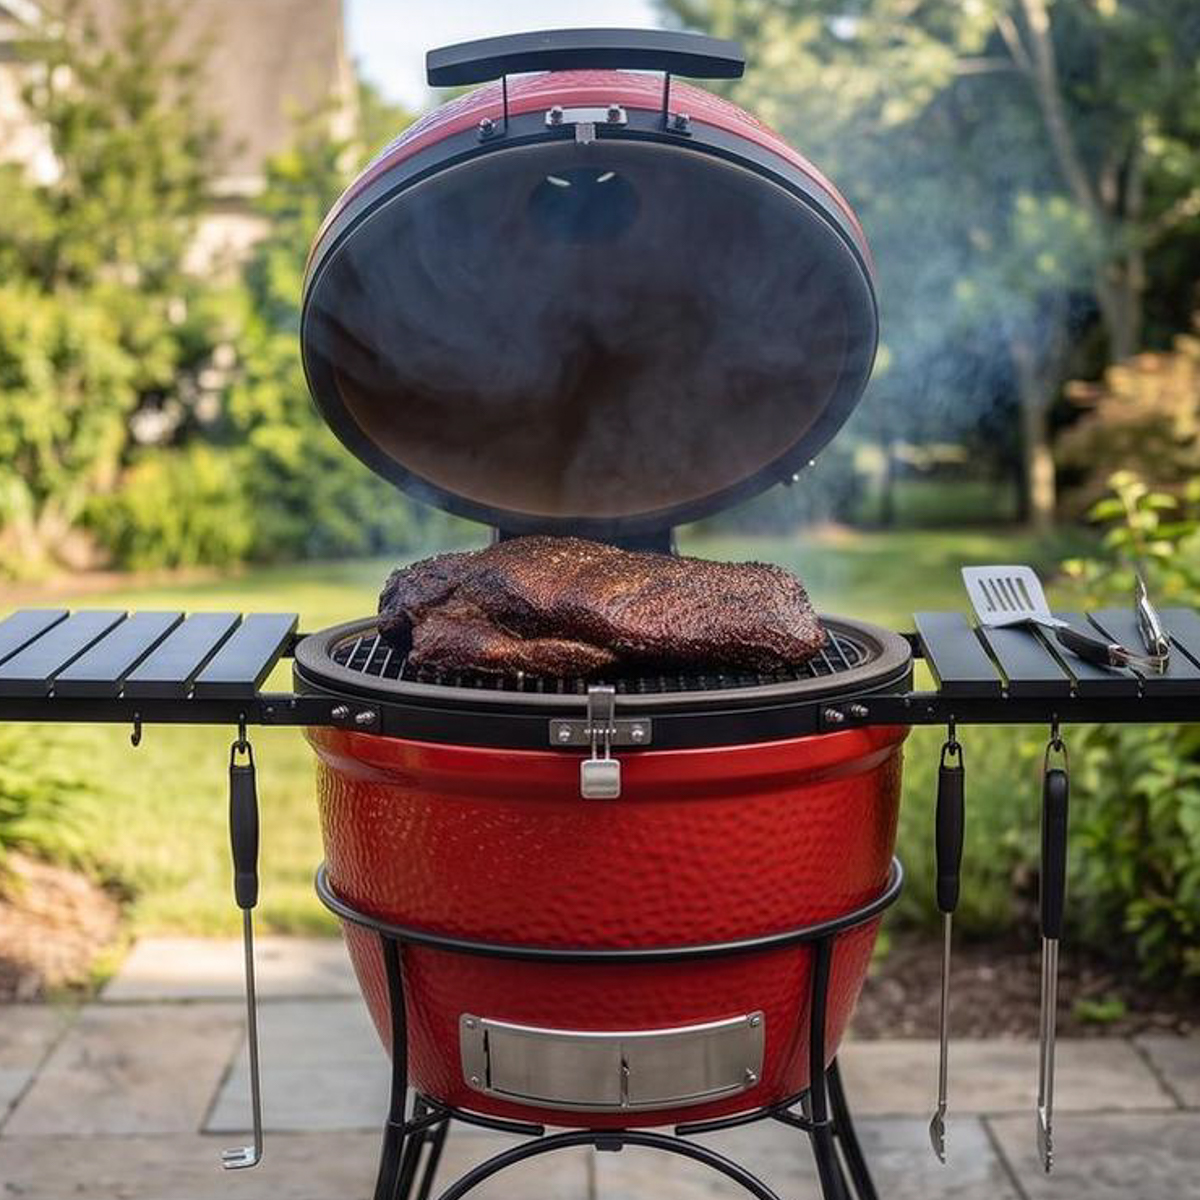
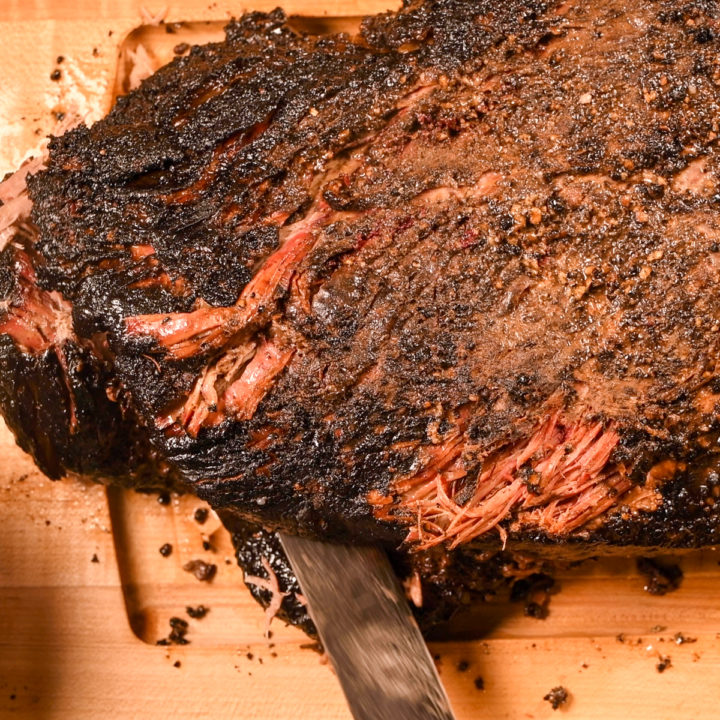
In Texas, few dishes command as much respect as a properly smoked brisket. The dark bark, smoky flavor and tender slices make brisket one of the most rewarding things you can cook on a Kamado Joe. It also has a reputation for being difficult, but the process becomes much easier once you understand how to set up the grill, control the fire and recognize when the meat is ready for the next step.
A Kamado Joe is particularly well suited to brisket because its ceramic body holds heat steadily and its efficient charcoal fire can run for hours with little attention. Once the cooker is stabilized, it creates the consistent cooking environment a whole-packer brisket needs to develop bark, render fat, and become tender.
In this guide, I explain how the stages of a brisket cook fit together and how the choices you make along the way affect the finished meat. More importantly, you will learn what to look for at each stage so you can respond to the brisket in front of you instead of relying only on the clock or a single temperature.
The Bottom Line: Set up the Kamado Joe for indirect heat at 250°F, wrap the brisket after it has moved through the stall and the bark is fully set, and continue cooking until the flat is probe-tender. Give the finished brisket a full two-hour rest and slice it when the internal temperature is close to 145°F.
Jump to:
- The Kamado Joe Brisket Series
- Equipment
- Build Extra Time Into the Schedule
- How to Choose a Brisket
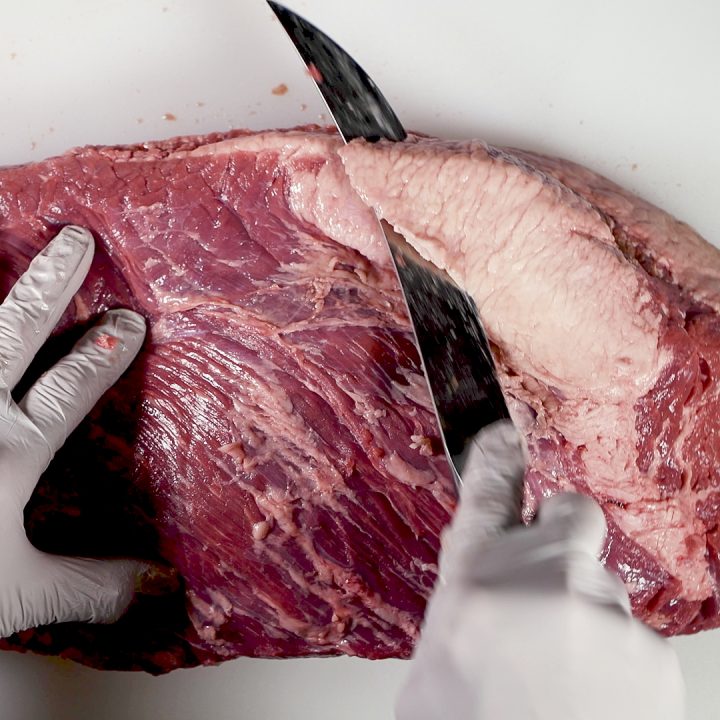
- How to Trim the Brisket
- How to Season the Brisket
- How to Set Up a Kamado Joe for Brisket
- How to Smoke the Brisket
- Should You Spritz a Brisket?
- What Is the Brisket Stall?
- When and How to Wrap the Brisket
- How to Know When the Brisket Is Done
- Decide Whether to Make Burnt Ends
- Let the Brisket Rest
- How to Slice and Serve the Brisket
- Storage and Reheating
- Frequently Asked Questions
- Final Thoughts: Smoking a Brisket on a Kamado Joe
The Kamado Joe Brisket Series
This article walks through the entire cook, while the other articles in the series examine the most important stages in greater detail. Read the complete guide from beginning to end or use the links below to focus on a specific part of the process.
Begin with How to Trim a Brisket for Smoking and watch the brisket-trimming video so you can identify the fat that needs to be trimmed and the fat that needs to stay. Brisket does not cook according to a precise clock, so How Long to Cook a 15-Pound Brisket explains how to plan the cook, while How to Know When a Brisket Is Done shows how temperature and probe tenderness work together. The series also includes focused guides to wrapping and resting the brisket and making beef tallow from the trimmings.
Equipment
The essential tools for this cook are a Kamado Joe with both heat-deflector plates, a leave-in meat thermometer and an instant-read thermometer. A large cutting board, sharp boning knife, pink butcher paper, disposable aluminum pan and insulated cooler also make the process easier.
A temperature controller is optional, but it is particularly useful for overnight cooks. I use my FireBoard 2 Drive to monitor the temperature inside the Kamado Joe and the thickest part of the flat. With the fan attached, it can make small airflow adjustments and hold the grill near 250°F while I sleep. See my FireBoard 2 Drive review for more information.
Build Extra Time Into the Schedule
Brisket does not cook according to a precise clock, so build extra time into the schedule. Plan for it to finish at least two hours before the meal. This provides time for the required rest and gives you a cushion when the cook runs longer than expected.
A full packer brisket commonly takes 10 to 15 hours or longer to cook, depending on its size and thickness. Monitor the grill temperature, keep the fire near 250°F, and judge each stage by the appearance and tenderness of the brisket. My article, How Long to Cook a 15-Pound Brisket, provides a more detailed planning guide.
When the brisket finishes early, keep it wrapped and transfer it to a controlled warm oven. Hold it at 140°F or warmer when it needs to wait beyond a normal cooler rest. I would rather hold a finished brisket safely than have hungry guests waiting for one that still needs more time.
How to Choose a Brisket
Choosing the right brisket begins with its shape, flexibility, exterior fat, and marbling. I look for a whole packer with both muscles attached and an evenly shaped flat that will cook at a similar rate from end to end. Grade and price matter too, but the most expensive brisket is not always the best value.
Look for a flat that is not excessively thin at one end, then pick up the packaged brisket and bend it. A flexible brisket is easier to handle. The fat cap should be intact, but an unusually thick cap adds weight that you will trim away and pay for anyway.
I prefer USDA Prime brisket because it generally has more marbling than USDA Choice, and the additional fat helps protect the meat during a long cook. Where I shop in Texas, a Wagyu brisket can cost nearly three times as much as Prime, and I have not found the difference in the finished brisket significant enough to justify the price. A great Prime brisket gives me the marbling and flavor I want at a reasonable price.
How to Trim the Brisket
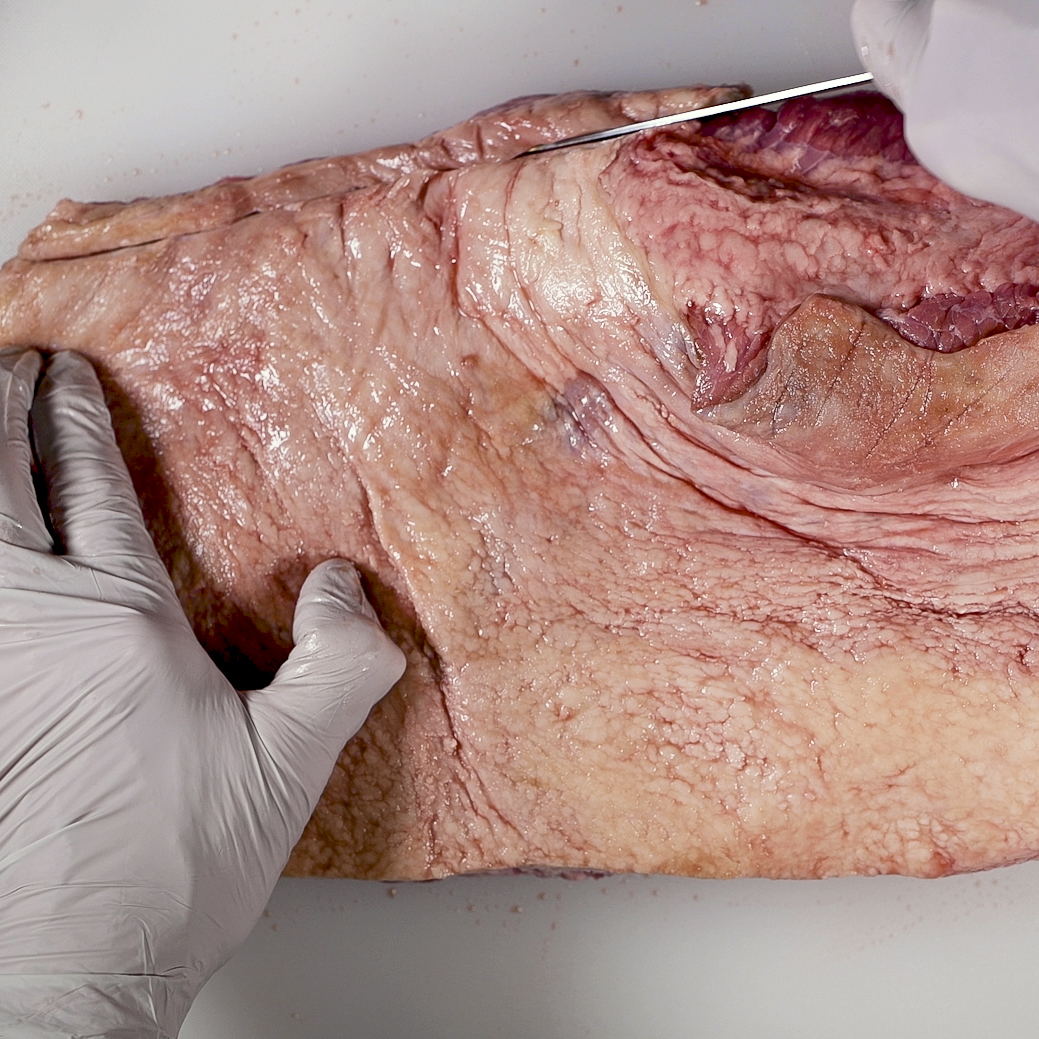
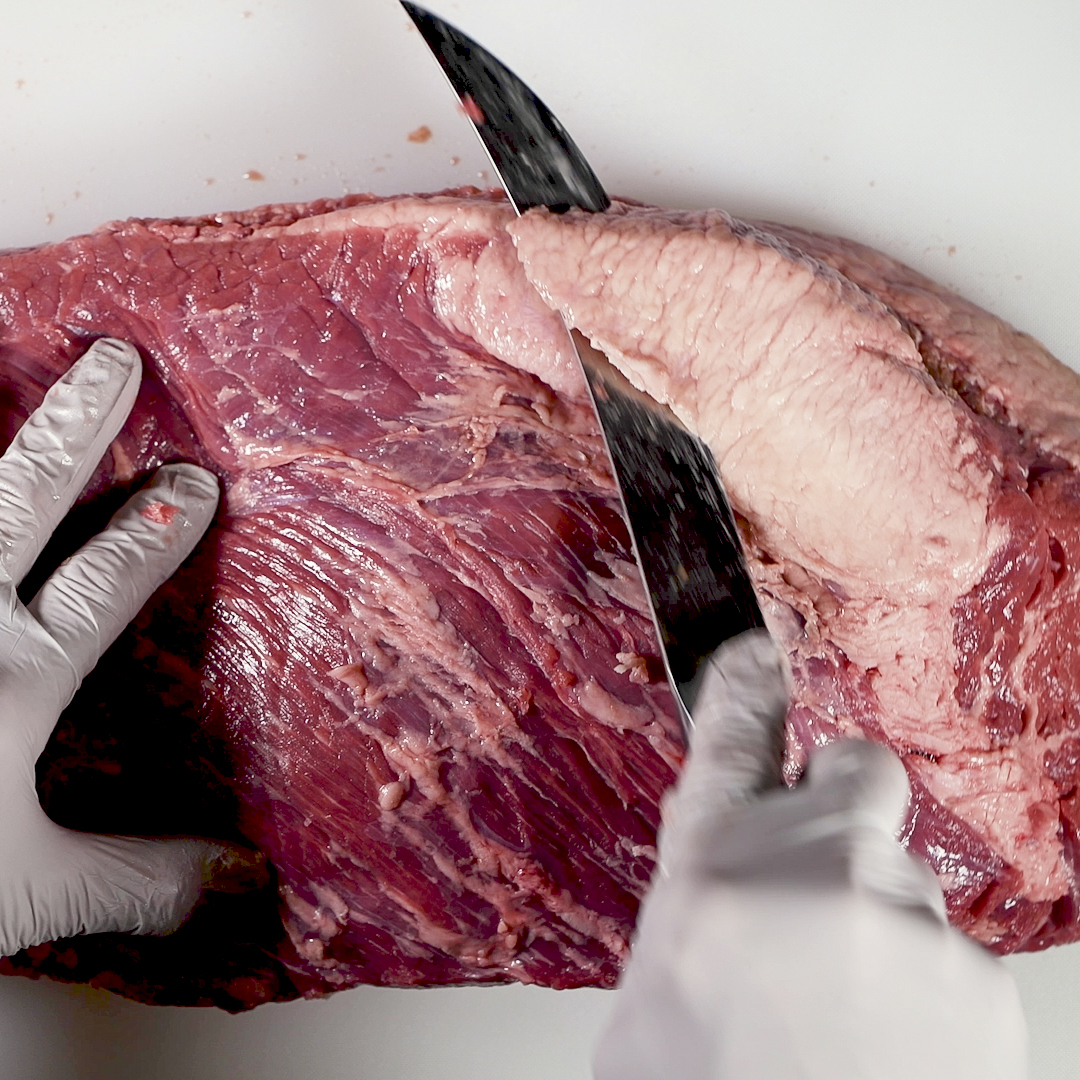
Trimming gives the brisket a more uniform shape, helps it cook evenly, and leaves the right amount of fat to protect the meat. I work with the brisket cold, remove the thin edges and square the flat, trim the fat cap to an even thickness, and then turn the brisket over to remove the large deposits of hard fat from the meat side.
Trim the brisket while it is cold because cold fat is firmer and easier to cut cleanly. Place it fat side up on a large, sturdy cutting board and use a sharp boning knife to remove the thin edges of the flat. Square the remaining edges so the brisket has a more uniform shape.
Trim the fat cap to an even layer approximately ⅜ to ½ inch thick. The remaining fat protects the brisket during the cook while allowing the surface fat to render properly. Turn the brisket over and remove the large, hard deposits of fat from the meat side, including the thick pocket between the point and flat. For photographs and complete instructions, see How to Trim a Brisket for Smoking.
How to Season the Brisket
A simple dry rub gives brisket a flavorful bark while allowing the beef and smoke to remain the dominant flavors. My standard Texas-style brisket rub consists of kosher salt and coarsely ground black pepper. This traditional combination provides all the seasoning a properly smoked brisket needs.
Texans take brisket seriously, and salt and pepper form the foundation of the rub at many of the state's best barbecue joints. Aaron Franklin of Franklin Barbecue helped popularize this straightforward approach among backyard cooks. Many of his techniques have influenced how I cook brisket.
Pat the brisket dry with paper towels, then apply the salt and pepper evenly to every exposed surface. Press the seasoning into the meat so it stays in place. The brisket can go directly onto the grill after seasoning, or you can refrigerate it while you finish setting up the Kamado Joe.
How to Set Up a Kamado Joe for Brisket
One reason I like cooking brisket on a Kamado Joe is that its ceramic body retains heat and its airflow can be controlled precisely enough to maintain 250°F through an overnight cook on a single load of lump charcoal. The goal is to build a small, clean-burning fire that spreads gradually. Use the heat deflectors and water pan to create a steady indirect cooking environment. Once the grill is fully heated and stable, it can maintain the conditions a brisket needs for hours with very little attention.
Fill the Charcoal Basket
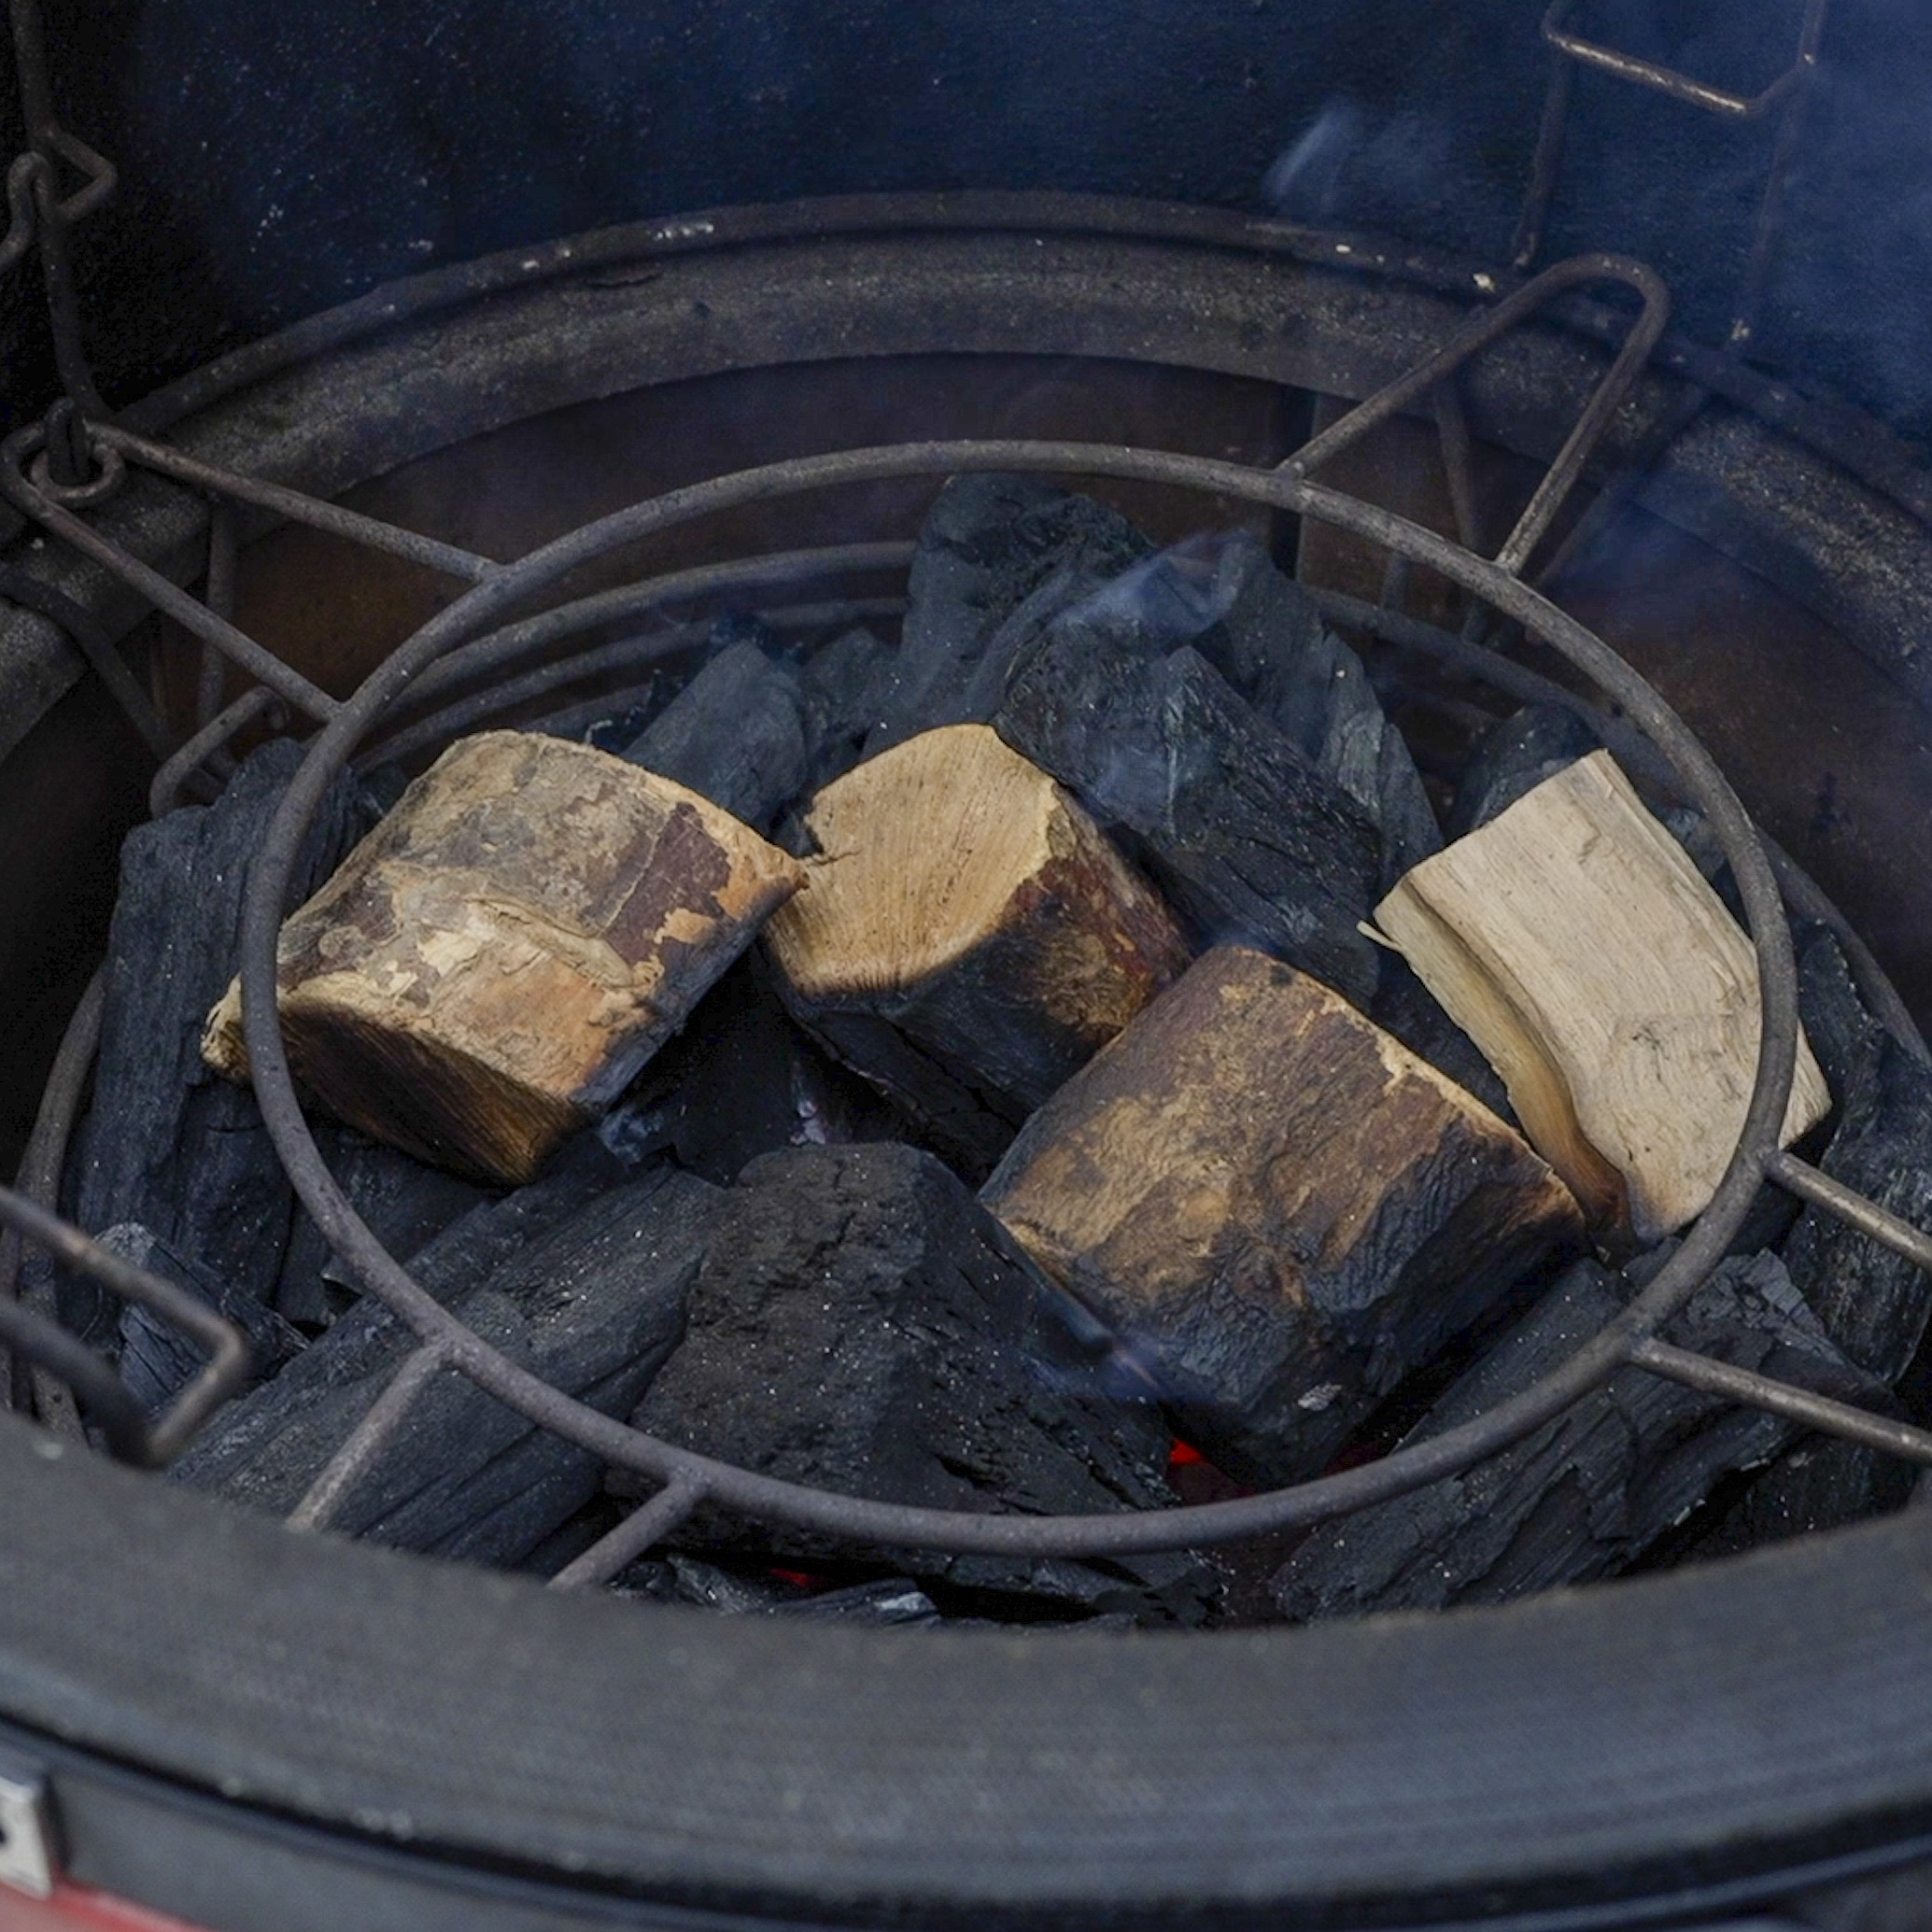
Fill the charcoal basket with quality lump charcoal. I prefer larger pieces of charcoal for brisket because they provide gaps for airflow and burn for a long time. Add smaller pieces of charcoal in between some of the larger pieces.
A Kamado Joe is efficient enough to cook a brisket for more than 14 hours on one load of lump charcoal. Starting with a full basket prevents the need to add more charcoal later. If you don't have a favorite lump charcoal, see my test of the Best Lump Charcoal for the Kamado Joe.
Light a Small Fire
Light only a small area of charcoal in the center of the basket and leave the lid open for several minutes while the fire becomes established. A small fire allows the Kamado Joe to approach 250°F gradually and gives the ceramic time to heat. Begin closing the vents before the grill reaches the target because a ceramic cooker responds more quickly when heating than when cooling.
Add Wood Chunks
Use a few wood chunks to add smoke flavor throughout the cook. Wood chunks burn longer than chips and can be placed directly in the charcoal without soaking. I prefer oak or a fruit wood such as apple. Hickory and mesquite produce a stronger smoke flavor than I want during a long brisket cook.
Place three or four chunks around the center of the charcoal basket. Position one about 2 inches from the area you lit so it begins smoking early in the cook. Place the remaining chunks farther away so they ignite later as the fire spreads through the charcoal.
Set Up the Water Pan
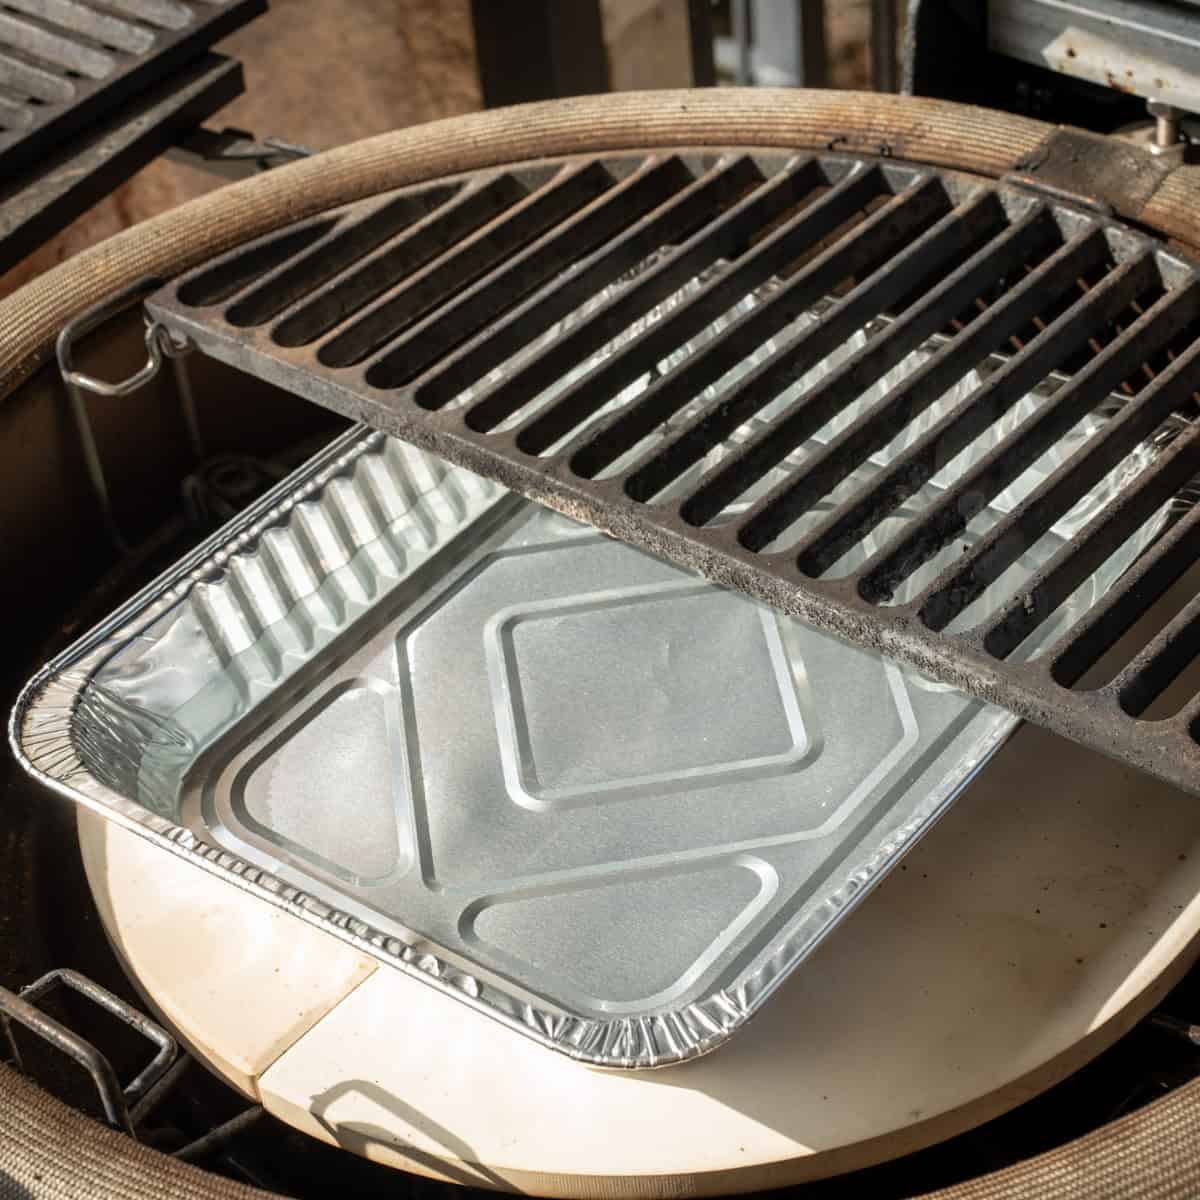
A water pan adds humidity and thermal mass to the Kamado Joe's cooking environment. It also catches drippings and makes cleanup easier. I use the pan to create a more stable cooking environment rather than to baste the brisket.
Install both half-moon heat-deflector plates in the lowest position for indirect cooking. Place six balls of rolled aluminum foil, each about 1 inch in diameter, on the deflector plates and set a disposable aluminum pan on top of them. The resulting air gap helps keep the water from boiling away too quickly. Fill the pan partway with water, check it during the cook, and add more water when necessary. My article Do You Need a Water Pan in a Kamado Joe? explains why I use one and how I position it.
Stabilize the Kamado Joe at 250°F
Install the cooking grates, close the lid, and begin closing the vents before the grill reaches 250°F. Make small adjustments and give the ceramic cooker time to respond. Once the dome, heat deflectors, and cooking grates are hot, hold the Kamado Joe near 250°F for at least 25 minutes. This heat soak helps the grill maintain a stable temperature throughout the long cook.
If you use a FireBoard 2 Drive with a fan, bring the Kamado Joe close to the target temperature with the vents first. Then let the controller manage the small airflow adjustments needed to maintain a stable fire throughout the cook.
How to Smoke the Brisket
The first stage of the cook is about maintaining a clean fire and giving the brisket time to develop its bark. Let the Kamado Joe stabilize at 250°F and wait until the initial heavy smoke has cleared. Then position the brisket in the center of the cooking grate, insert the temperature probe, and close the lid.
Place the brisket fat side up and turn the thicker point toward the back of the Kamado Joe, which is often the hotter area. Insert a leave-in thermometer probe into the thickest part of the flat, avoiding large pockets of fat. Close the lid, allow the temperature to settle again, and then make any necessary vent adjustments.
Should You Spritz a Brisket?
Spritz the brisket when the bark has begun to form and the surface develops dry areas. The goal is to keep those exposed areas lightly moist while allowing the rest of the bark to continue developing. I usually use cool water, although apple cider vinegar or a mixture of water and vinegar also works.
Begin checking the surface after the first two or three hours. Spray only the dry areas, then close the lid and let the brisket continue cooking. When the surface already looks moist, leave the lid closed and allow the Kamado Joe to maintain its steady cooking environment.
What Is the Brisket Stall?
The stall is the period when the internal temperature of the brisket stops climbing or rises very slowly, often somewhere between 155°F and 175°F. This occurs when moisture evaporating from the surface cools the brisket at nearly the same rate that the grill heats it.
Hold the grill at 250°F and allow the brisket to work through the stall. Eventually, the temperature will begin to climb again.
When and How to Wrap the Brisket
Wrap a brisket only after it has moved through the stall and the bark is dark and firmly set. The choice between paper and foil affects the bark and texture, while a light coating of tallow and a snug wrap help protect the brisket during the final portion of the cook. I prefer pink butcher paper and return the wrapped brisket to the Kamado Joe in the same fat-side-up position.
Pink Butcher Paper vs. Aluminum Foil
The choice of wrap affects the brisket's bark, moisture, and texture. The two most common choices are pink butcher paper and aluminum foil. Pink butcher paper preserves more firmness in the bark, while foil retains more moisture and can shorten the final portion of the cook.
Pink butcher paper, also called peach butcher paper, allows some moisture to escape while protecting the brisket from excessive evaporation. I prefer it because it provides the balance of moisture and bark texture I want in a Texas-style brisket. Use unwaxed, food-safe butcher paper intended for barbecue. It is suitable for indirect cooking at 250°F when kept away from direct flame. See Will Butcher Paper Burn in a Smoker? for more information.
Aluminum foil seals in more steam, liquid, and rendered fat. Choose foil when maximum moisture retention and a somewhat faster finish matter more than maintaining a firm bark. The trapped steam generally produces a softer bark and a looser texture than butcher paper.
Prepare the Paper and Apply the Beef Tallow
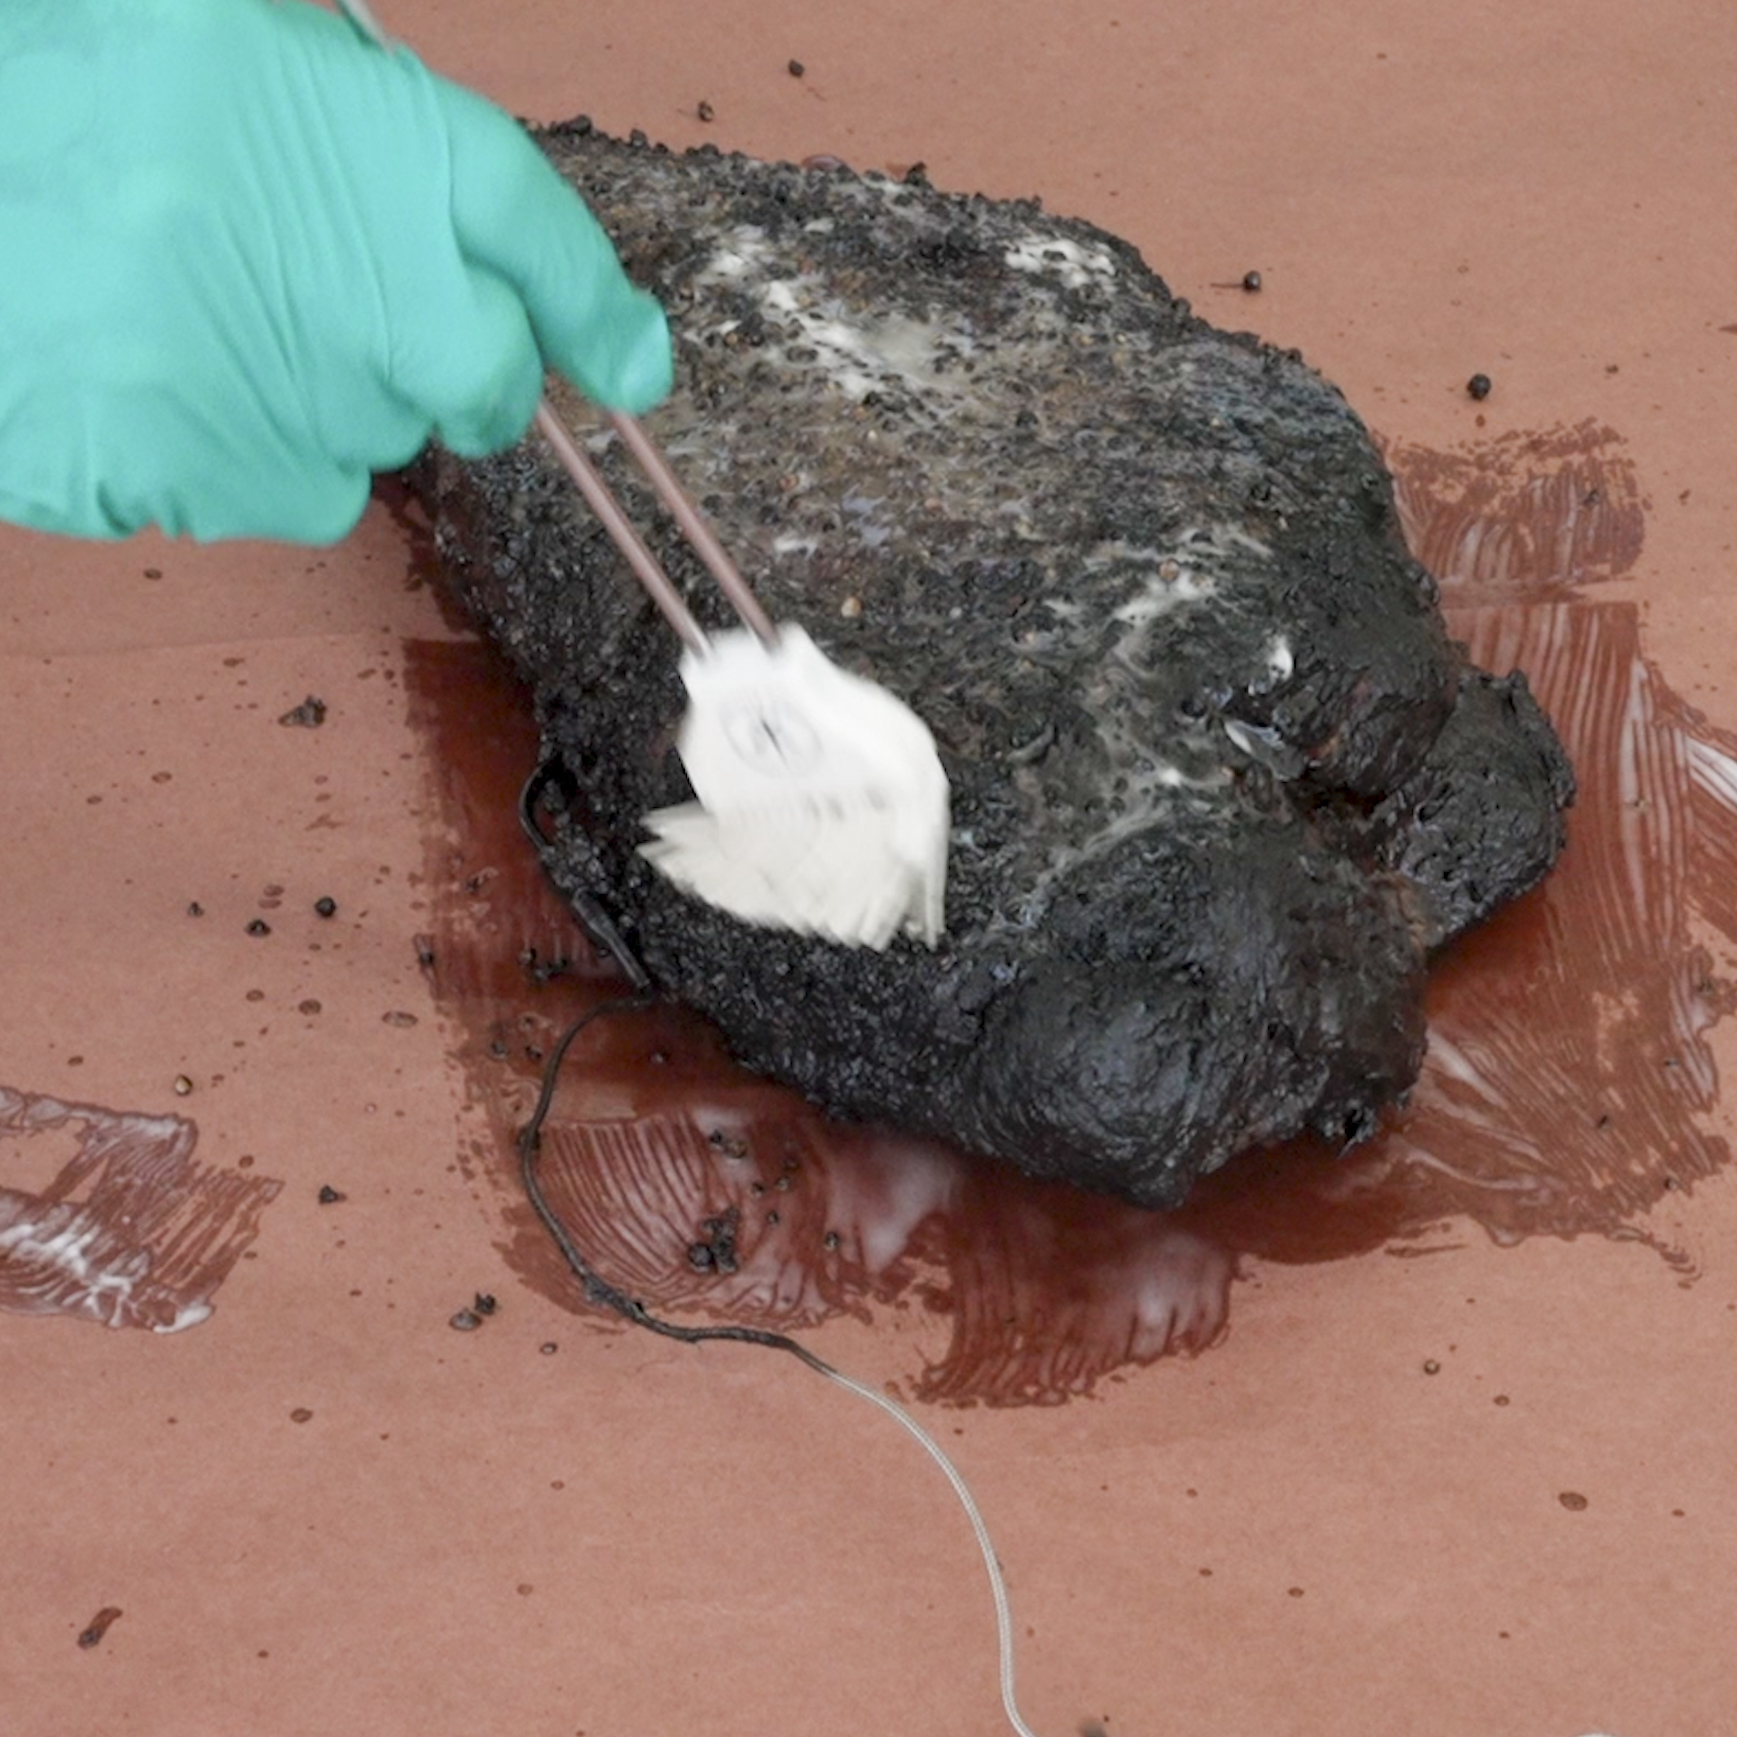
Lay two large sheets of pink butcher paper on a clean work surface with about 6 inches of overlap. Then brush a light, even coating of melted beef tallow over both sides of the brisket. About ⅓ cup is usually enough. I often render the tallow from my brisket trimmings, although purchased beef tallow works too.
Wrap the Brisket Tightly
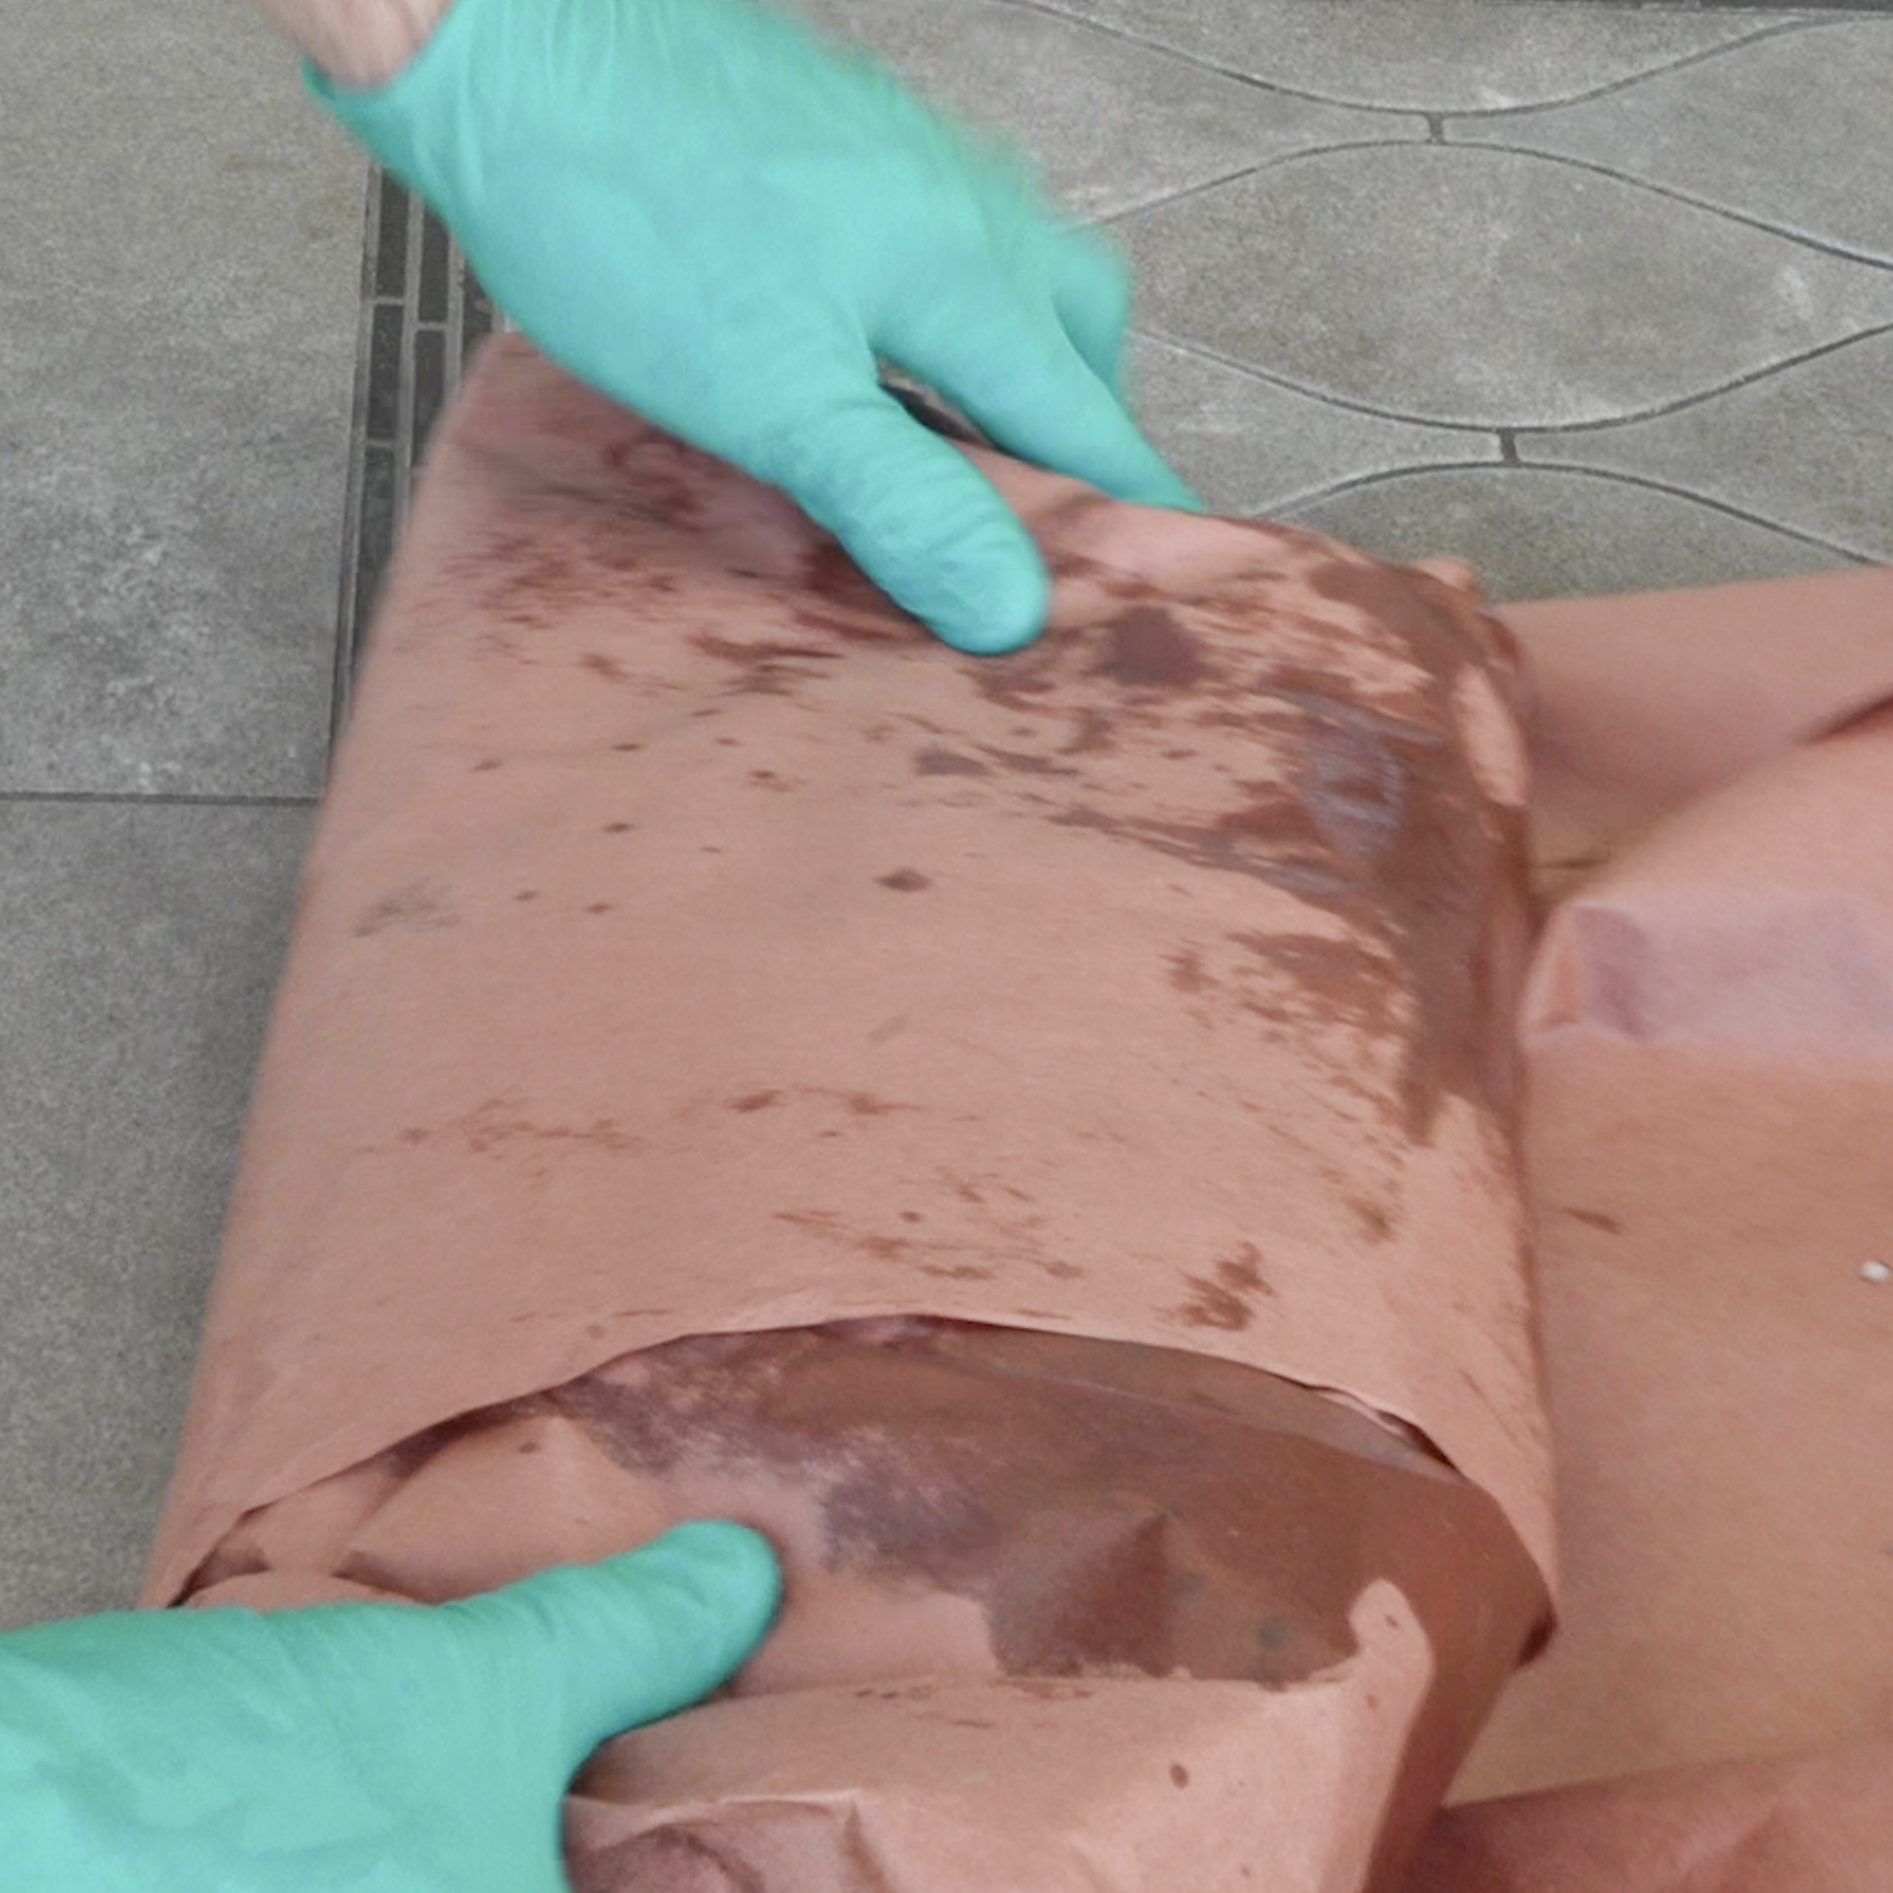
Place the brisket near one end of the prepared paper, pull the near edge over the meat, and tuck the paper firmly against it. Fold both sides inward and continue rolling until the brisket is fully enclosed. Keep track of the fat-cap side during each flip so the finished package ends with the fat cap facing up.
Return the wrapped brisket to the Kamado Joe in the same fat-side-up orientation and continue cooking at 250°F. By this stage, the brisket has already taken on most of its smoke flavor, so the existing charcoal fire is all it needs. Begin checking the flat for tenderness when its internal temperature approaches 200°F.
How to Know When the Brisket Is Done
Tenderness, rather than a single internal temperature, determines when a brisket is done. The thermometer tells you when to begin checking, but the feel of a probe in the leaner flat provides the final answer.
Begin checking when the flat approaches 200°F. Most briskets become tender somewhere around 200 to 205°F, and mine are often ready near 202°F. Push an instant-read thermometer or another thin probe through the paper and into several areas of the flat. The probe should slide into the meat with very little resistance. How to Know When a Brisket Is Done explains the test in greater detail.
Decide Whether to Make Burnt Ends
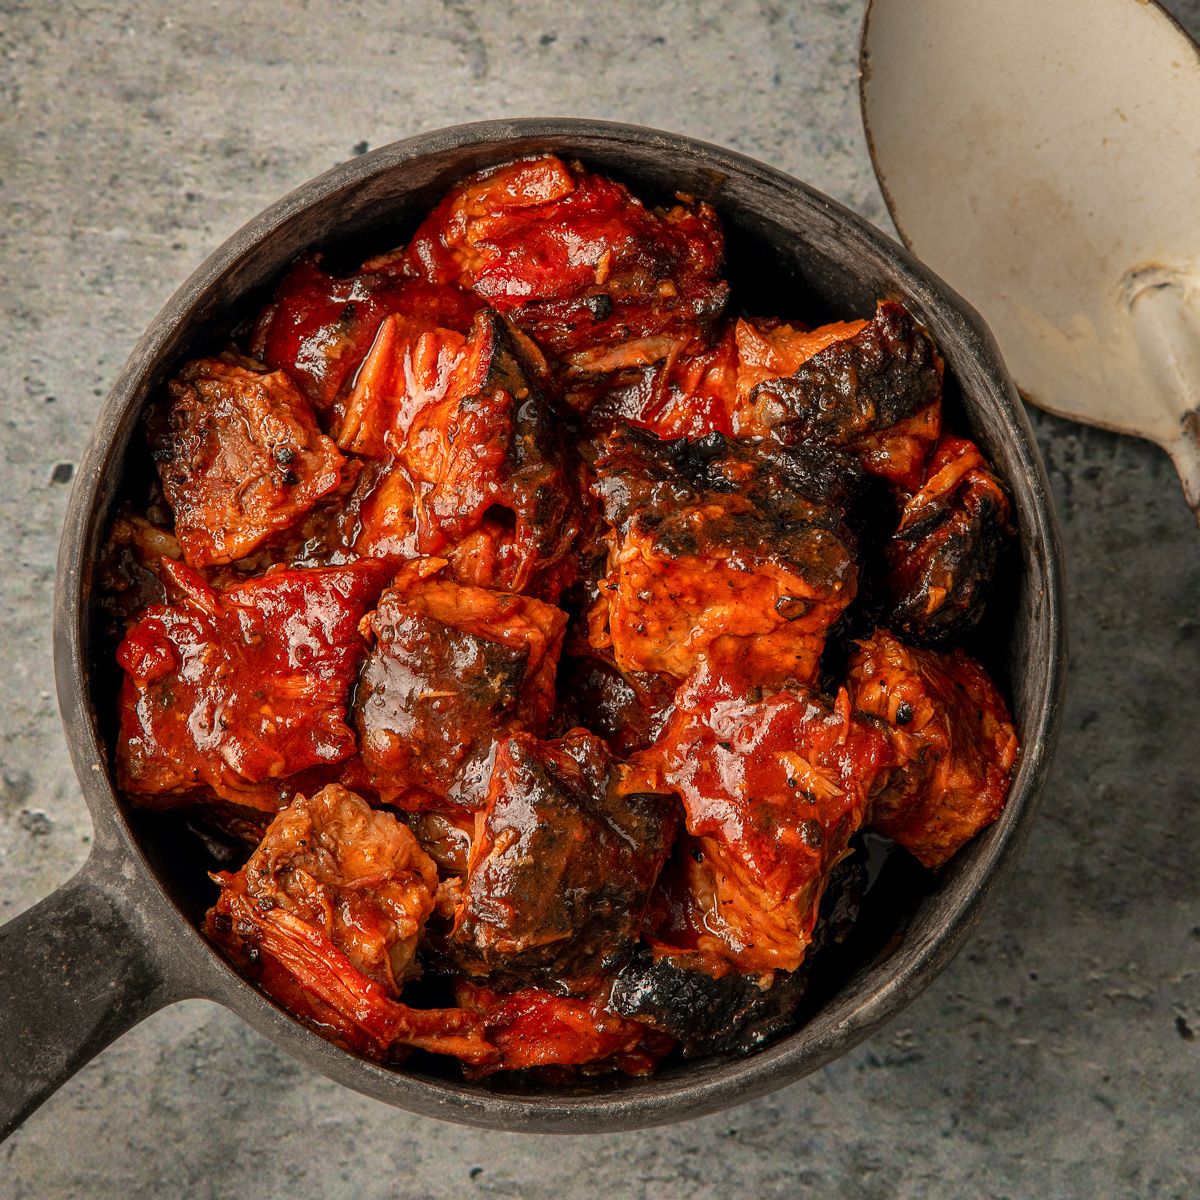
Once the flat is tender, decide how you want to serve the point. Leave the brisket whole if you want fatty slices, or separate the point and turn it into burnt ends. Most barbecue restaurants in Austin offer both lean and fatty brisket, but when I cook a whole brisket at home, you can bet I am making burnt ends.
To make burnt ends, separate the point from the flat by cutting through the seam of fat between them. Rewrap the flat and begin its rest. Cut the point into 1 ½- to 2-inch cubes, add your favorite barbecue sauce, and return the cubes to the Kamado Joe in an uncovered aluminum pan until the sauce has thickened and the meat is tender. For the complete point-separation, seasoning, and finishing method, see my Brisket Burnt Ends Recipe.
Let the Brisket Rest
A full rest allows the brisket's temperature to become more even, lets the muscle fibers relax, and slows the movement of liquid when the meat is sliced. The practical result is brisket that holds more moisture and cuts into cleaner slices. I have sliced brisket immediately after cooking and watched far more juice run onto the cutting board than I see after a proper rest.
Leave the brisket in its original butcher-paper wrap and inspect the paper for tears or heavy saturation. Add another sheet when the original wrap needs support, keep the temperature probe in the flat, and wrap the package in clean towels. Place it in an empty, room-temperature cooler for about two hours, or until the internal temperature is close to 145°F. For a longer delay, remove the towels and use a warm oven or another controlled holding method to keep the brisket at 140°F or warmer.
How to Slice and Serve the Brisket
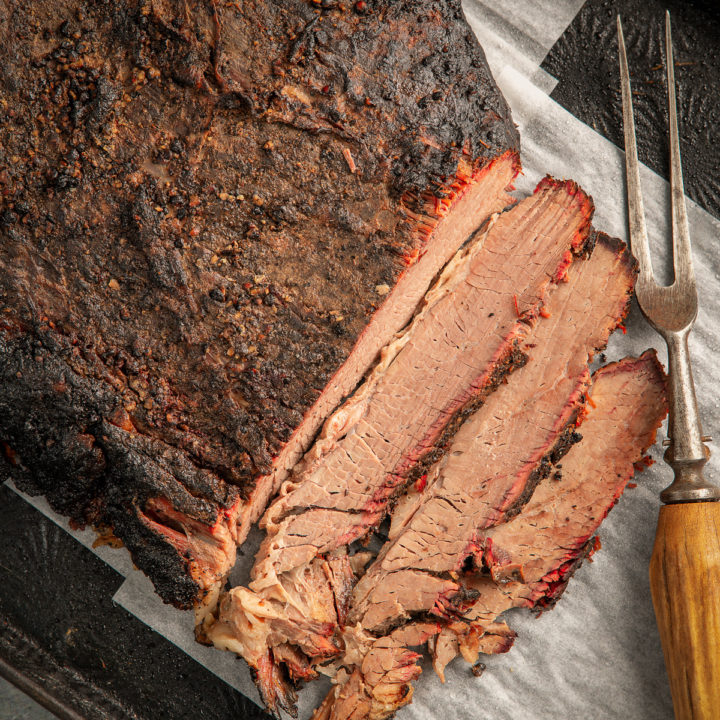
Keep the brisket whole and wrapped until its internal temperature is close to 145°F and you are ready to serve it. Then separate the point and flat if they are still attached and slice each muscle across its grain with a long, sharp slicing knife. The grain runs in different directions through the two muscles, so treat them separately.
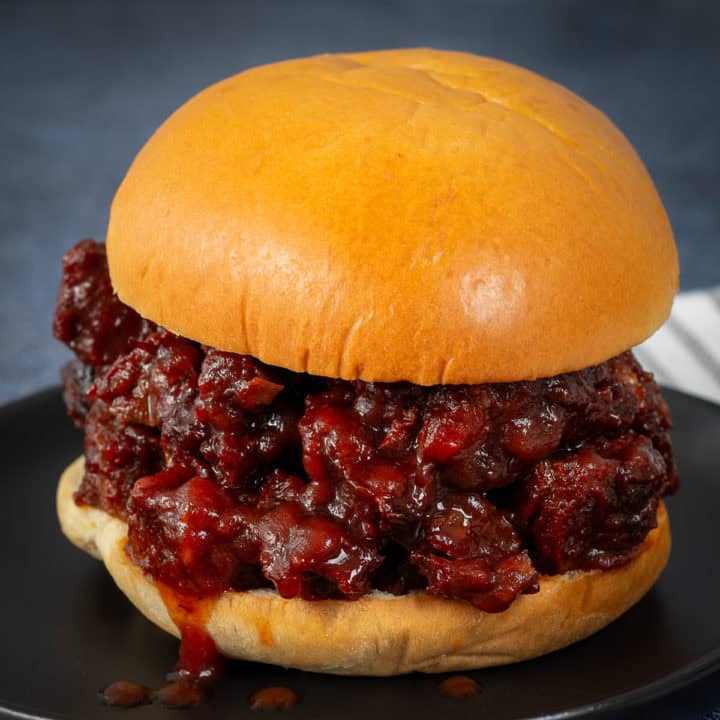
Cut the flat into ¼-inch slices. The fattier point can be sliced slightly thicker. Serve the brisket with the burnt ends and your favorite barbecue sauce, or keep the burnt ends for yourself. I will not judge you.
Storage and Reheating
Brisket reheats best when it is stored in larger pieces with a little rendered fat or cooking liquid. Place leftovers in an airtight container and refrigerate them for up to three days. Freeze tightly wrapped portions that will not be eaten within that period.
Reheat only the amount you plan to serve in a covered pan at a low oven temperature until the meat reaches 165°F. Gentle, covered heat helps the lean flat retain its moisture as it warms.
Frequently Asked Questions
These are the questions I hear most often about timing, temperature, charcoal, wrapping, and doneness. The short answers below summarize the method explained throughout this guide.
A whole packer brisket commonly takes 10 to 15 hours or longer at 250°F, followed by at least a two-hour rest. Size matters, but thickness and marbling also affect the schedule.
Set the Kamado Joe for indirect cooking at 250°F. This temperature gives the brisket time to develop its bark and become tender while keeping the fire manageable throughout the long cook.
Begin with a full charcoal basket so the Kamado Joe has enough fuel for the entire cook. A properly managed fire uses only part of the basket at one time, and any unburned lump charcoal can be reused after the grill is shut down.
Wrap the brisket after it has moved through the stall, the internal temperature is climbing again, and the bark is dark and firmly set. The brisket may be ready to wrap near 165°F, but the appearance and texture of the bark are more important than a fixed temperature.
Brisket often becomes tender around 200 to 205°F, but it is done when a probe slides easily into several areas of the thickest part of the flat. Use the internal temperature to tell you when to begin testing for tenderness.
Rest a full packer brisket for about two hours, or until its internal temperature is close to 145°F. Keep the probe in the flat during the rest, and use controlled hot holding at 140°F or warmer when the serving delay extends beyond a normal cooler rest.
Final Thoughts: Smoking a Brisket on a Kamado Joe
Smoking a brisket on a Kamado Joe is a long cook, but the grill's steady heat makes the process manageable once the fire is settled. The important decisions come from the brisket itself. The end of the stall and the condition of the bark tell you when to wrap. The feel of the flat tells you when the meat is tender, and the temperature probe tells you when the rested brisket is ready to slice.
Give yourself enough time to let each stage finish naturally. Hold the Kamado Joe near 250°F, wrap only after the stall has ended and the bark is ready, pull the brisket when the flat is probe-tender, and rest it for about two hours. This method consistently gives me the dark bark, smoky flavor, and tender slices that make the long cook worthwhile.
Leave a Reply