Brisket burnt ends are traditionally made from the point of a whole smoked brisket, but you can make them without cooking an entire packer. If you can buy a brisket point separately, you can smoke the point by itself, cut it into cubes and finish the pieces with barbecue sauce.
I use this method when burnt ends are the goal rather than sliced brisket. For this cook, my butcher provided about 3 pounds of prime brisket point cut into large pieces. I smoked the meat at 225°F, wrapped it at 165°F, continued cooking to 185°F, then cut it into smaller cubes and finished them with barbecue sauce.
The Bottom Line: Start with a brisket point instead of a whole packer. Smoke it at 225°F until it reaches 165°F, wrap it in foil and continue cooking to about 185°F. Cut the meat into 1-inch cubes, coat them with barbecue sauce and return them to the smoker until very tender.

Jump to:
Why Use the Brisket Point for Burnt Ends?
The brisket point is the right cut for traditional beef burnt ends because it contains more fat and marbling than the flat. A whole packer brisket contains both muscles, but this recipe uses only the point so you can make burnt ends without also cooking the leaner flat.
A separately purchased point also shortens the cook considerably. A whole packer brisket can require 12 hours or more of low-and-slow cooking, while the smaller amount of meat used here cooks in a fraction of that time.
If you are already smoking a whole packer brisket, use my Brisket Burnt Ends Recipe instead. That method keeps the point and flat together during the main cook and separates the point after the brisket is tender.
Ingredients
- About 3 pounds brisket point, preferably prime grade
- 4 tablespoons BBQ dry rub
- 1 cup barbecue sauce
See the printable recipe card for quantities.
How to Make Brisket Burnt Ends Without a Whole Brisket
1. Prepare the Brisket Point
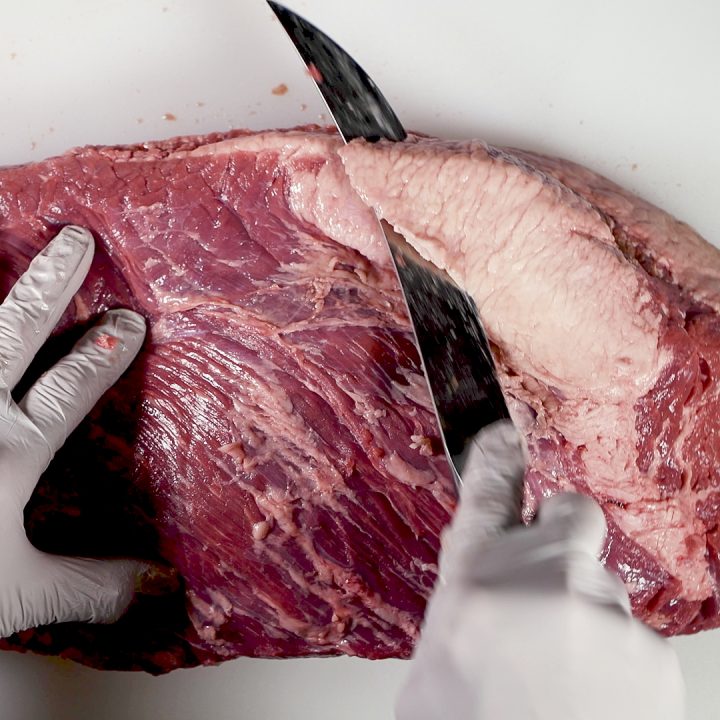
Trim excess surface fat, hard fat and silver skin from the brisket point. The point already contains substantial internal fat, so the goal is to clean up the outside rather than leave thick deposits that will not help the finished burnt ends.
My butcher cut the brisket point into large pieces before I cooked it. Season the meat on all sides with the dry rub while you bring the smoker to temperature.

Remove any extra fat or silver skin from the brisket point.
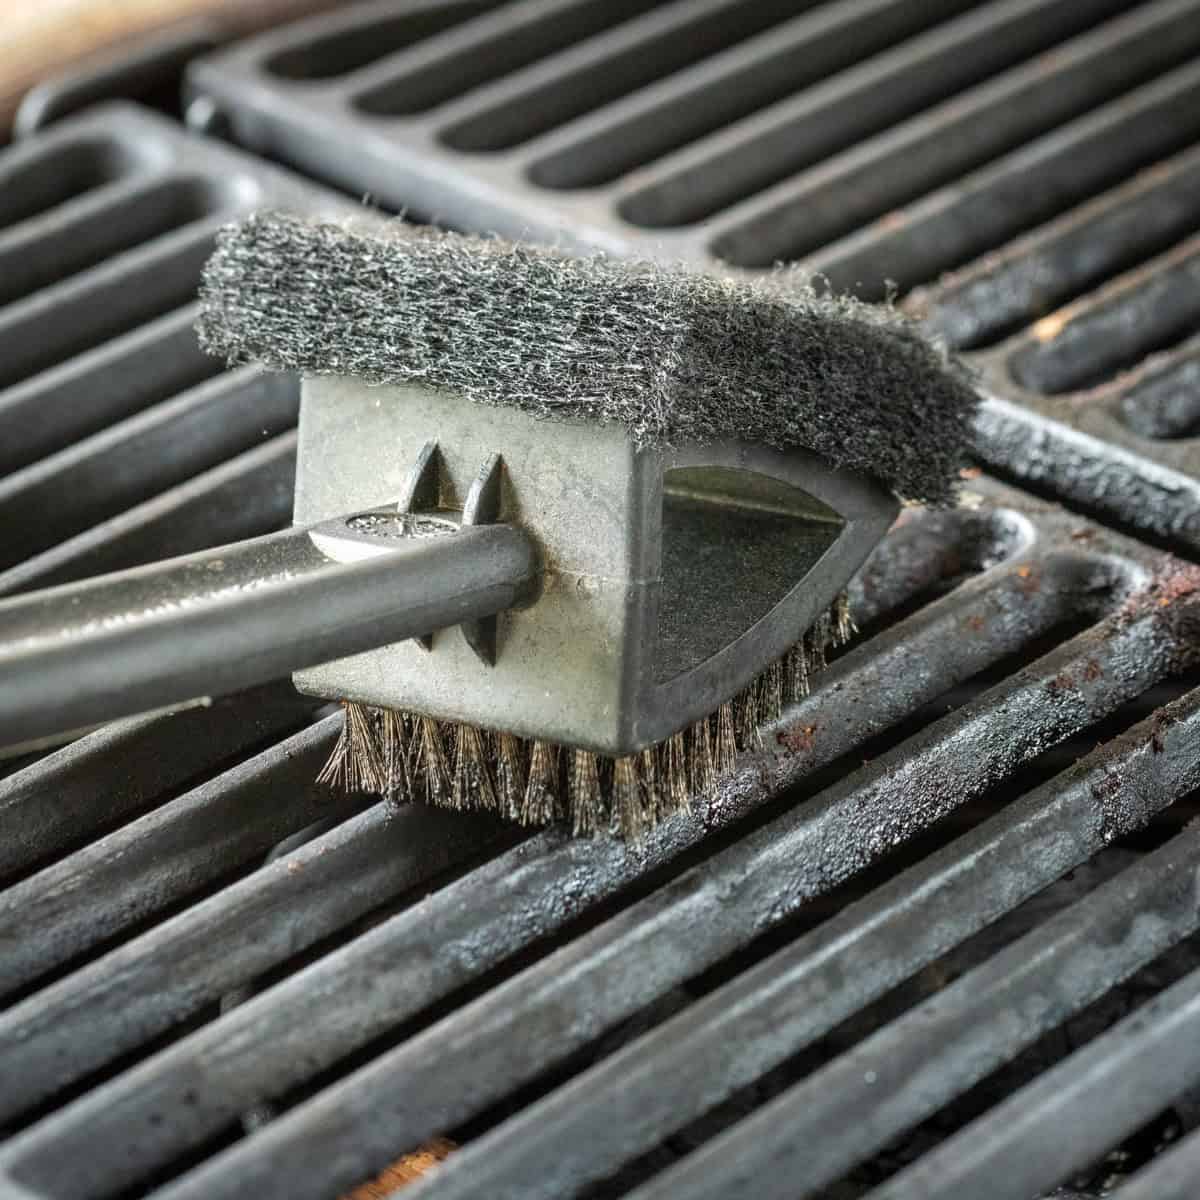
Clean the grill grate and preheat your smoker to 225°F.
2. Set Up the Smoker at 225°F
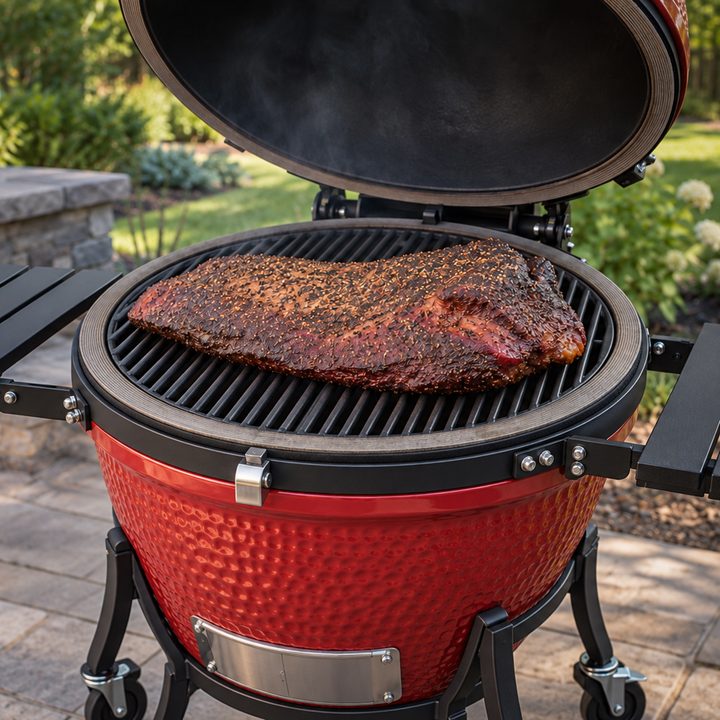
Set up the Kamado Joe for indirect cooking and stabilize the temperature at 225°F. Place the seasoned brisket point on the cooking grate and close the dome.
3. Smoke the Brisket Point to 165°F
Smoke the brisket point until the internal temperature reaches about 165°F. For the amount of meat I used, this took approximately 3 to 4 hours. Use the temperature as the guide rather than the clock because the size and thickness of the pieces will affect the cooking time.
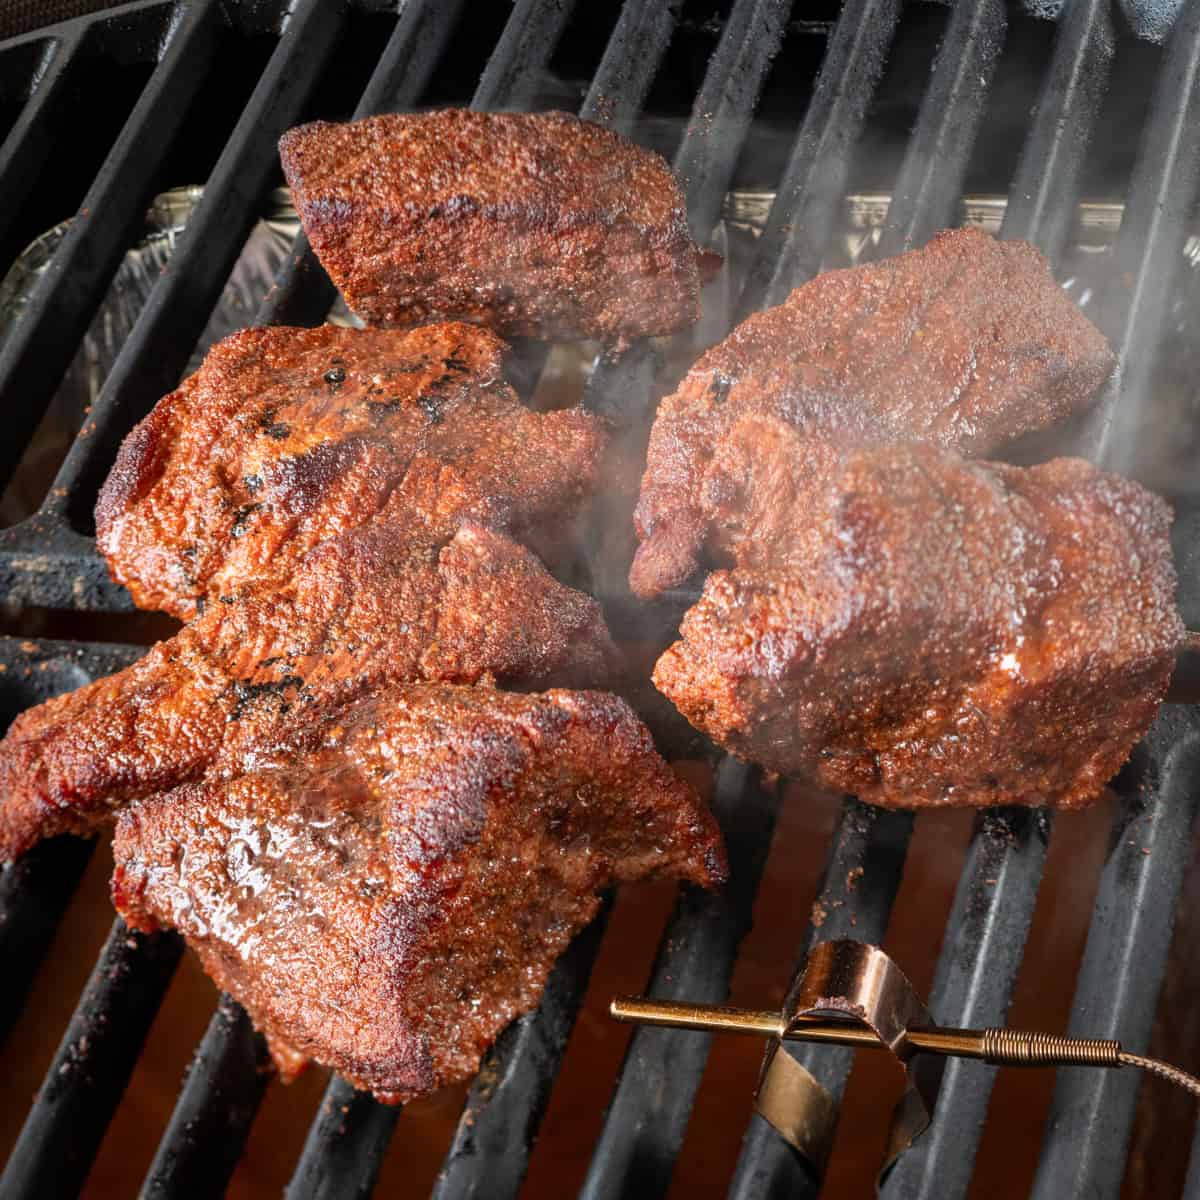
Season the brisket point on all sides with 4 tablespoons of dry rub. Smoke at 225°F until the internal temperature of the meat reaches 165°F, about 3-4 hours.
4. Wrap at 165°F and Continue Cooking
At about 165°F, remove the brisket point from the smoker and wrap the meat in aluminum foil. Return it to the smoker and continue cooking until the internal temperature reaches about 185°F.
5. Cut the Brisket into Cubes at 185°F
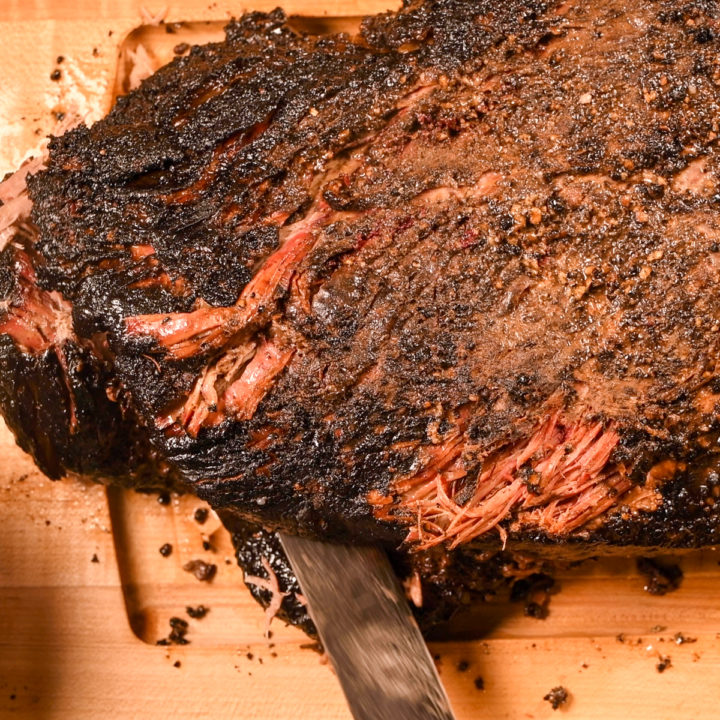
Once the brisket reaches about 185°F, remove it from the foil and transfer it to a cutting board. Cut the meat into pieces about 1 inch square. The meat will already be tender, so handle it carefully as you cut it.
Place the cubes in a disposable aluminum pan in a single layer. Keeping the pieces reasonably close in size will help them finish at about the same rate.
6. Sauce and Finish the Burnt Ends
Coat the brisket cubes with barbecue sauce, then cover the pan with aluminum foil and return it to the smoker. Cook for another 1 to 2 hours, checking after the first hour. Add more barbecue sauce if the cubes need it.
The burnt ends are finished when the meat is very tender and the sauce has cooked into the surface. Tenderness matters more than reaching one exact final internal temperature.

Add your favorite BBQ sauce and make sure all of the pieces are covered in sauce.

Loosely cover the pan with aluminum foil and return to the smoker and cook for another 1-2 hours. Add additional sauce after 1-hour of cooking if needed.
How to Serve Brisket Burnt Ends
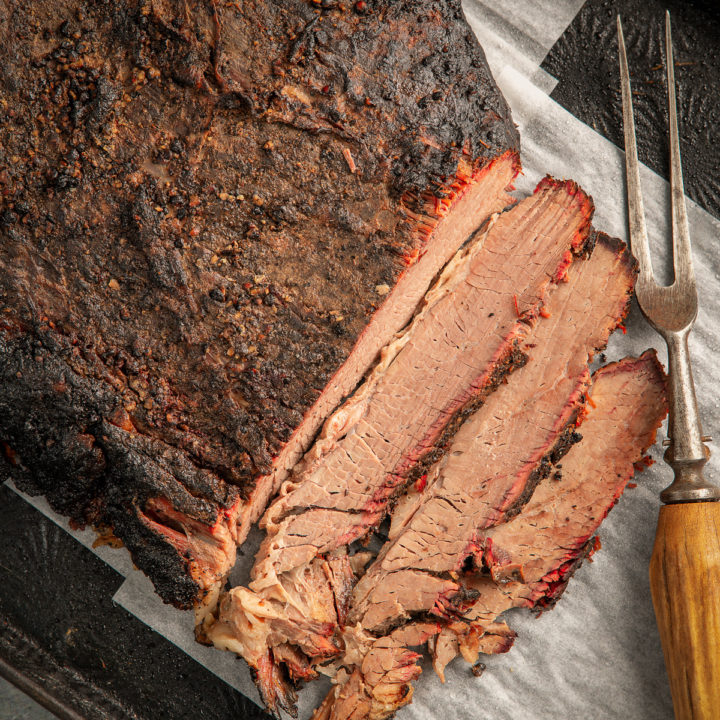
Let the finished burnt ends rest for a few minutes before serving. They work as an appetizer or main course, and I also like them piled onto a hamburger bun for a brisket burnt ends sandwich. For this recipe, the burnt ends were piled high on a lightly toasted homemade burger bun.
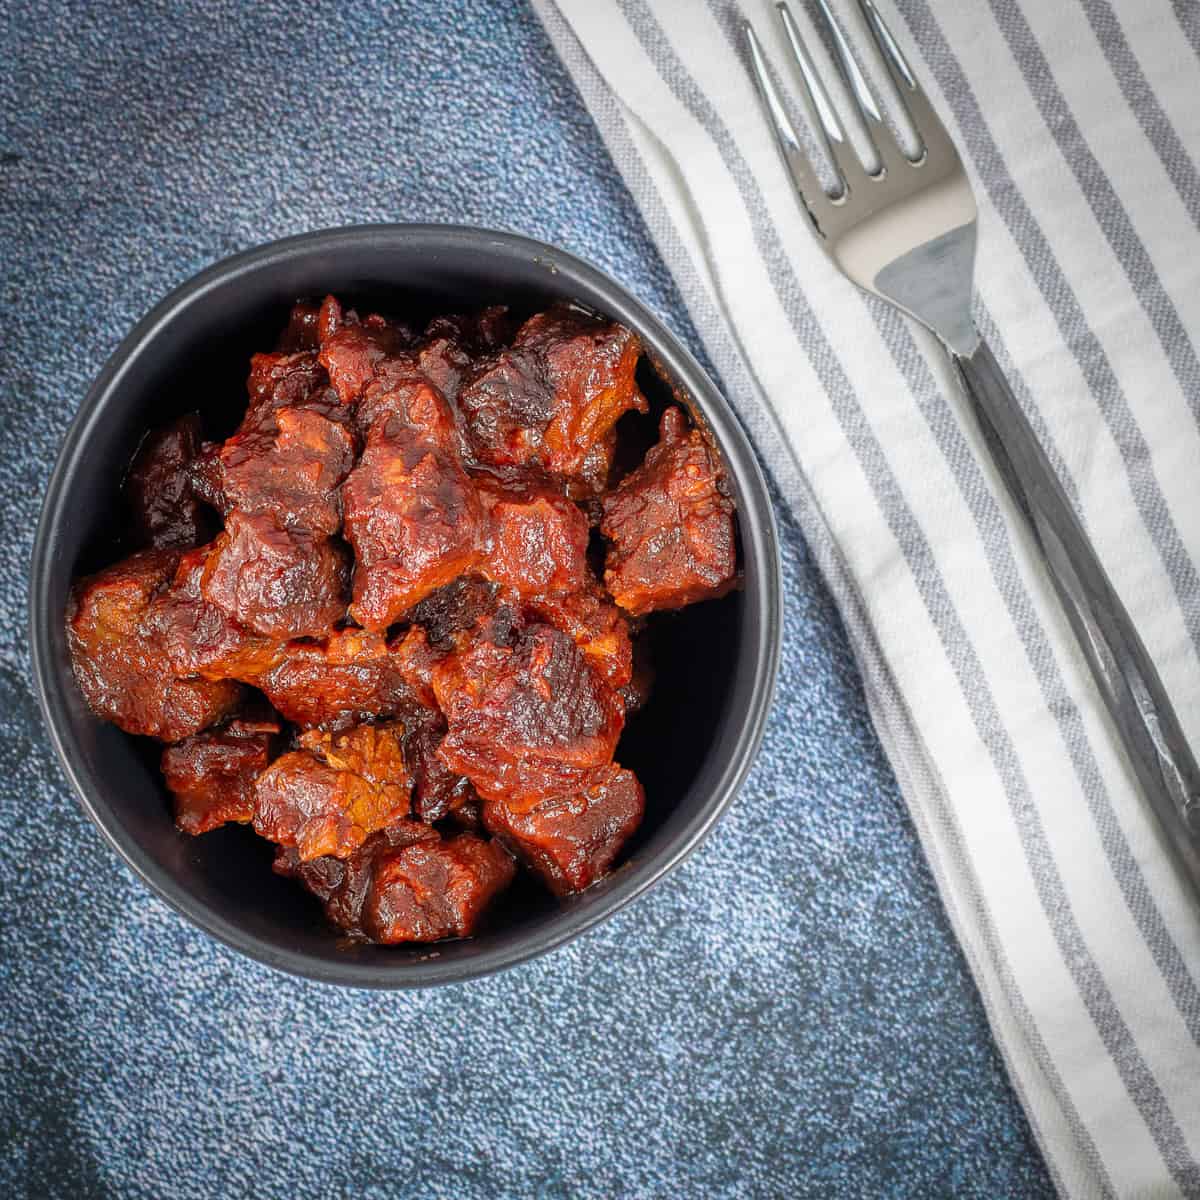
Brisket burnt ends in a bowl.
For a real treat, serve the brisket burnt ends on a fresh, homemade bun. See link above.
Equipment
The burnt ends made in this recipe were made in a Kamado Joe ceramic cooker. They could have also been made in a Big Green Egg, pellet smoker, electric smoker or charcoal smoker.
Storage
Store leftover burnt ends in an airtight container in the refrigerator. Reheat them gently with some of the sauce so the meat does not dry out.
Top Tip
Be careful when cutting the smoked brisket point into 1-inch pieces and adding the sauce. The meat will be delicate and can fall apart if over-handled. You want chunks of meat, not pulled beef.
Frequently Asked Questions
Yes. Buy a brisket point separately and smoke it on its own. This gives you the fatty, well-marbled part of the brisket used for burnt ends without requiring you to cook an entire packer brisket.
Use the point. The point contains more fat and marbling than the flat, which makes it better suited to the additional cooking time after the meat is cubed and sauced.
For this method, smoke the brisket point to about 165°F, wrap it and continue cooking until it reaches about 185°F. Then unwrap the meat and cut it into approximately 1-inch cubes before the final sauced cook.
The flat can be cut into cubes and cooked with sauce, but the point is better suited to traditional brisket burnt ends because it contains considerably more fat and marbling.
The cook time depends on the size and thickness of the brisket point. In this cook, the meat took about 3 to 4 hours to reach 165°F, additional time to reach 185°F after wrapping, and another 1 to 2 hours after it was cubed and sauced. Cook to the temperature and tenderness targets rather than relying on the clock alone.
Final Thoughts
A separately purchased brisket point gives you a practical way to make traditional beef burnt ends when you do not need an entire brisket. You still get the rich, fatty meat that makes the point ideal for burnt ends, but the cook is smaller and considerably shorter than starting with a whole packer brisket.
Related
Looking for other recipes like this? Try these:
Pairing
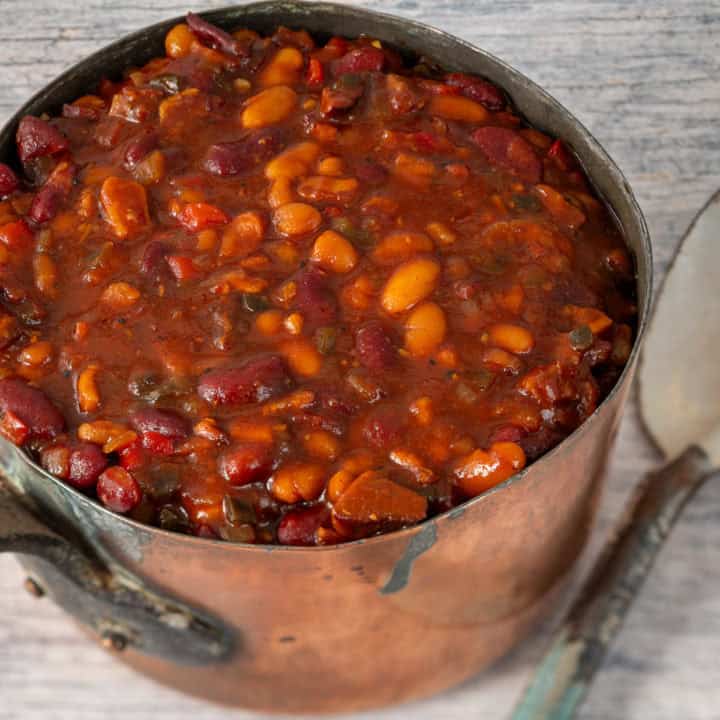
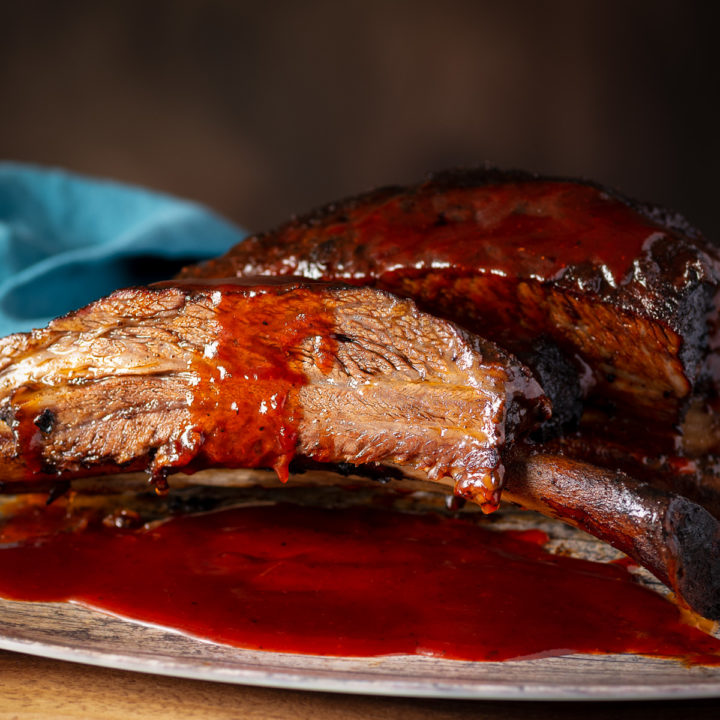
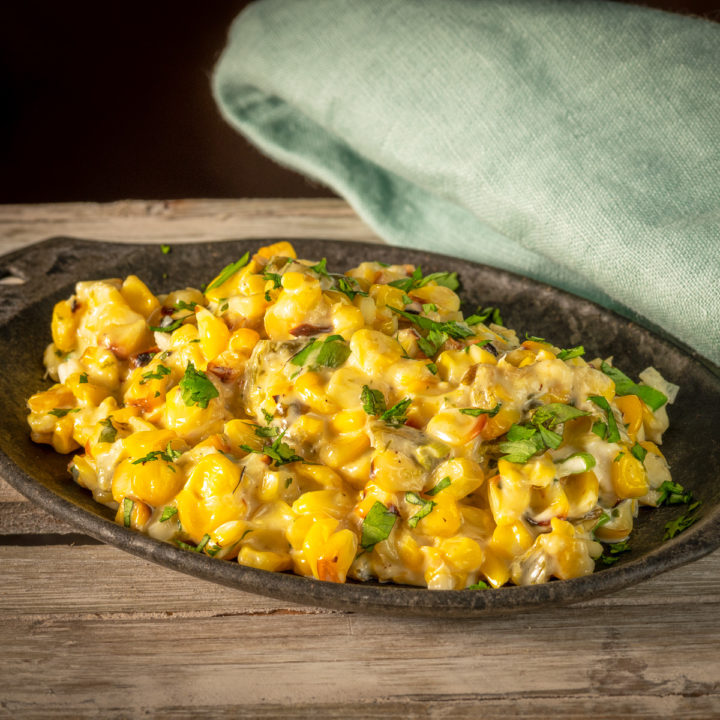
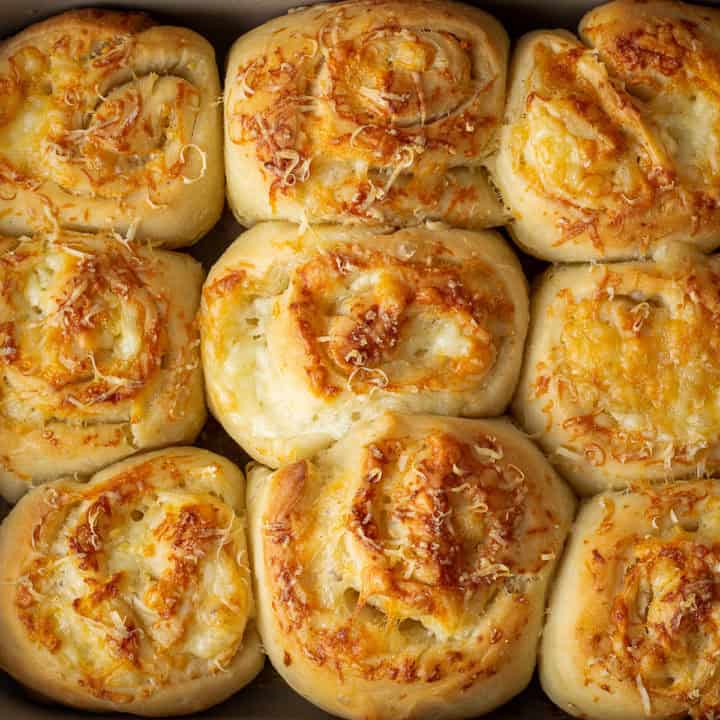
These are my favorite dishes to serve with this recipe.
📖 Recipe
Brisket Burnt Ends Without a Whole Brisket Recipe
Equipment
- 1 Kamado Joe smoker or other smoker
Ingredients
- 4 tablespoon BBQ Dry Rub
- 3 lbs Brisket point portion
- 1 cup BBQ sauce
Instructions
- Set up the smoker for indirect cooking at 225°F.
- Trim excess surface fat, hard fat and silver skin from the brisket point. Season all sides with the dry rub.
- Place directly on the grill of your smoker and cook until the internal temperature of the meat reaches 165°F, about 3-4 hours.
- Remove the meat from the smoker and wrap in aluminum foil. Return the meat to the smoker and cook until the internal temperature of the meat reaches 185°F, about an hour.
- Remove the meat from the smoker and cut into 1-inch cubes. Place the cubes in a disposable aluminum pan and cover with BBQ sauce. Cover the pan with aluminum foil and place it back in the smoker for another 1-2 hours, or until the meat is very tender. Check after an hour and add more BBQ sauce if necessary.
- Remove the meat from the smoker and let it rest for a few minutes. Serve with your favorite side dishes. These make a great BBQ sandwich.
Leave a Reply