
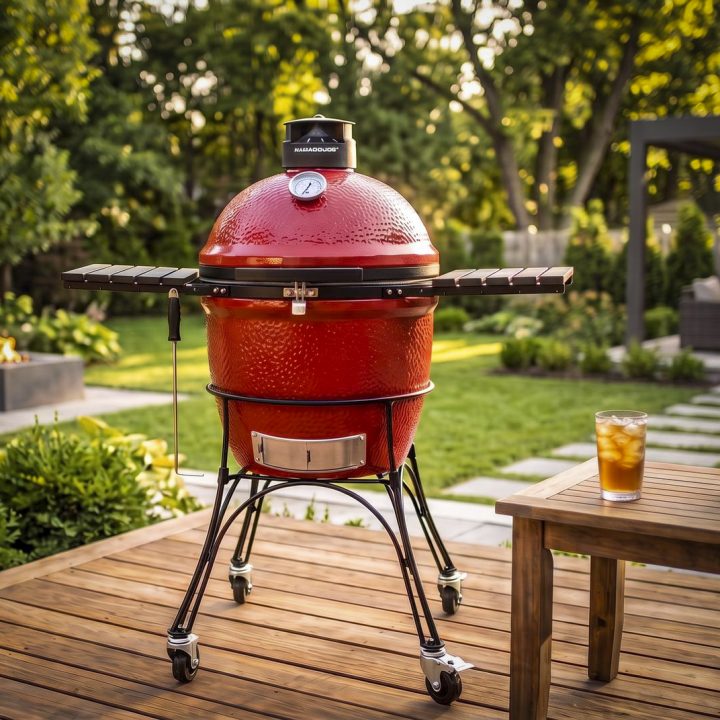
The JoeTisserie makes it easy to roast a turkey on a Kamado Joe. The JoeTisserie is a motor-driven rotisserie attachment for the Kamado Joe that includes a ring, a metal spit, forks that hold the bird, and a motor that slowly turns the spit. It is a great way to prepare a Thanksgiving turkey with juicy breast meat, golden brown skin, and light charcoal flavor.
This guide walks through the process I use to prepare and cook a delicious turkey using a JoeTisserie on the Kamado Joe. It includes the instructions to brine a 12-to-15-pound bird, how to truss and balance the bird on the JoeTisserie, how to set up the charcoal and probes, and how to test the turkey for doneness.
Jump to:
- Quick Reference Box
- What You Will Need
- Brine the Turkey
- Brine the Turkey for 24 Hours
- Season and Truss the Turkey
- Mount and Balance the Turkey on the JoeTisserie Before Lighting the Grill
- Set Up the Charcoal and Temperature Monitoring
- Cook the Turkey and Verify Doneness
- Rest and Carve the Turkey
- Troubleshooting
- Frequently Asked Questions
- Final Thoughts
- Where to Buy
- Other Resources
- Video
- 📖 Recipe
- Related
Quick Reference Box
Use this summary to plan your cook day.
- Method: Turkey with JoeTisserie, charcoal banked up around the back of the charcoal basket, no drip pan
- Bird Size: 12-to-15-pound turkey, fully thawed
- Brine Time: 24 hours at 40°F or below
- Prep Time: 45 to 60 minutes for drying, seasoning, trussing, mounting, and balancing the turkey on the JoeTisserie
- Grill Temp: 325°F dome, then heat soak for 20 minutes
- Cook Time: About 2.5 to 3.5 hours for a 12-to-15-pound bird
- Pull Temp: 160°F in the thickest part of the breast; monitor during the rest to confirm it reaches 165°F in breast, thigh, and wing, per USDA consumer guidance
- Rest Time: 20 minutes tented with foil before carving
- Yield: One 12-15-pound Thanksgiving turkey serves about 8 to 10 people
What You Will Need
- JoeTisserie with motor, spit, and forks. Check the instructions for installation and load limits.
- FireBoard 2 Drive and fan to monitor and control the cooking temperature (optional)
- Wireless meat thermometer suitable for rotisserie cooking to monitor the internal temperature of the turkey
- Instant-read thermometer
- Lump charcoal
- Heat-resistant gloves
- Carving board
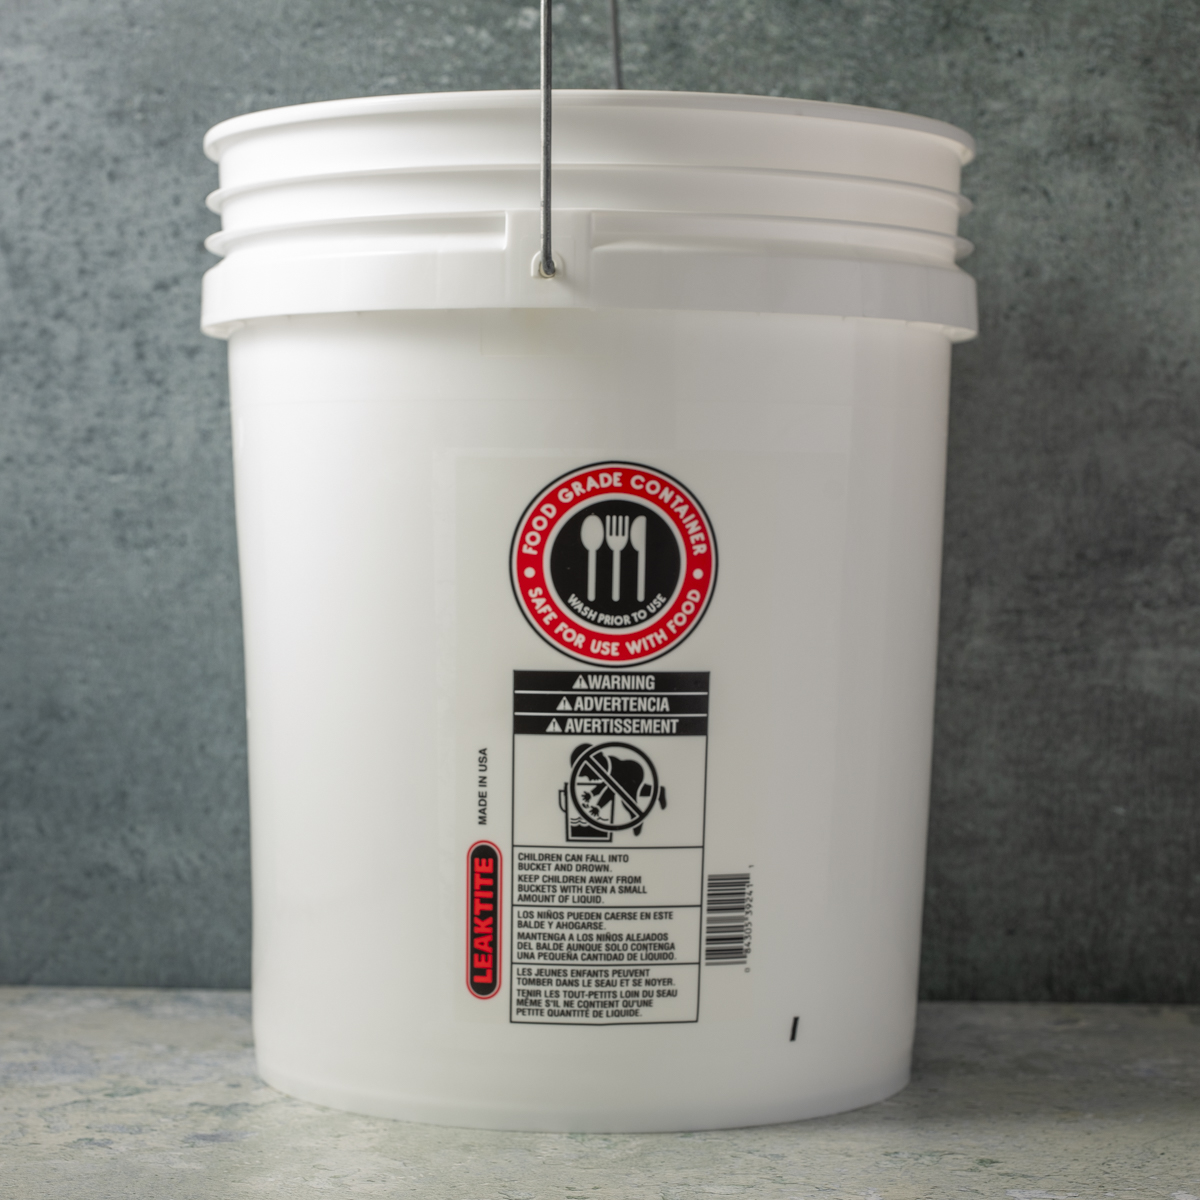
- Food-safe container large enough to submerge the turkey, and refrigerator space for the container
- Butcher's twine, meat trussing needle or turkey lacers
Brine the Turkey
Brining involves soaking a turkey in a saltwater and sugar solution before cooking. The brine helps season the meat and helps the turkey retain moisture as it cooks. This is particularly useful for turkey because the breast can become dry during cooking.
Start with a fully thawed turkey that fits your grill and rotates freely on the JoeTisserie. Check the packaging for added salt or a brining solution. A bird that has already been salted or brined should not be brined again. If the turkey has not been salted or brined, follow the recipe below to make the brine. This turkey brine recipe can be used for both rotisserie turkey and classic smoked turkey.
For the Brine
- Low sodium vegetable stock
- Kosher salt
- Brown sugar
- Onion
- Black peppercorns
- Bay leaves
- Fresh rosemary
- Garlic cloves
- Ice water
For the Turkey
- Whole turkey, fully thawed (12 to 15 pounds)
- Onion
- Apple
- Fresh sage
- Canola oil
- Kosher salt
- Black pepper
Brine the Turkey for 24 Hours
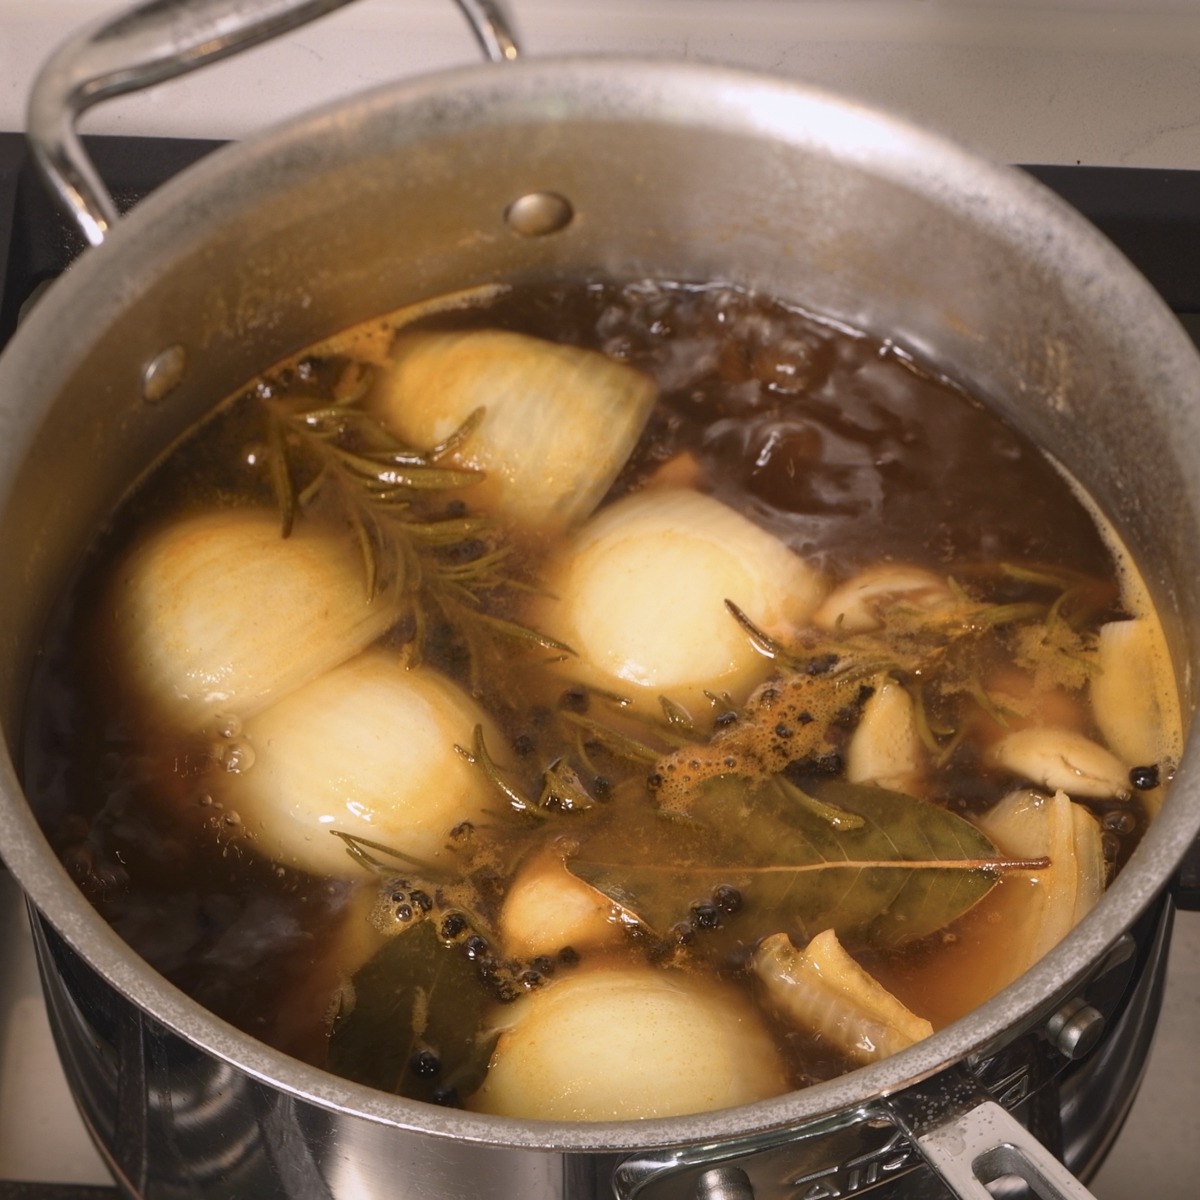
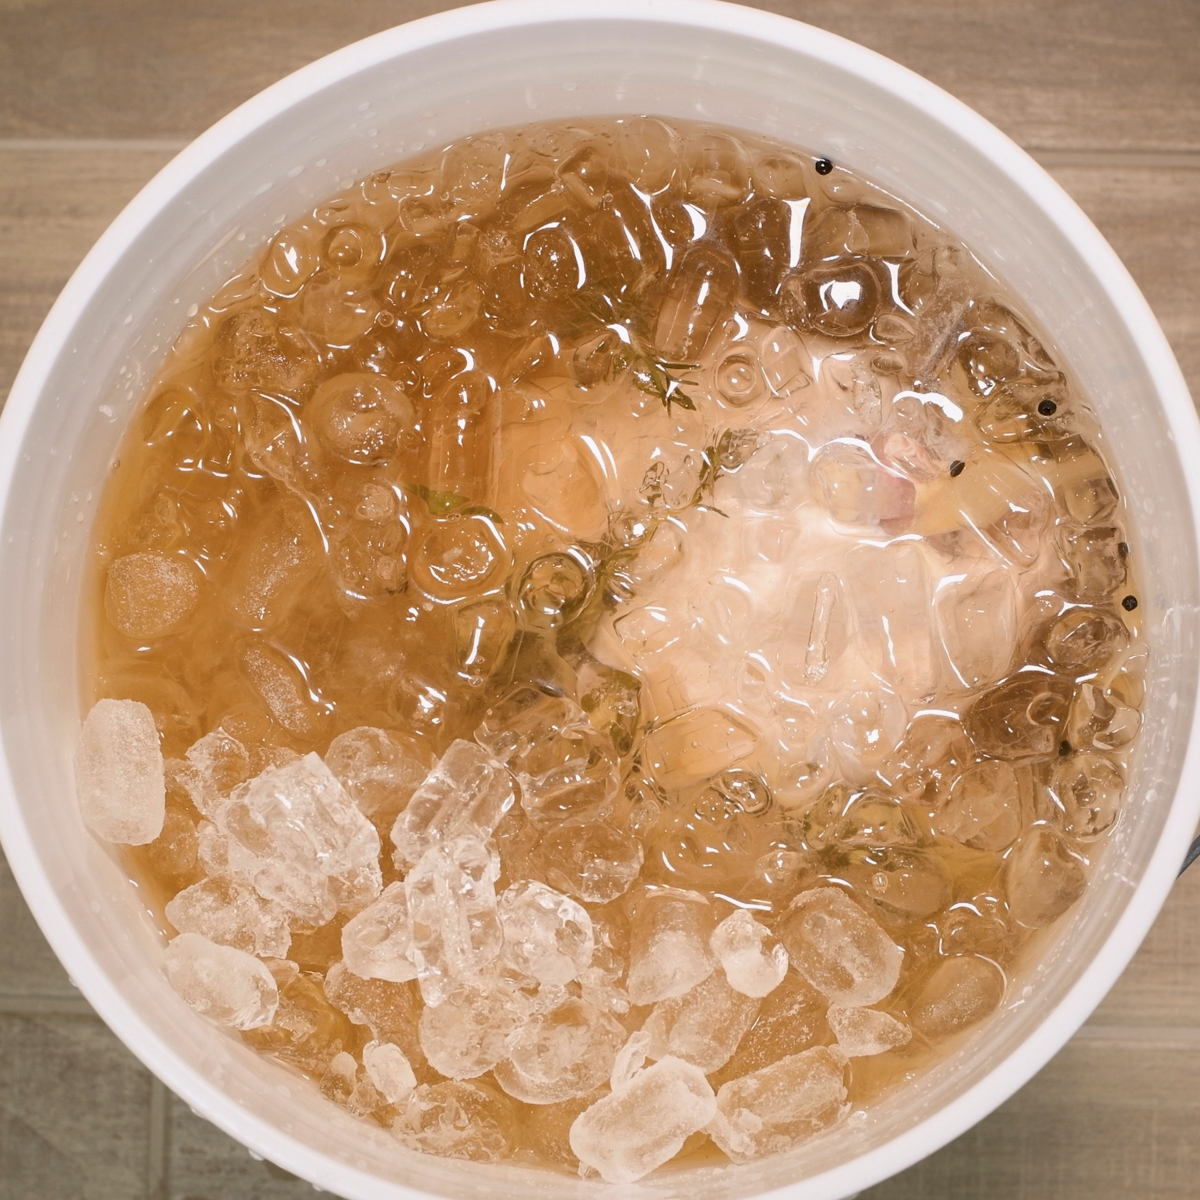
Combine the vegetable stock, kosher salt, brown sugar, onion, peppercorns, bay leaves, rosemary, and garlic in a large pot. Bring the mixture to a boil and cook for two minutes, stirring to dissolve the salt and sugar. Remove it from the heat, let it cool, and stir in the ice water. Check that the finished brine is 40°F or below before adding the turkey.
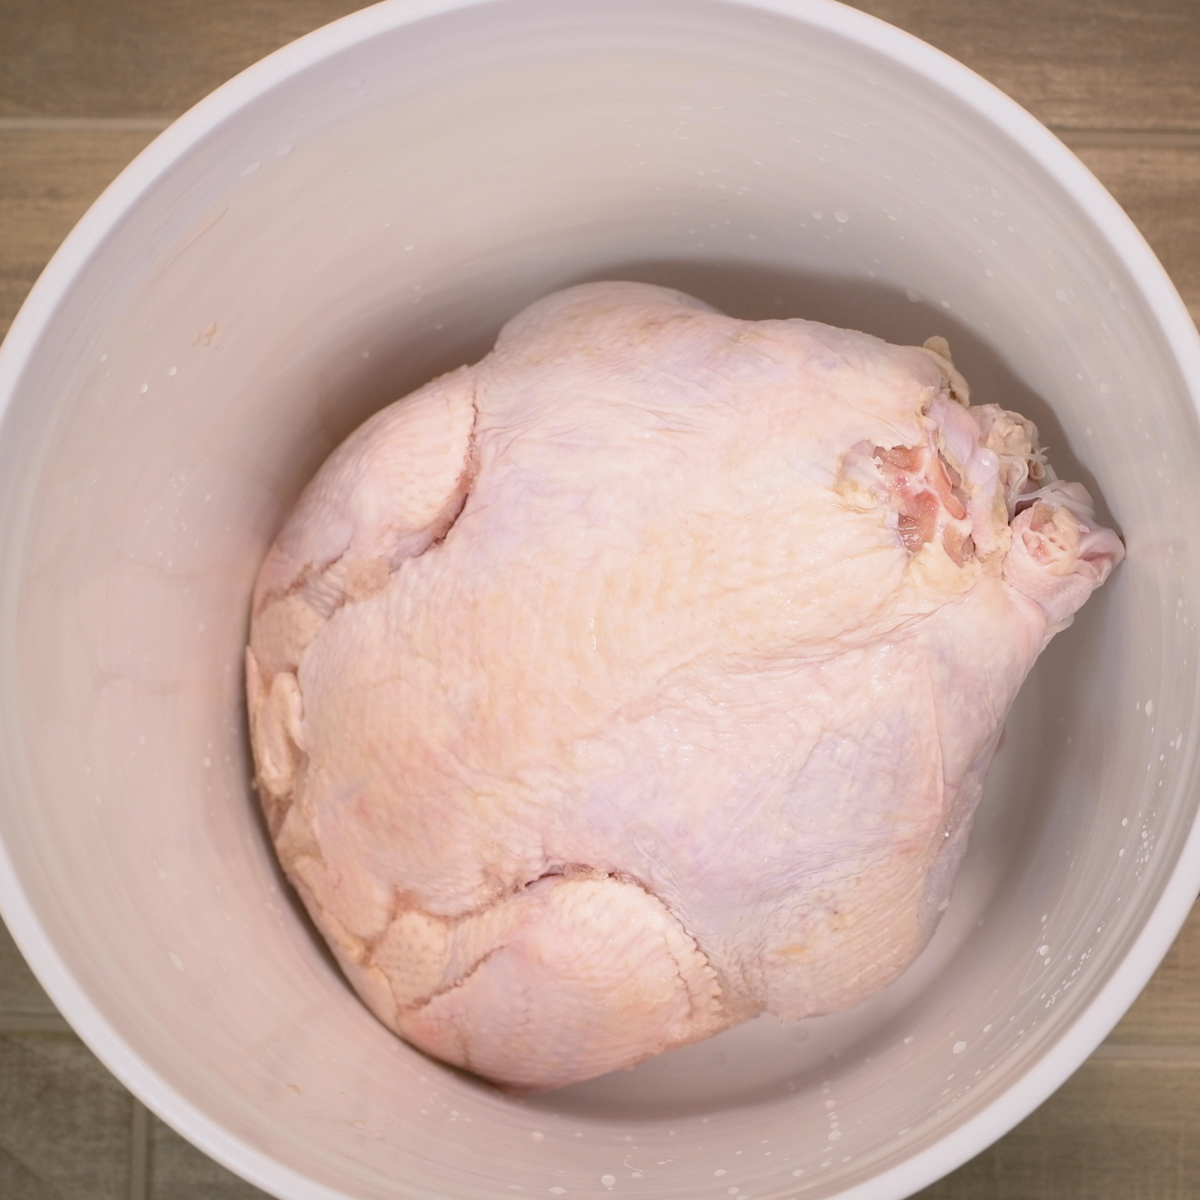
Remove and discard the neck and giblets from the thawed turkey, then place it neck end down in the food-safe container. Pour in the chilled brine, making sure the turkey is fully submerged, then cover and refrigerate. Refrigerate the turkey for 24 hours.
After 24 hours, remove the turkey, discard the brine, and pat the bird thoroughly dry with paper towels. Thorough drying also helps the skin brown and crisp during the cook. Per USDA guidelines, do not rinse raw poultry because splashing can spread bacteria.
Season and Truss the Turkey
A rotisserie turkey should not be stuffed with dressing or stuffing. The bread stuffing can slow down cooking of the turkey's interior and may not reach a safe temperature by the time the breast meat is done. Instead, aromatics are placed in the cavities for flavor.
Place the turkey on a rimmed tray or roasting pan. Place the onion, apple slices, and sage loosely inside both cavities and sew them closed with butcher's twine. Rub the skin with a light coating of canola oil and season with black pepper and kosher salt.
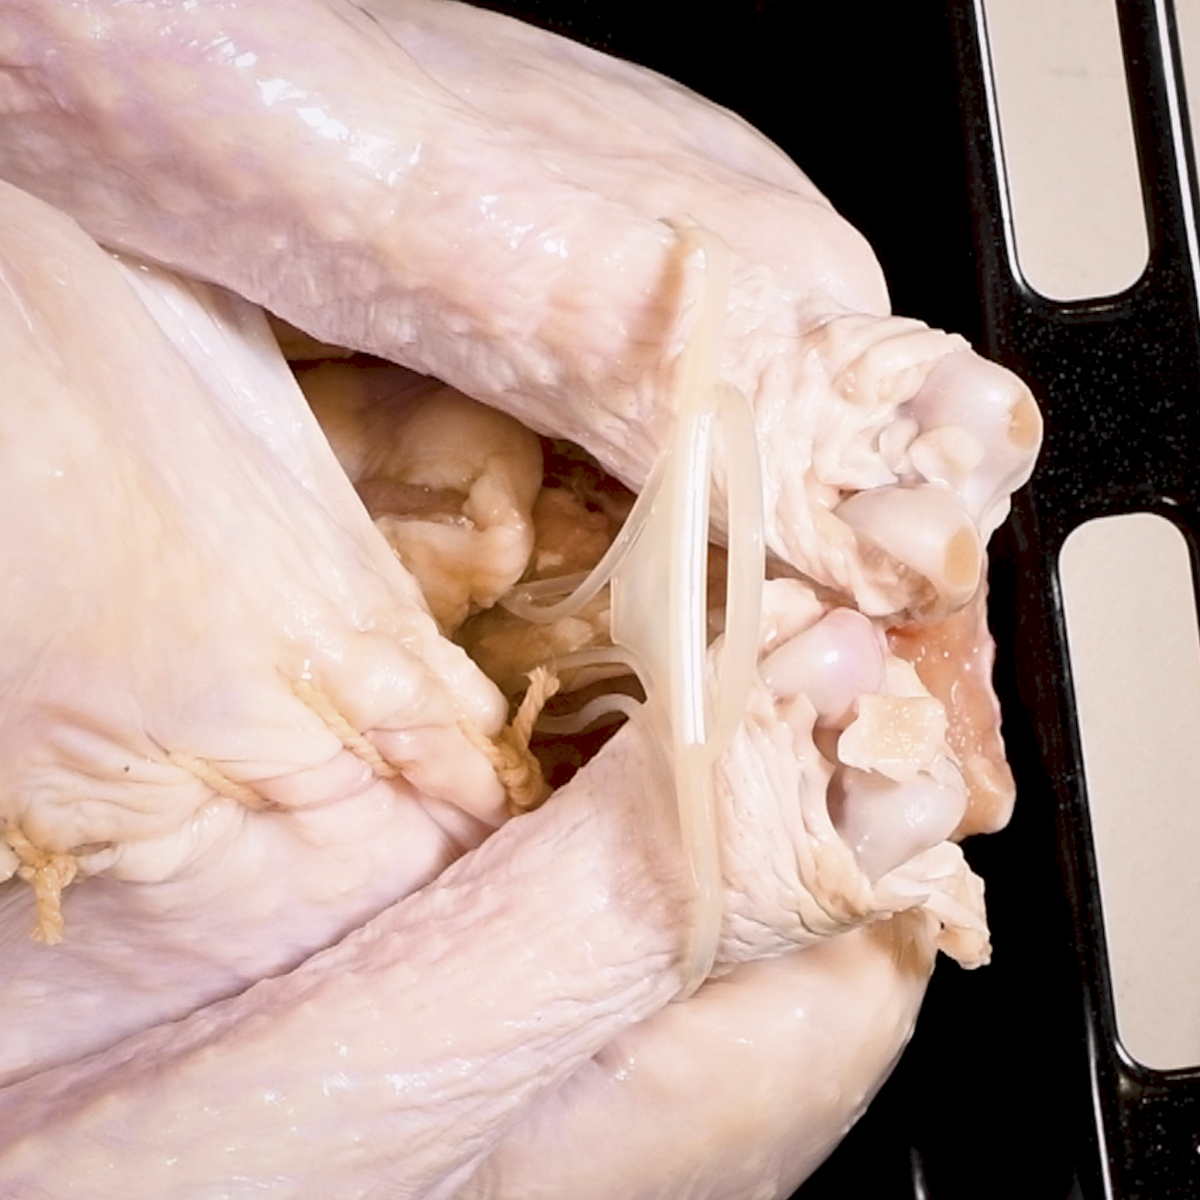
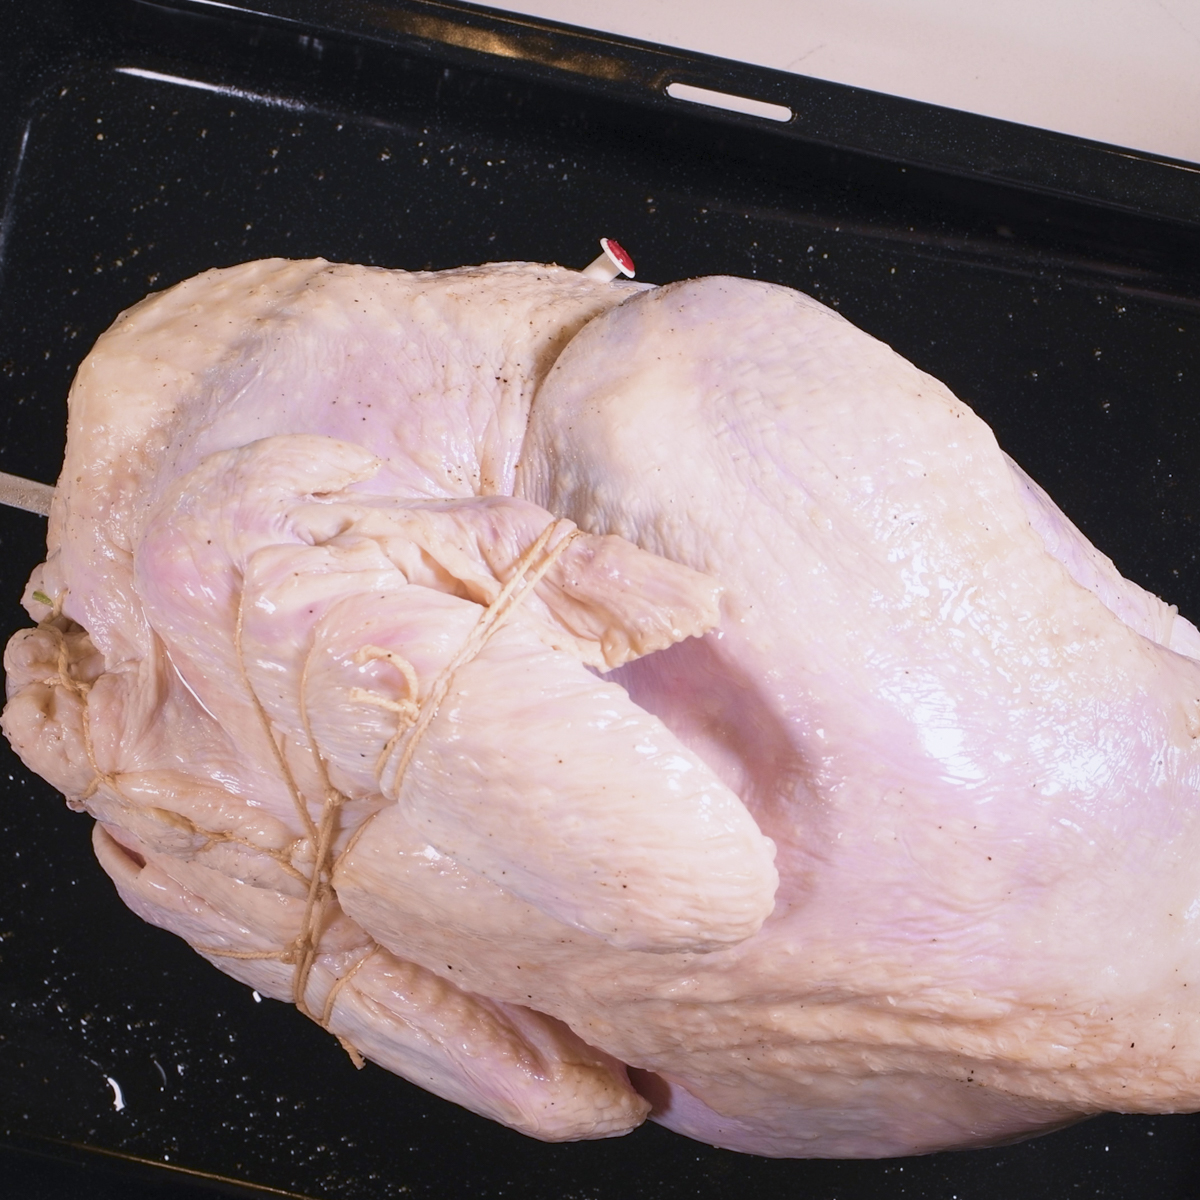
Some turkeys have a plastic leg holder installed that can burn or catch fire over hot charcoal. If installed, remove the plastic leg holder. Tie the legs together with butcher's twine. Then, turn the turkey breast side down, fold the wing tips against the wings, and use butcher's twine to tie the wings together close to the body. Trim the dangling ends of butcher's twine and check that nothing is hanging loose. The legs and wings must remain secure while cooking. Legs and wings that are not secured can swing as the bird turns and make it harder to keep the turkey balanced on the spit.
Mount and Balance the Turkey on the JoeTisserie Before Lighting the Grill
Mount the Turkey on the Spit
Before lighting the fire, the turkey needs to be centered on the spit, and checked for smooth rotation. First, determine where the center of the spit rod is located when installed on the JoeTisserie. Install the spit rod into the motor and measure the distance to the center of the Kamado Joe. Position the turkey on the rod so the center of the bird aligns with the center of the grill. Slide the spit rod through the turkey from the neck and through the tail, positioning it closer to the breast than to the back. The goal is to distribute the weight around the spit so the motor can rotate the turkey smoothly. Stop when the center of the spit, as noted in the previous step, is in the center of the turkey. Push one fork firmly into the thighs and the other fork into the breasts, then tighten the thumbscrews.
Check for Balance
Install the spit in the JoeTisserie on the grill, turn on the motor and watch the turkey complete several full rotations. If the bird turns unevenly or the speed changes throughout the rotation, sometimes fast, sometimes slow, the turkey needs to be adjusted on the spit. The breast side of a turkey is heavier than the back side and the weight needs to be centered on the spit. If the turkey is off balance, stop the motor, loosen the forks, and reposition the rod closer to the breast. This helps balance the heavier breast around the spit. Tighten the forks and try again. Finally, close the lid while the turkey is turning to make sure it clears the temperature probe installed in the lid.
Pay particular attention to the fork screws because the turkey must turn with the spit. If the forks loosen and the rod turns inside the bird, one side can remain exposed to the fire and burn. The balance check is also a useful opportunity to secure loose wings or legs that may have come loose before the rotisserie gets hot.
Once the bird turns smoothly, remove the spit with the turkey and check every thumbscrew. Place the mounted turkey on a rimmed tray or roasting pan and cover it with foil while the grill preheats. To ensure food safety, keep the total time out of refrigeration, including preparation and waiting, under two hours, or one hour if the temperature is above 90°F.
Set Up the Charcoal and Temperature Monitoring
To reduce flare-ups from turkey grease, I bank the charcoal up the back of the charcoal basket. I do not use a drip pan nor do I use smoking wood chunks or chips. For my family, lump charcoal alone provides plenty of smoky flavor.
After lighting the charcoal, close the lid and use the dome thermometer and vents to establish 325°F. Alternatively, use a FireBoard temperature controller to monitor and control the temperature. Insert a FireBoard ambient probe through the top vent, approximately level with the dome thermometer, then set the FireBoard to 325°F. With either method, hold the grill at 325°F for about 20 minutes to warm the ceramic thoroughly before installing the turkey.
Insert a wireless meat probe, such as a Typhur or Meater, into the thickest part of the breast, keeping it away from bone, following the insertion depth and heat limit instructions.
Cook the Turkey and Verify Doneness
Rotisserie turkey is completely self-basting. As it rotates, juices and rendered fat continually move over the surface of the bird so there is no need to baste it during cooking. Seat the spit securely in the motor and its opposite support. Start the motor, and confirm that the turkey rotates freely before closing the dome. Monitor the wireless breast probe and the grill temperature throughout the cook. For crispier skin, cover the wings with foil when the breast reaches 150°F, then increase the cooking temperature to 425°F for approximately the final 15 minutes. Use the temperature checks below, rather than the finishing time, to determine when to remove the turkey.
Cook until the wireless probe in the thickest part of the breast measures 160°F, about 2.5 to 3.5 hours for a 12-to-15-pound turkey. When the internal temperature reaches 160°F, stop the rotation briefly and double check with an instant-read thermometer in the thickest part of the breast and the innermost parts of the thigh and wing, avoiding bone. Confirm that the thigh and wing have reached at least 160°F before removing the turkey. Carryover cooking continues to raise the breast temperature about 5°F during the rest. Monitor the probe to confirm it reaches 165°F rather than assuming a fixed 5°F rise.
Rest and Carve the Turkey
Stop the motor and use heat-resistant gloves to lift the spit from the grill and place the turkey in a large roasting pan. The spit and forks will be hot, so support the bird securely. Cover the turkey with foil and allow it to rest for 20 minutes before carving. Keep the wireless probe in place to monitor the breast temperature. If it stops rising before reaching 165°F, return the turkey to the grill and continue cooking until that temperature is verified. Once the internal temperature reaches 165°F and is verified with an instant-read thermometer, carefully loosen the forks and slide the spit out of the turkey.
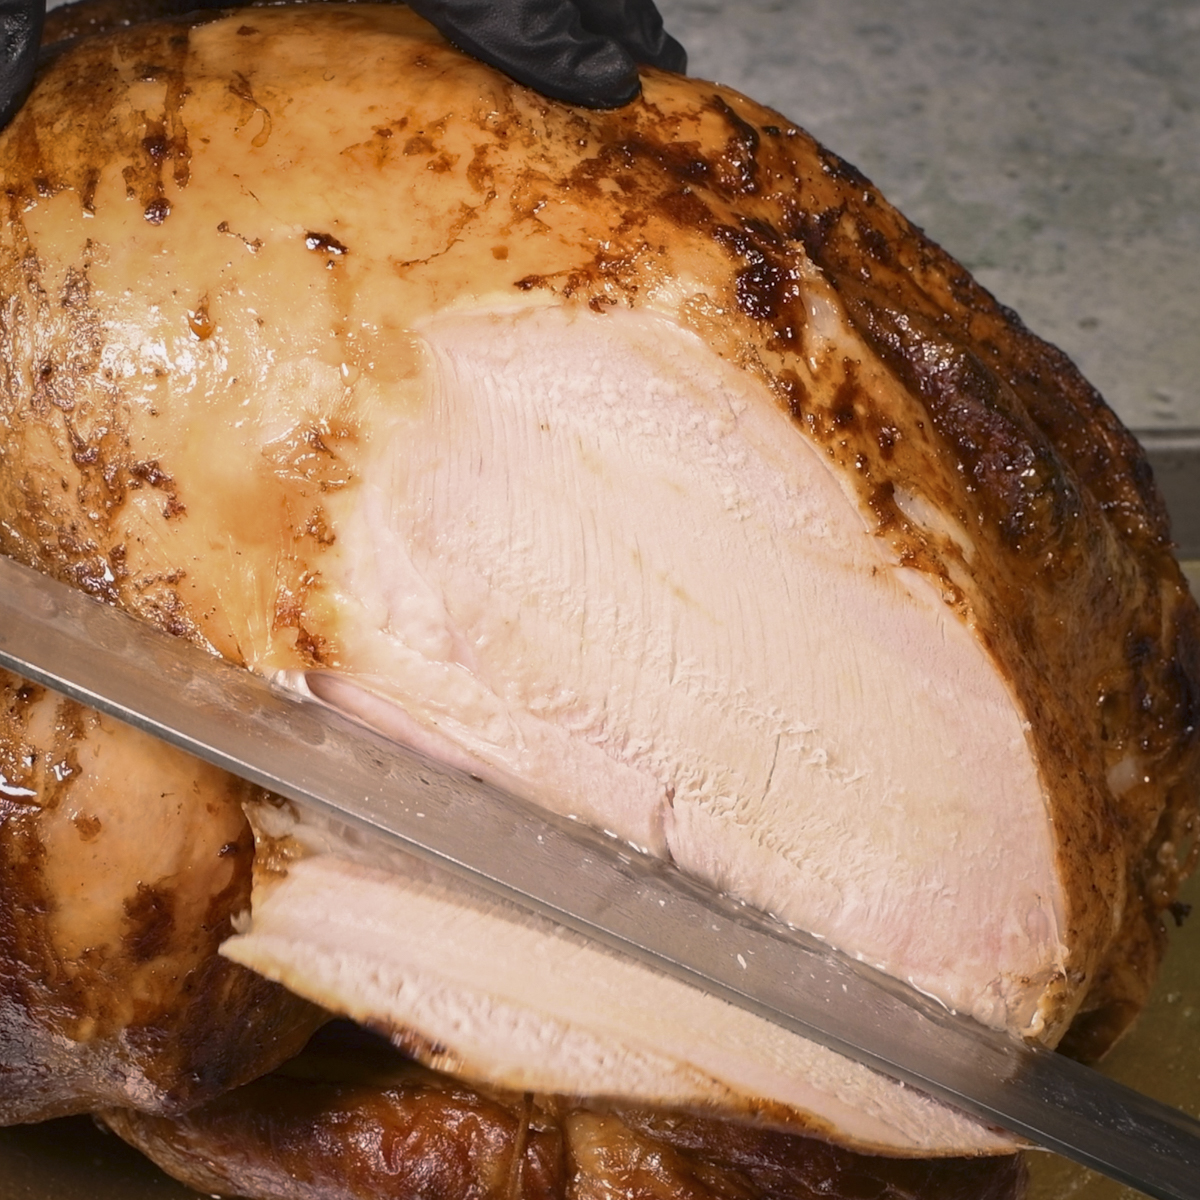
Remove the butcher's twine and discard the aromatics from the cavities before carving. Separate the legs and wings. Remove each breast half and slice it across the grain. Transfer the carved meat to a platter and serve.
Troubleshooting
One Side Cooks Faster or Rotation Lurches
Stop the motor and put on heat-resistant gloves before handling the hot spit, forks, or turkey. Carefully lift the spit and turkey onto a sturdy roasting pan on a heat-resistant surface. Support the bird while adjusting its position on the rod or reseating the forks, then tighten the thumbscrews. Insert the spit into the motor and the end support. Restart the motor and confirm that the turkey turns smoothly and clears the dome and thermometer probe. Resume cooking promptly.
Temperature Drops in Wind or Cold Weather
Cooking in cold or windy weather can be challenging. Keep the lid closed and allow extra time. Charcoal banked up the back of the basket plus a 20-minute heat soak after reaching 325°F helps the ceramic hold steady. If the dome will not hold 325°F, check airflow, add charcoal as needed, and keep the ambient probe clear of the rotating bird.
Frequently Asked Questions
For rotisserie turkey, my preference is to use lump charcoal alone for a noticeable but subtle smoke flavor. If you prefer a stronger smoked turkey flavor, add one small chunk and test on a practice cook before a holiday.
Use a wireless probe in the rotating bird so there is no cable to wind around the spit. A wired ambient probe can remain stationary in the grill, provided its cable is clear of the rotating equipment and used within its temperature rating.
A turkey that is balanced turns smoothly through a complete rotation without jumping or dropping heavily to one side. Test it on a cold grill, adjust the position of the bird on the spit as needed, and retighten the forks before testing again.
Yes. This turkey brine recipe works for rotisserie turkey and for smoked turkey. Keep the 24-hour timing, keep the bird at 40°F or below, dry thoroughly after brining, and season after drying.
The brine and food safety steps are the same. The difference is heat and smoke level. The rotisserie method cooks at 325°F with only lump charcoal for faster, even roasting and crisp skin. Many guides for how to smoke a turkey use lower heat, like 250°F, and added wood for longer exposure and deeper smoke.
I recommend a 12-to-15-pound turkey for the Kamado Joe Classic II for reliable clearance and smooth rotation. Always test fit and rotation on an unlit grill with the lid closed. Check both the temperature probe clearance and the space around the bird. If the bird contacts the dome or the thermometer probe, use a grate-cooking method instead.
Final Thoughts
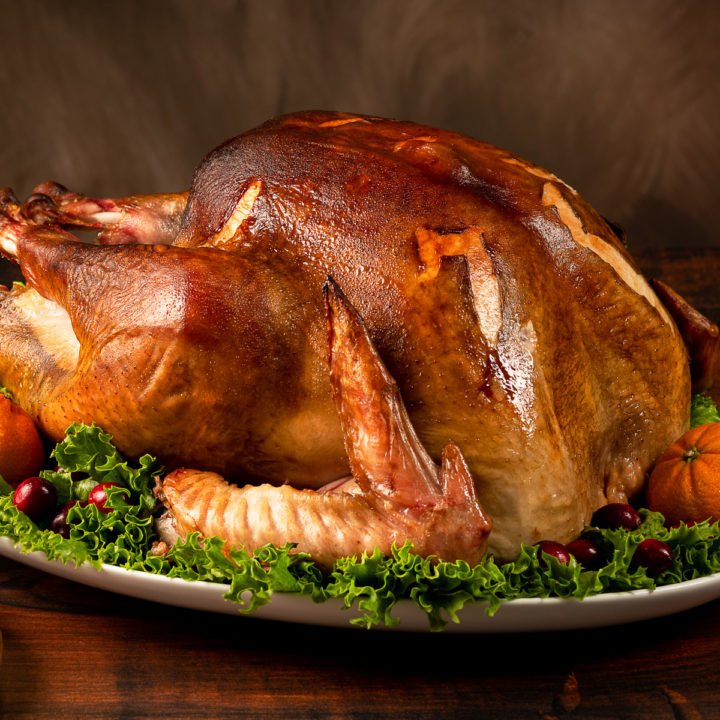
A brined turkey cooked on a JoeTisserie is tender and juicy with a hint of smoke. The constant rotation provides for even cooking and self-basting. Cooking a whole turkey on a JoeTisserie is easy to do for a holiday meal or a weekend gathering.
Where to Buy
The products below are the exact items referenced in this guide. Using these links supports testing and recipe development at no extra cost to you. Affiliate Disclosure: As an affiliate, I earn from qualifying purchases. I only recommend products I use in my own cooks.
- JoeTisserie rotisserie attachment with spit, forks, and motor
- FireBoard 2 Drive with fan
- High-Heat Gloves (ULINE S-25687)
- Meater Pro Smart Meat Thermometer
- Leather Welding Gloves
Other Resources
If you found this guide helpful, here are a few more resources that will help you get the most out of your Kamado Joe:
- Kamado Joe Owner's Handbook
- The Texas Backyard Kitchen - Complete Meals from Fire to Table
- Kamado Joe 101 Playlist
- How to Control Temperature on a Kamado Joe
- Kamado Joe vs. Big Green Egg: Which Ceramic Grill Would I Buy After Owning Five of Them?
Video
📖 Recipe
Rotisserie Turkey on a Kamado Joe Recipe
Equipment
- Kamado Joe
- Kamado Joe Joetisserie
- Butcher's twine
- Meat trussing needle
Ingredients
Brine
- 2 quarts vegetable stock low sodium
- 1 cup Diamond Crystal kosher salt
- ½ cup brown sugar
- 1 onion quartered
- 1 tablespoon black peppercorns
- 2 bay leaves
- A few sprigs of fresh rosemary
- 3 garlic cloves smashed
- 6 quarts ice water
Turkey
- 1 whole turkey fully thawed, 12 to 15 pounds
- 1 onion quartered
- Canola oil for a light coating
- Kosher salt and freshly cracked black pepper
- 1 apple sliced
- 5 sprigs fresh sage
Instructions
Brine the Turkey
- Combine the vegetable stock, kosher salt, brown sugar, onion, peppercorns, bay leaves, rosemary, and garlic in a large pot. Bring the mixture to a boil and cook for two minutes, stirring to dissolve the salt and sugar. Remove it from the heat, let it cool, and stir in the ice water. Check that the finished brine is 40°F or below before adding the turkey.
- Remove and discard the neck and giblets from the thawed turkey, then place it neck end down in a large food-safe container. Pour in the chilled brine, making sure the turkey is fully submerged, then cover and refrigerate for 24 hours.
- After 24 hours, remove the turkey, discard the brine, and pat the bird thoroughly dry with paper towels. Thorough drying also helps the skin brown and crisp during the cook. Per USDA guidelines, do not rinse raw poultry because splashing can spread bacteria.
Roast the Turkey
- Place the turkey on a rimmed tray or roasting pan. Place the onion, apple slices, and sage loosely inside both cavities and sew them closed with butcher's twine. Rub the skin with a light coating of canola oil and season with black pepper and kosher salt.
- Some turkeys have a plastic leg holder installed that can burn or catch fire over hot charcoal. If installed, remove the plastic leg holder.
- Tie the legs together with butcher's twine. Then, turn the turkey breast side down, fold the wing tips against the wings, and use butcher's twine to tie the wings together close to the body. Trim the dangling ends of butcher's twine.
- Slide the spit rod through the turkey, neck to tail, positioning it closer to the breast than to the back. The goal is to distribute the weight around the spit so the motor can rotate the turkey smoothly. Push one fork firmly into the thighs and the other fork into the breasts, then tighten the thumbscrews.
- Before lighting the grill, install the spit in the JoeTisserie, turn on the motor, and watch the turkey complete several full rotations. If the bird turns unevenly or the speed changes throughout the rotation, sometimes fast, sometimes slow, the turkey needs to be adjusted on the spit. Also check to make sure the turkey is centered left to right in the Kamado Joe and that it clears the dome thermometer probe when rotating.
- Remove the turkey and spit. Place the mounted turkey on a rimmed tray and cover it with foil while the grill preheats. Keep the total preparation and waiting time out of refrigeration under two hours, or one hour when the surrounding temperature is above 90°F.
- Bank the charcoal up the back of the charcoal basket and light. Do not use a drip pan or wood chunks.
- After lighting the charcoal, close the lid and use the dome thermometer and vents to establish 325°F. Alternatively, use a FireBoard temperature controller to monitor and control the temperature. Insert a FireBoard ambient probe through the top vent, approximately level with the dome thermometer, then set the FireBoard to 325°F. With either method, hold the grill at 325°F for about 20 minutes to warm the ceramic thoroughly before placing the turkey back in the JoeTisserie.
- Insert a wireless meat probe, such as a Typhur or Meater, into the thickest part of the breast, keeping it away from bone, following the insertion depth and heat limit instructions.
- Position the turkey and spit correctly on the JoeTisserie. Start the motor, and confirm that the turkey rotates freely before closing the dome. Monitor the wireless breast probe and the grill temperature throughout the cook.
- For crispier skin, cover the wings with foil when the breast reaches 150°F, then increase the cooking temperature to 425°F for approximately the final 15 minutes.
- Cook until the wireless probe in the thickest part of the breast measures 160°F, about 2.5 to 3.5 hours for a 12-to-15-pound turkey. When the internal temperature reaches 160°F, stop the rotation briefly and double check with an instant-read thermometer in the thickest part of the breast and the innermost parts of the thigh and wing, avoiding bone. Confirm that the thigh and wing have reached at least 160°F before removing the turkey. Carryover cooking continues to raise the breast temperature about 5°F during the rest.
- Remove the turkey from the Kamado Joe and place it in a large roasting pan and cover it with foil. Leave the spit rod and forks in place. Let the turkey rest for 20 minutes to allow the juices to redistribute. Keep the wireless probe in the breast during resting. Before carving, verify 165°F in the thickest part of the breast and the innermost parts of the thigh and wing with an instant-read thermometer, avoiding bone. If any location stops rising below 165°F, return the turkey to the JoeTisserie and continue cooking until that temperature is verified.
- Before carving, verify 165°F in the thickest part of the breast and the innermost parts of the thigh and wing with an instant-read thermometer, avoiding bone. If any location stops rising below 165°F, return the turkey to the JoeTisserie and continue cooking until that temperature is verified.
- After resting for 20 minutes and verifying the required temperatures, remove the spit, forks, and butcher's twine. Discard the aromatics, then carve and serve.
Leave a Reply